|
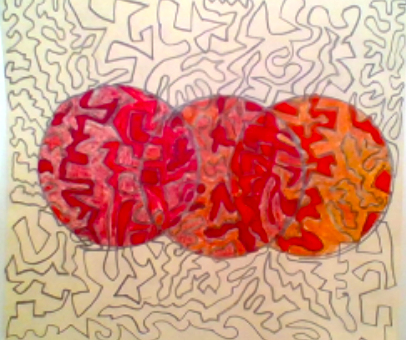
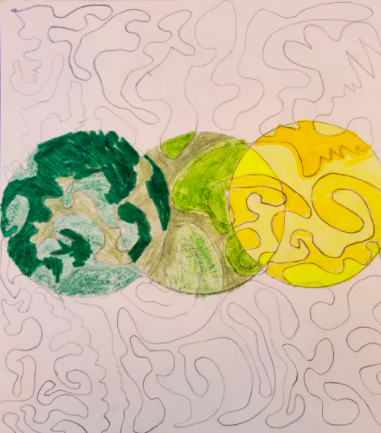
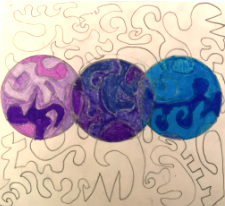
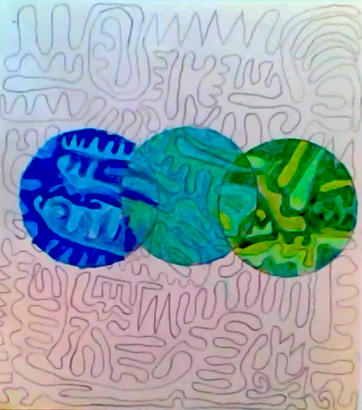
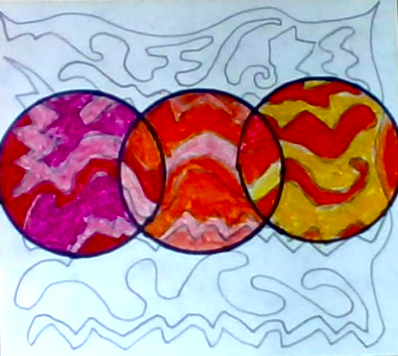
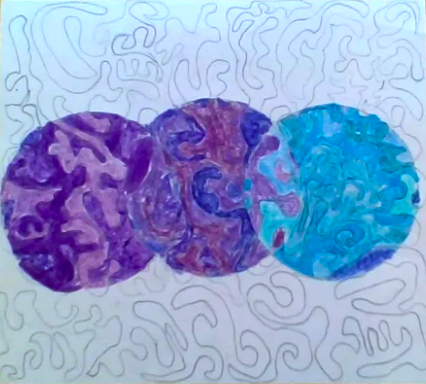
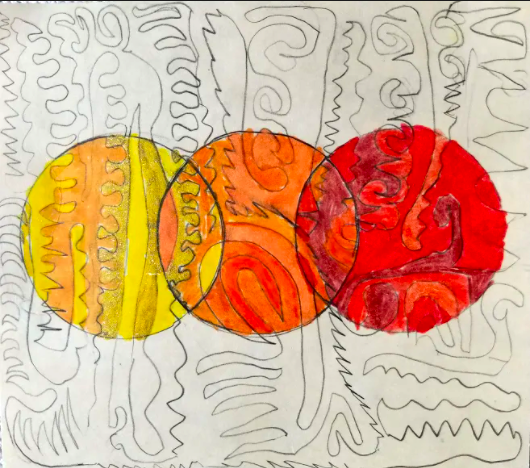
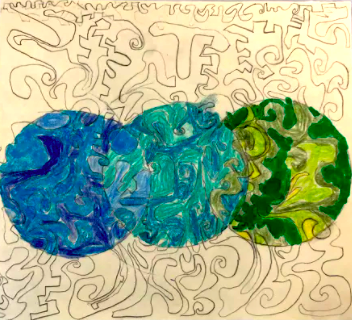
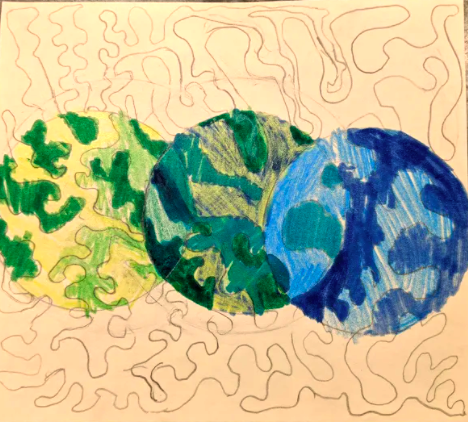
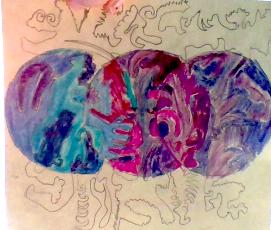
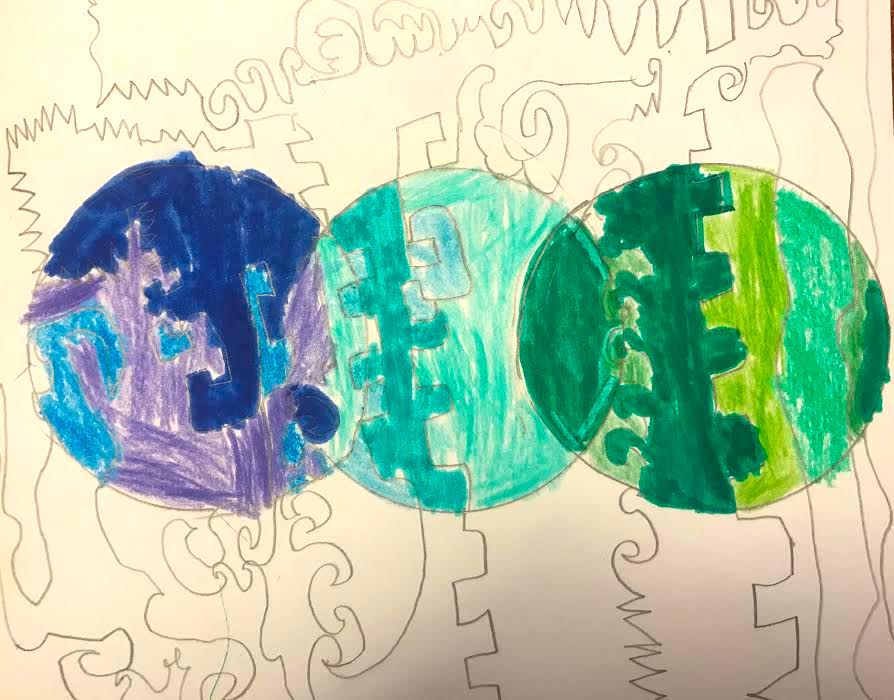
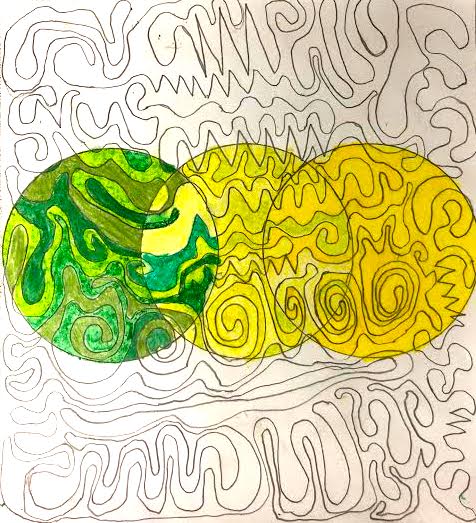
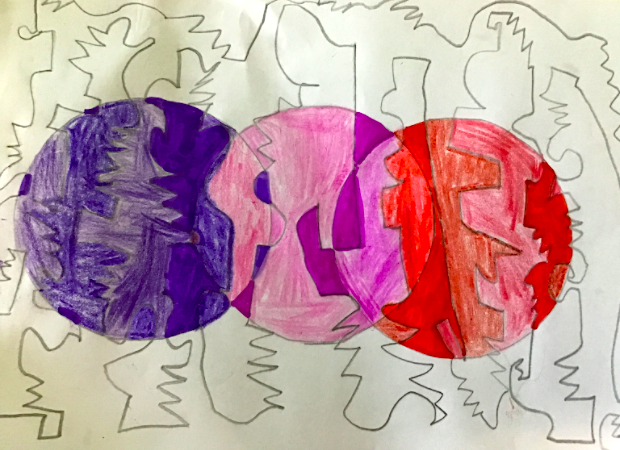
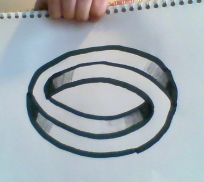
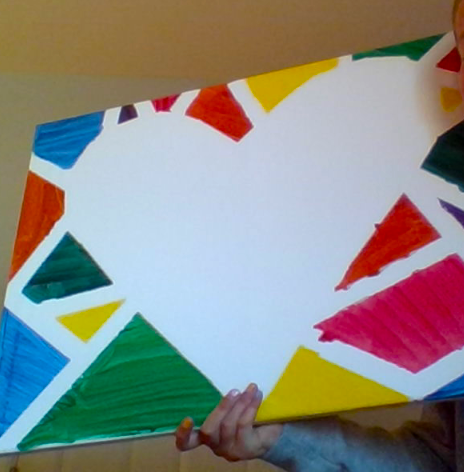
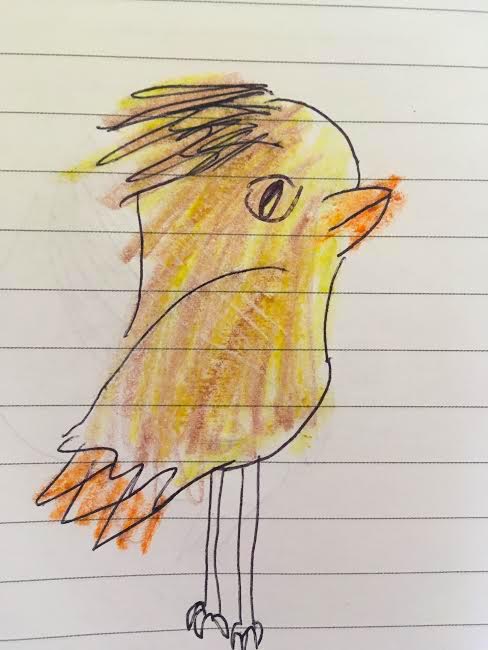
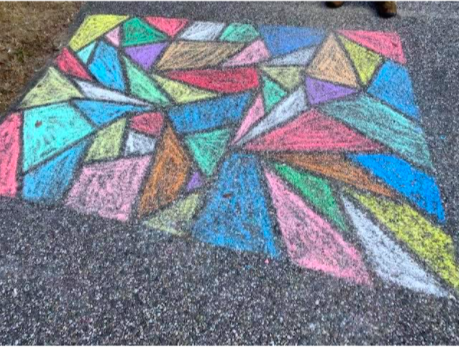
Students learned patience while creating a maze with one continuous line. Students had to make sure to end their line where they began while filling the space of their paper. Then students chose one of the several analogous color groups to color in overlapped circles.
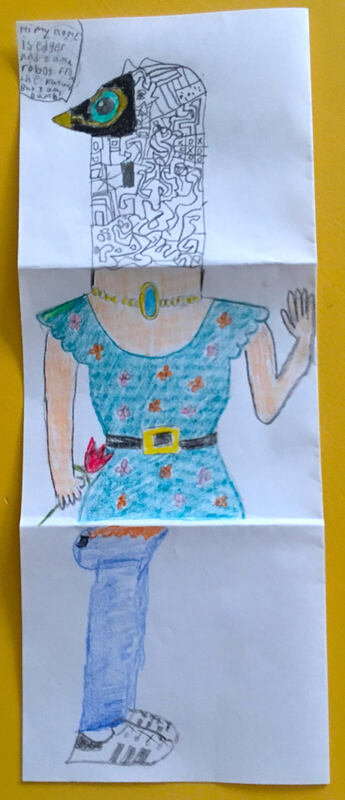
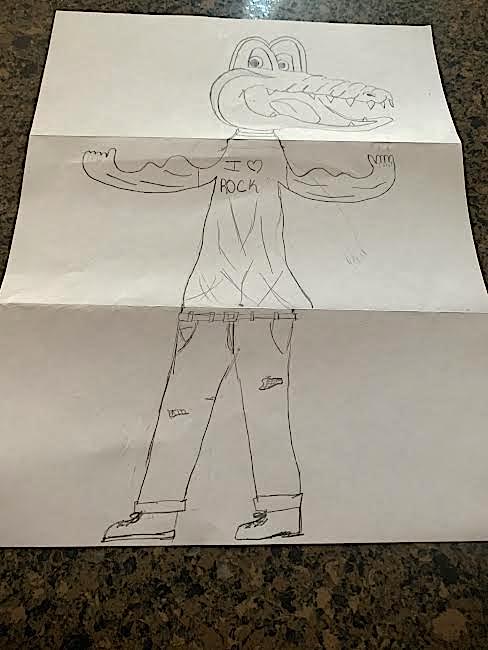
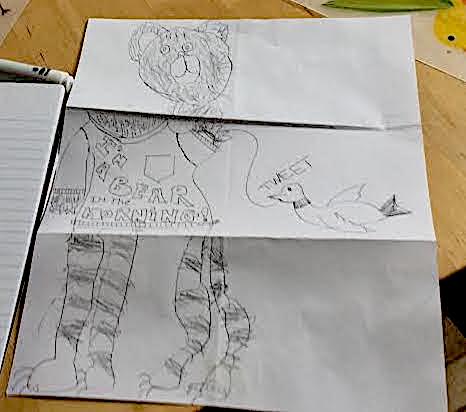
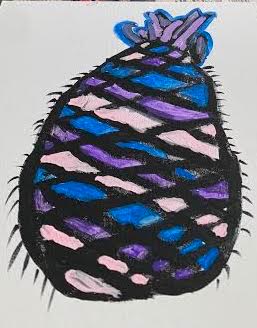
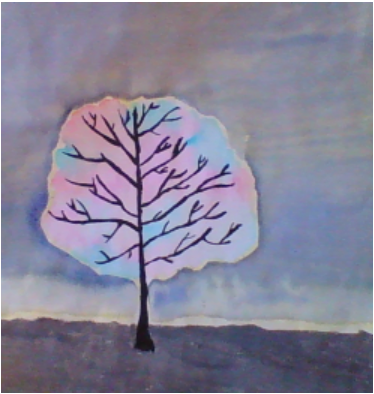
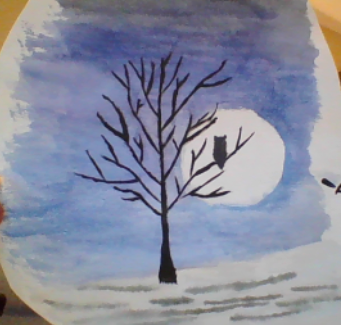
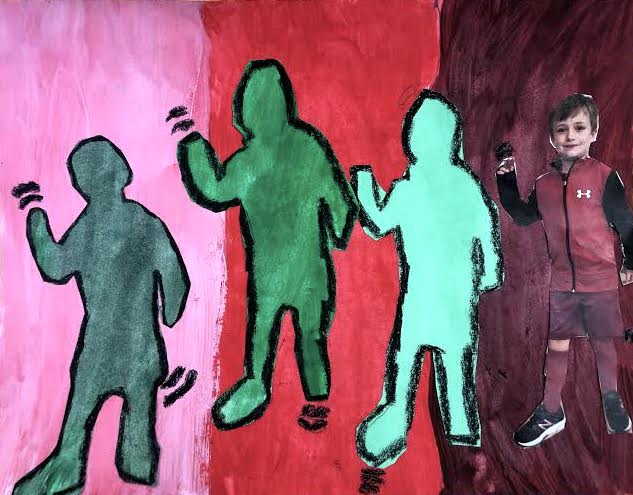
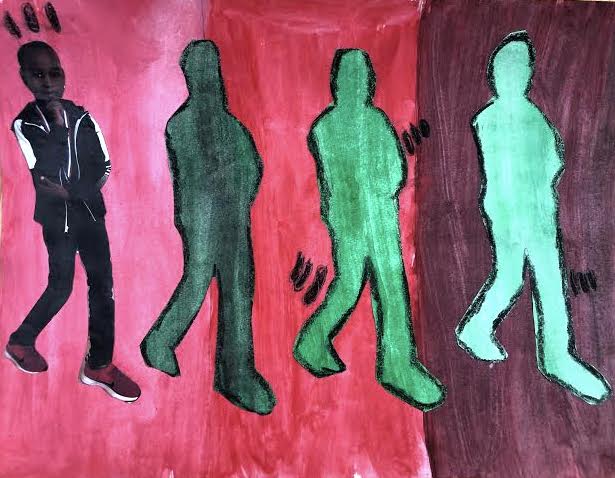
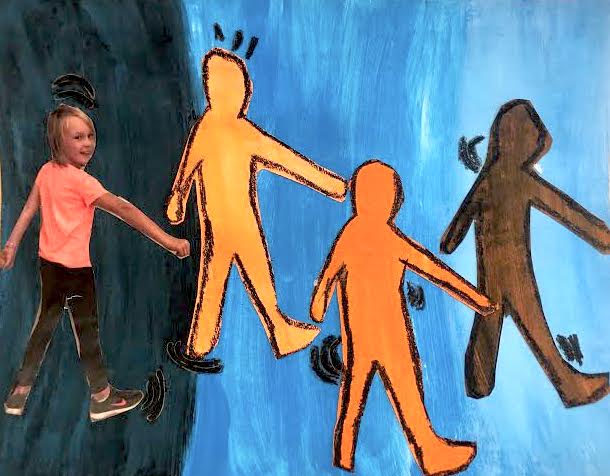
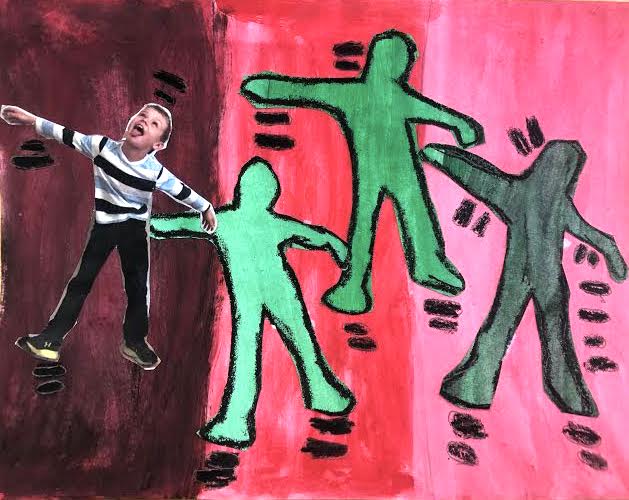
0 Comments
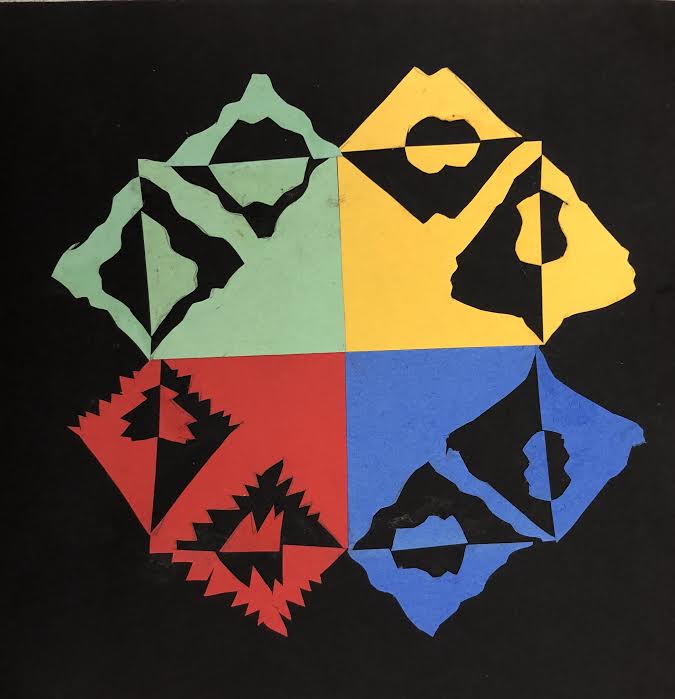
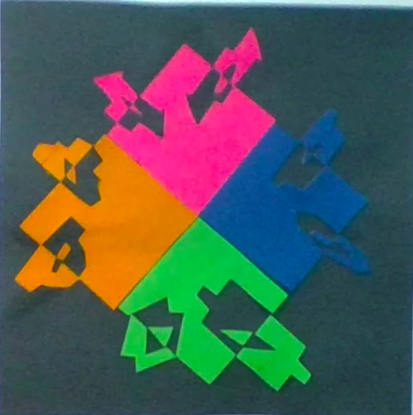
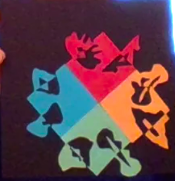
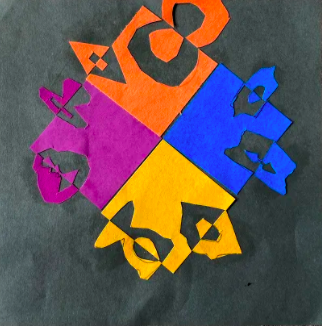
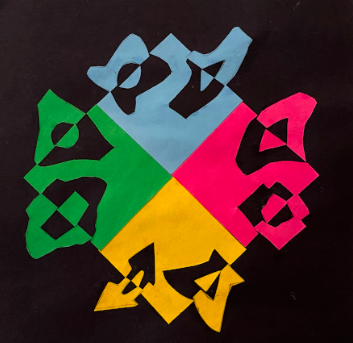
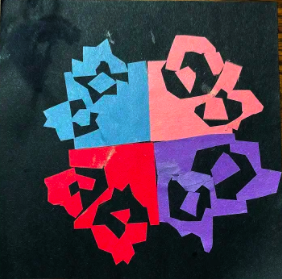
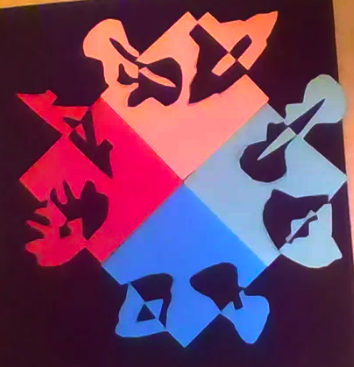
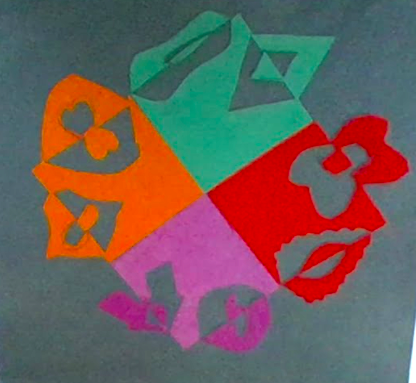
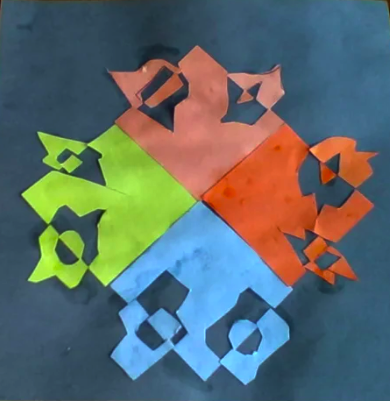
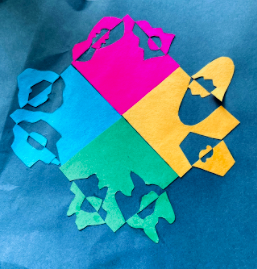
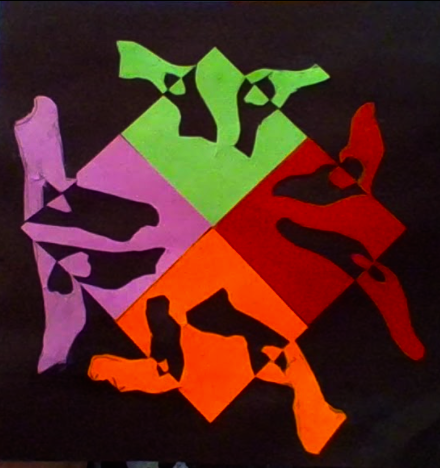
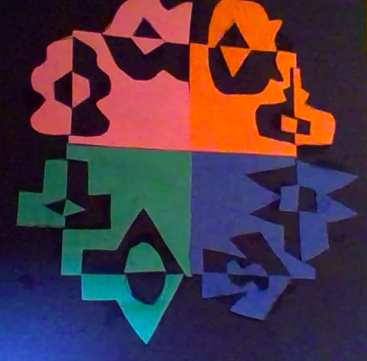
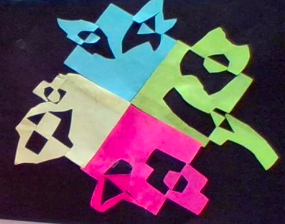
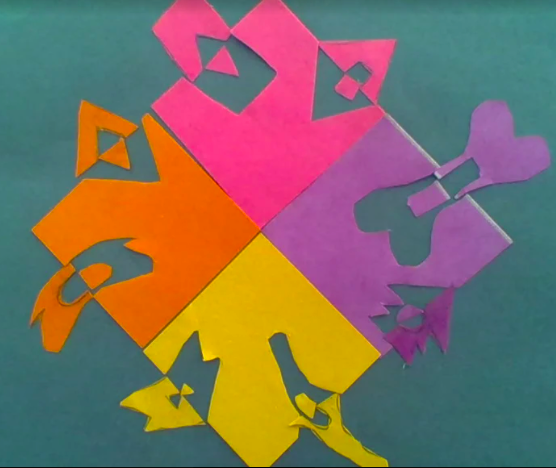
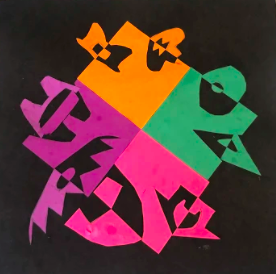
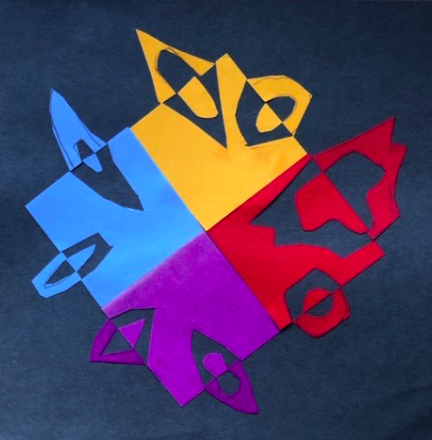
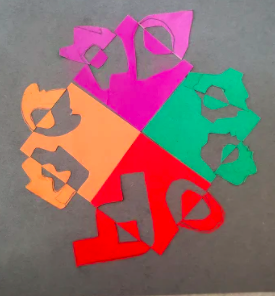
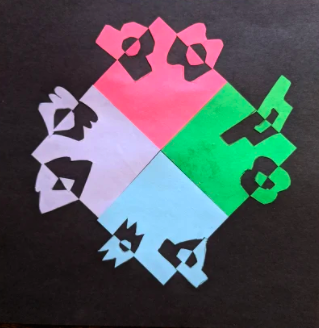
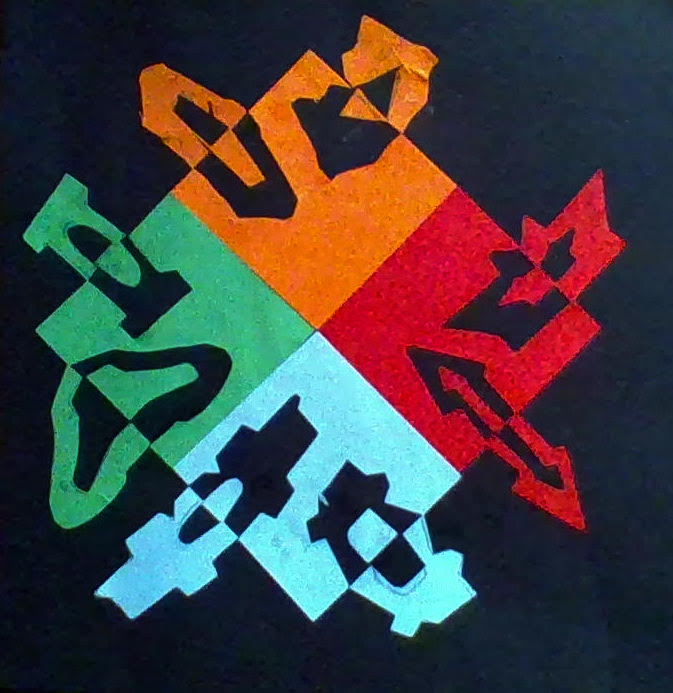
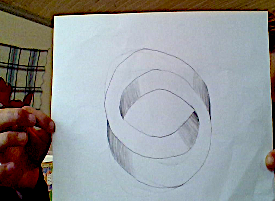
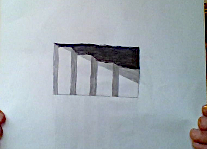
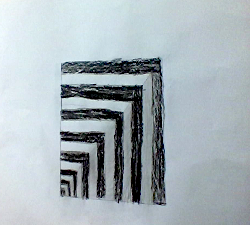
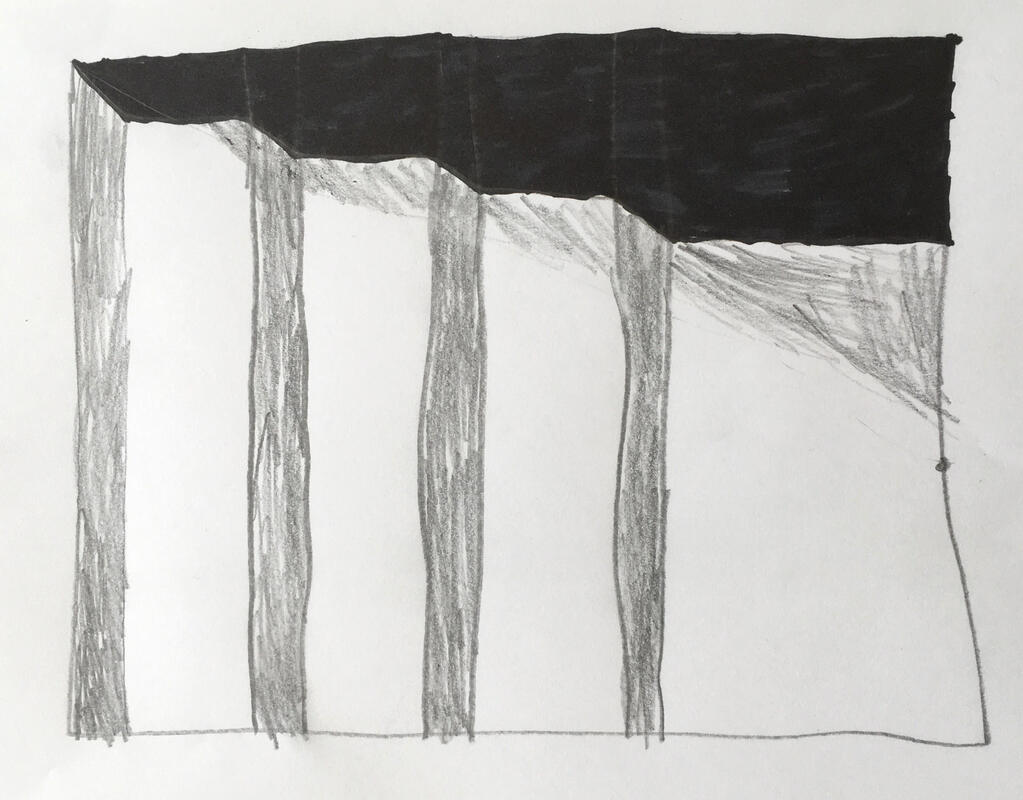
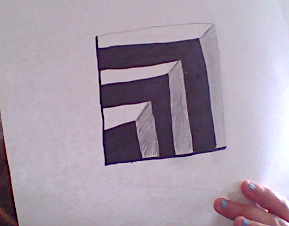
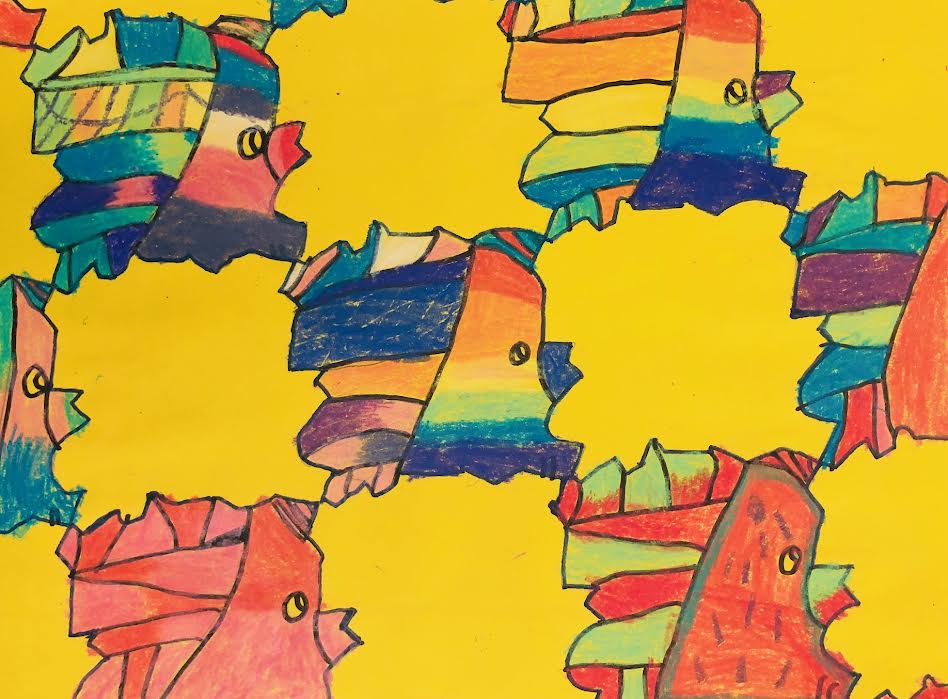
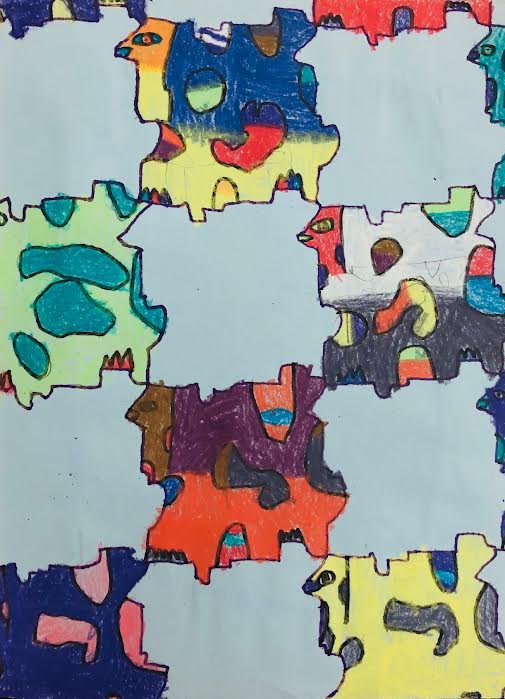
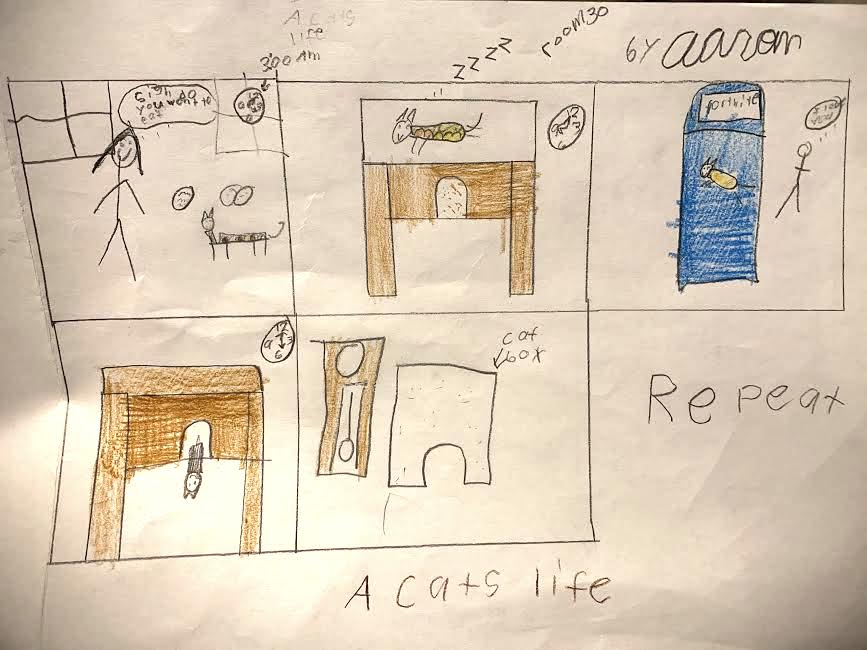
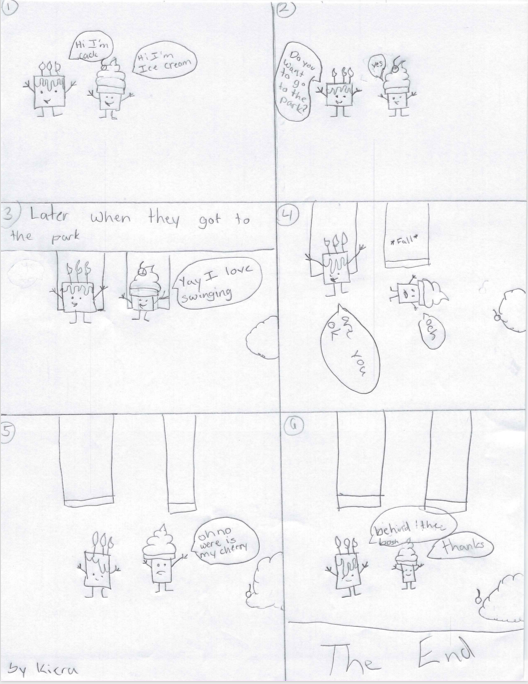
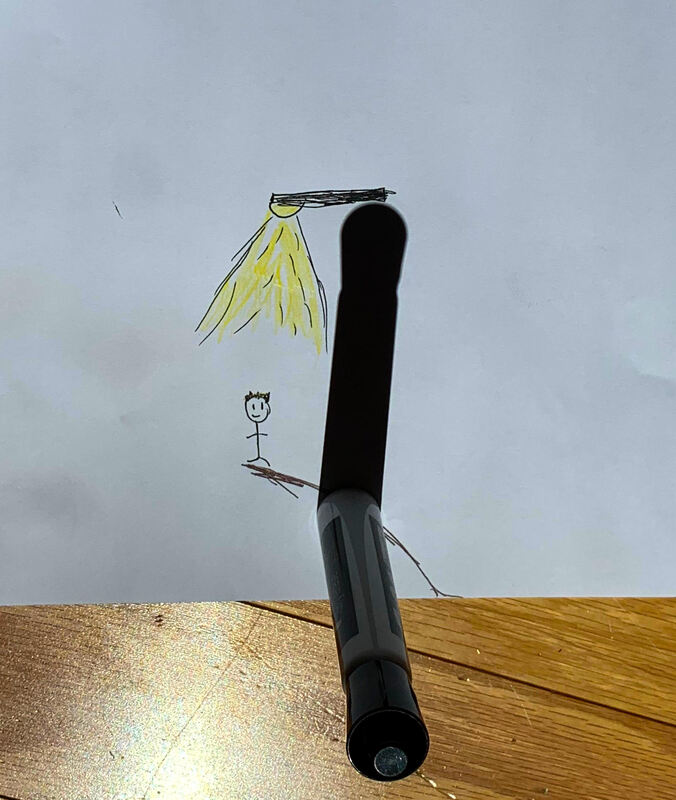
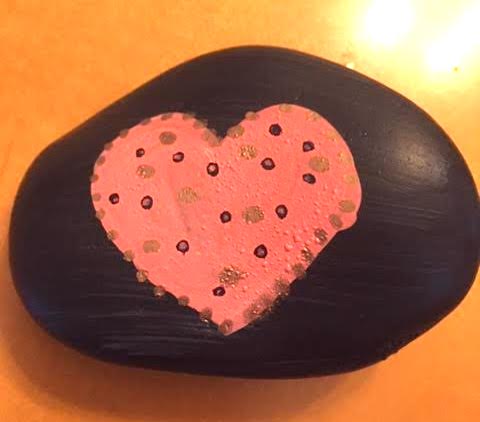
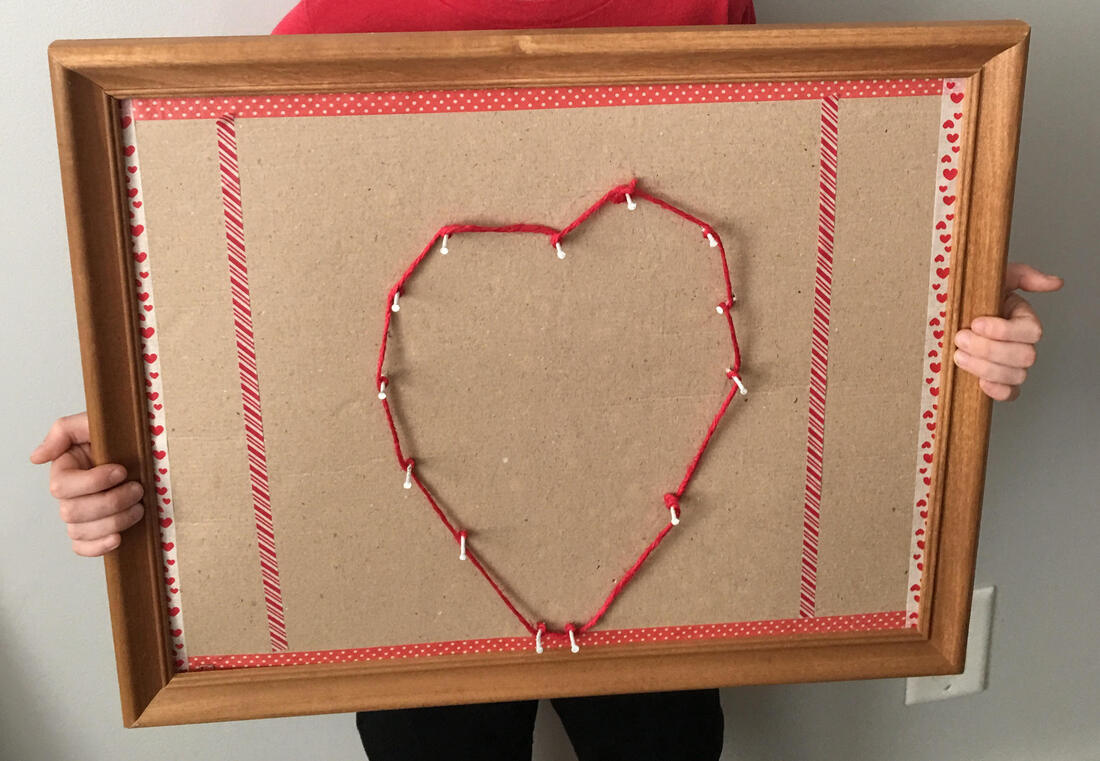
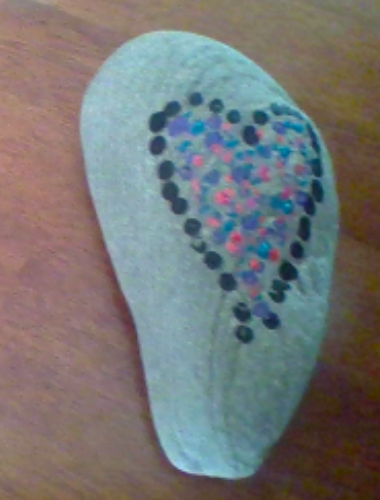
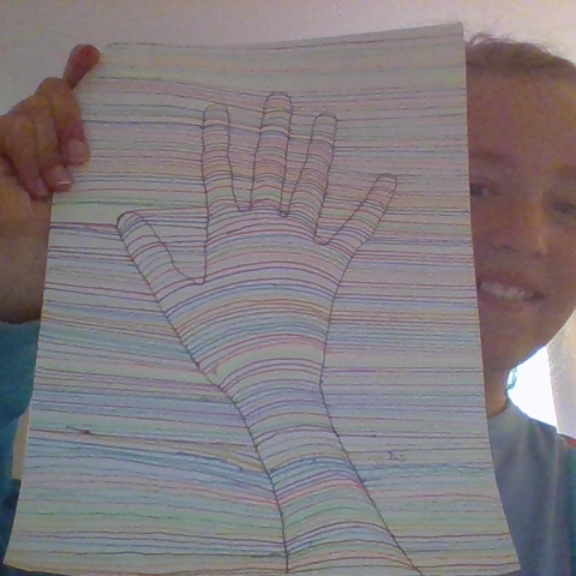
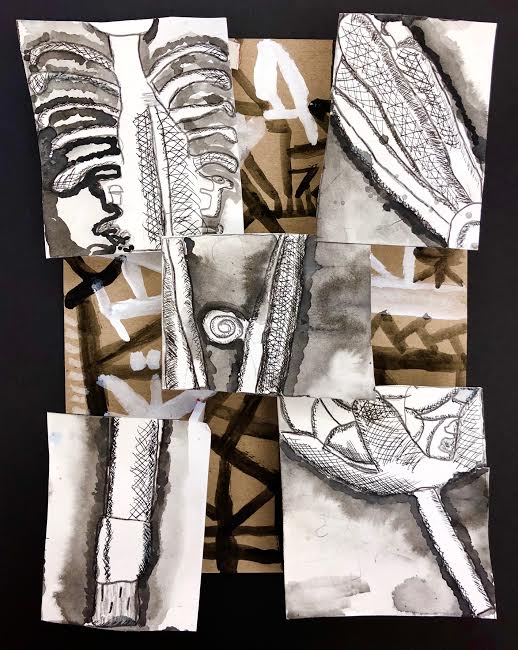
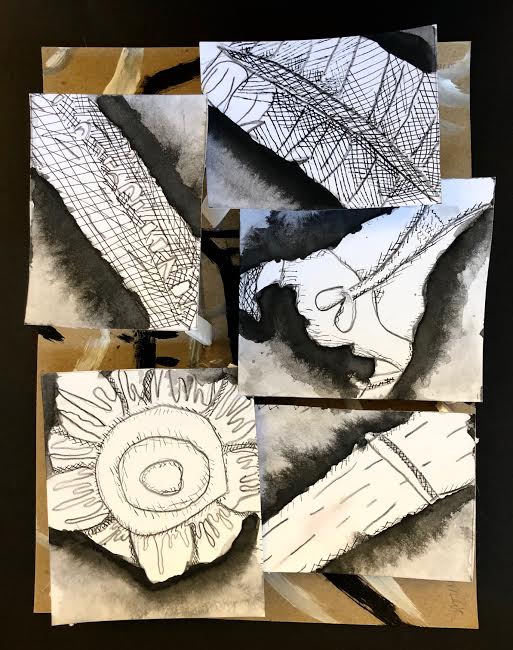
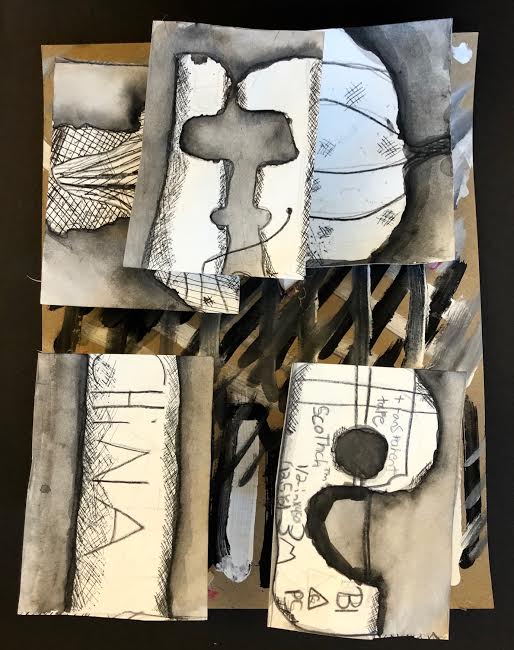
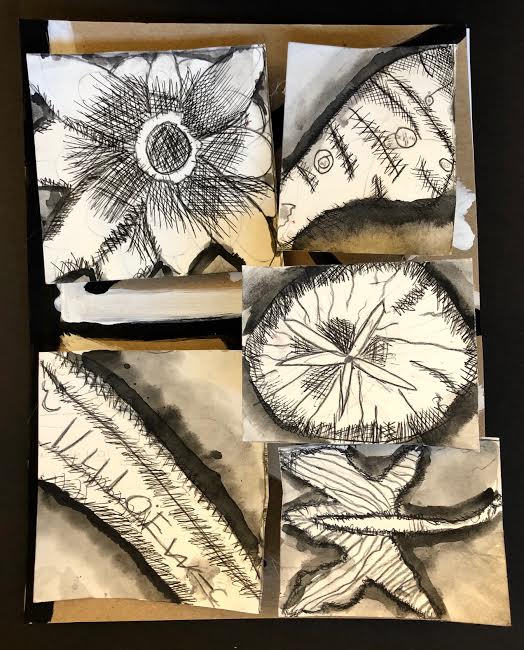
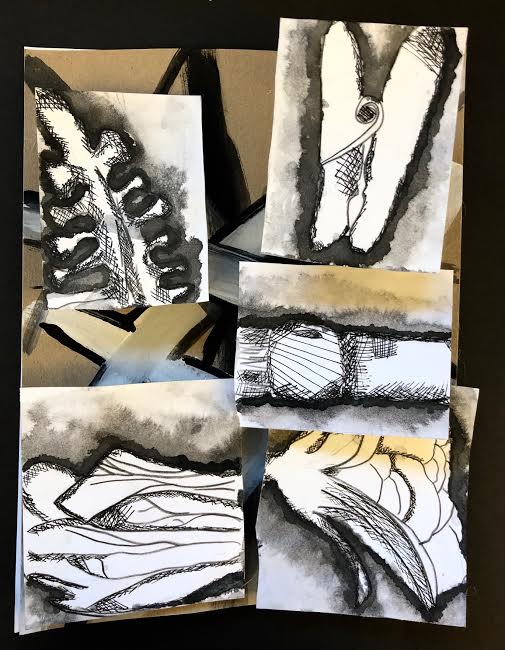
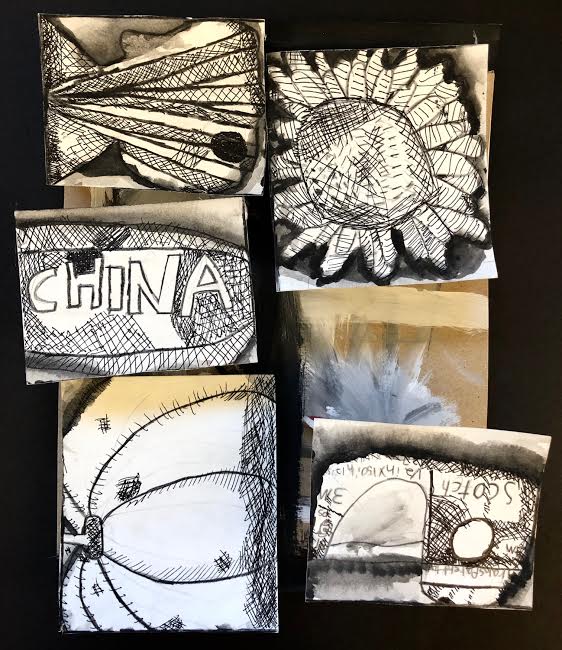
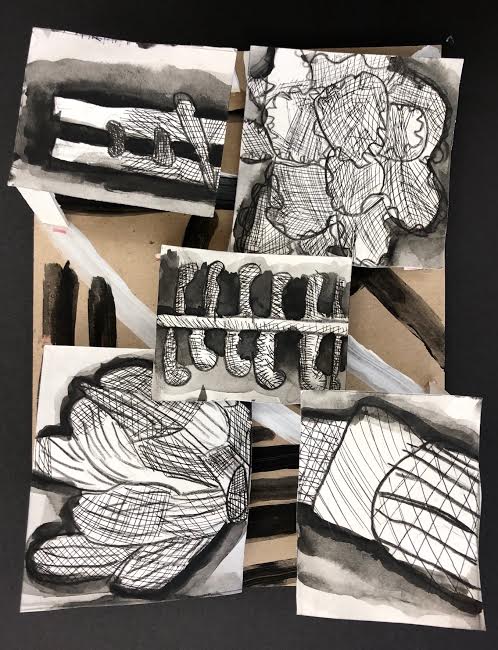
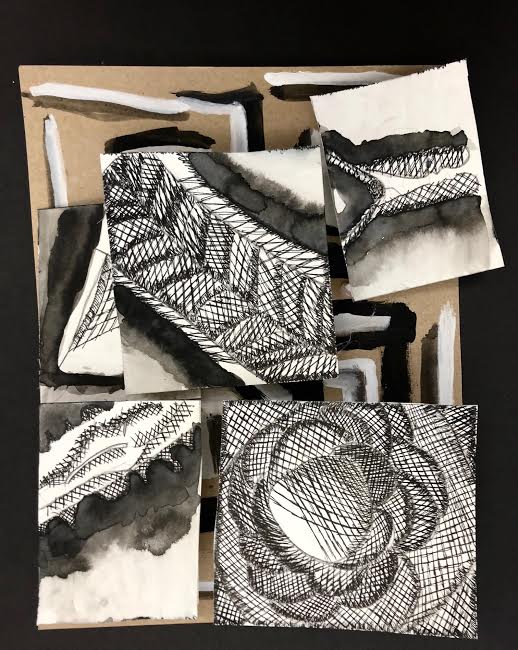
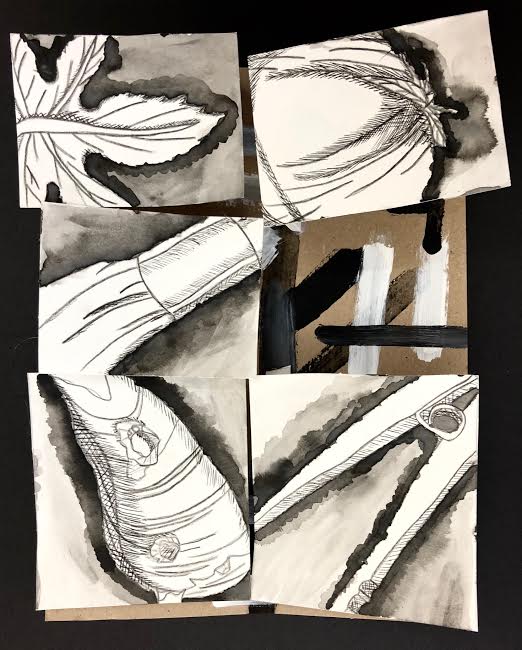
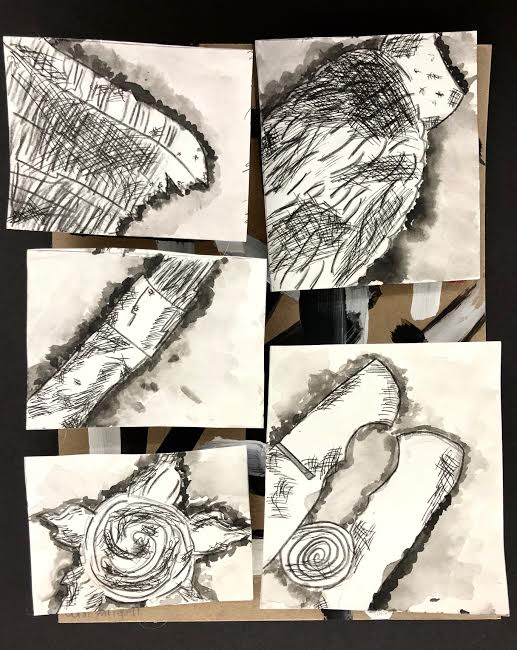
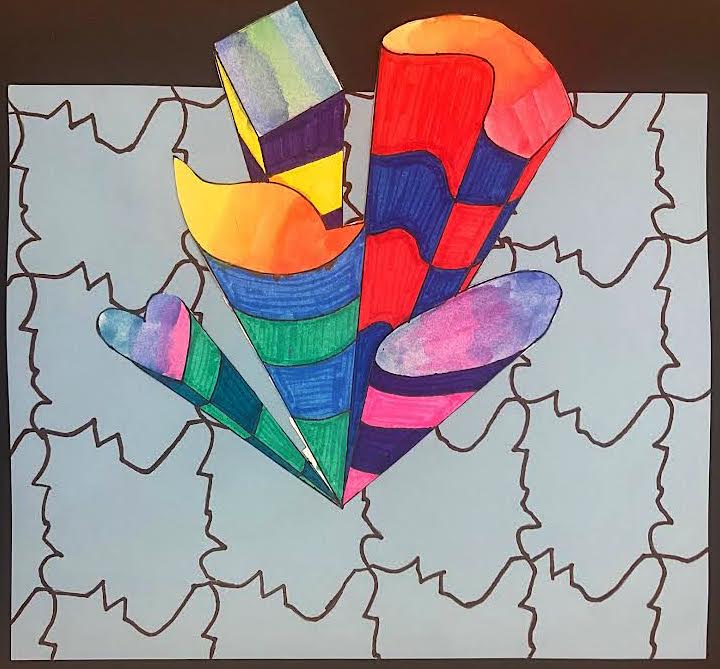
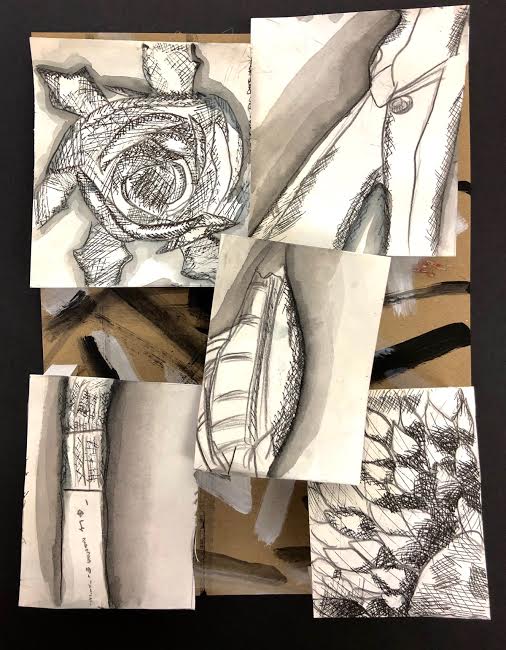
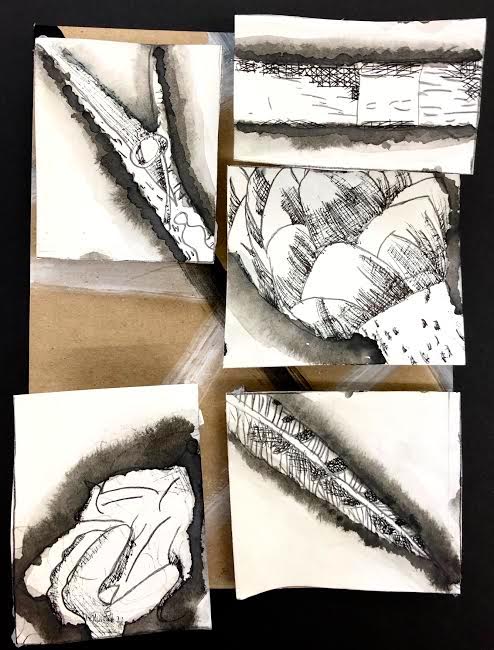
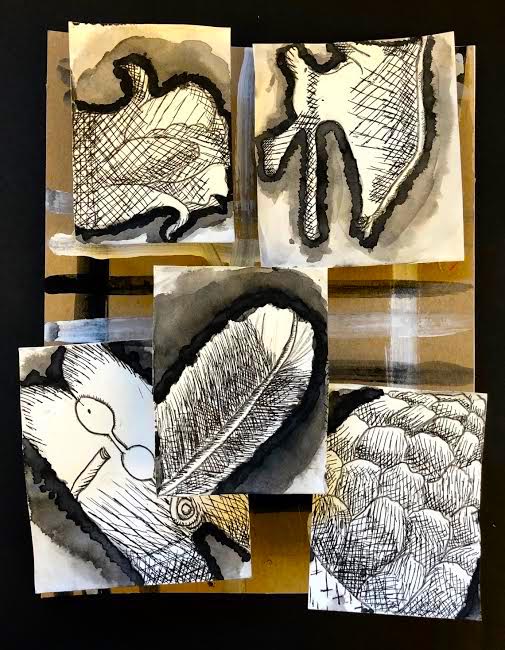
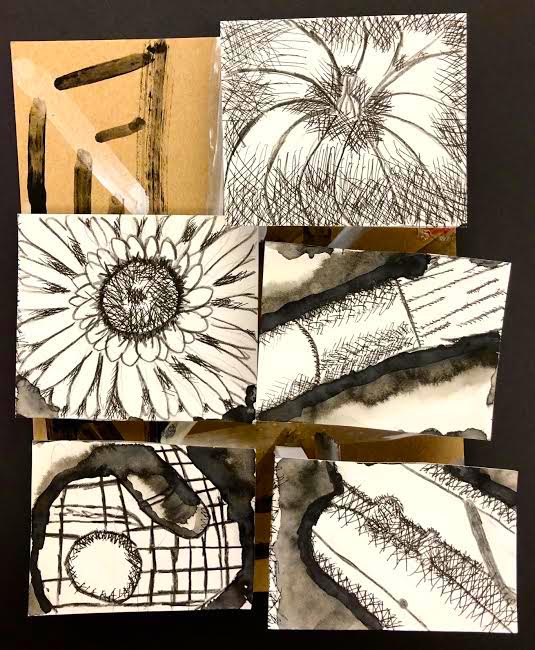
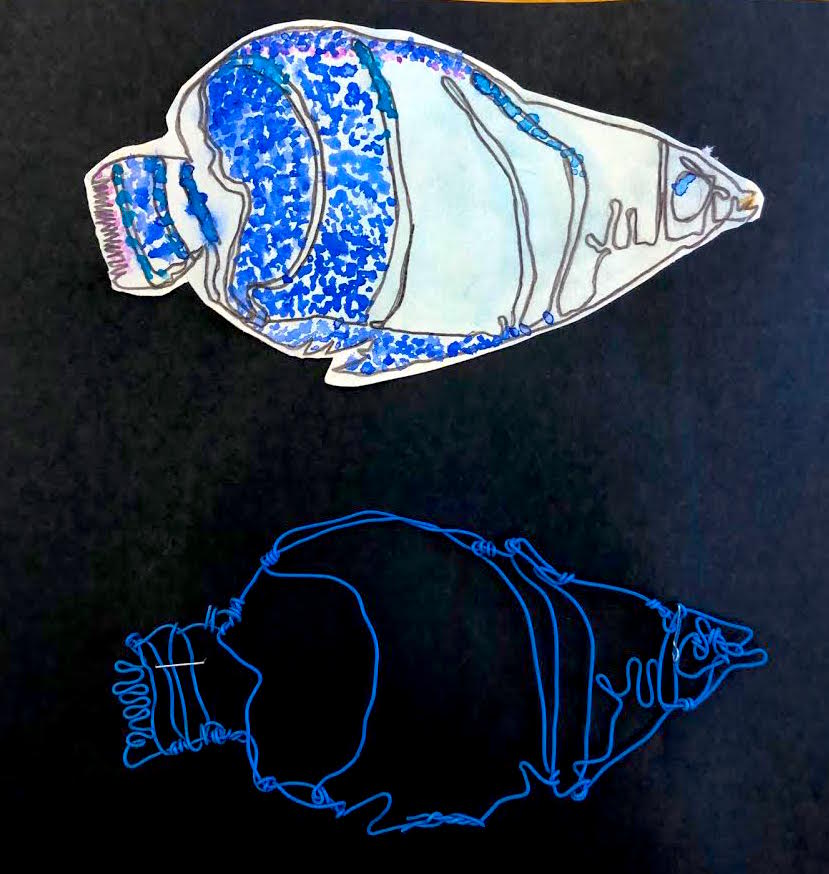
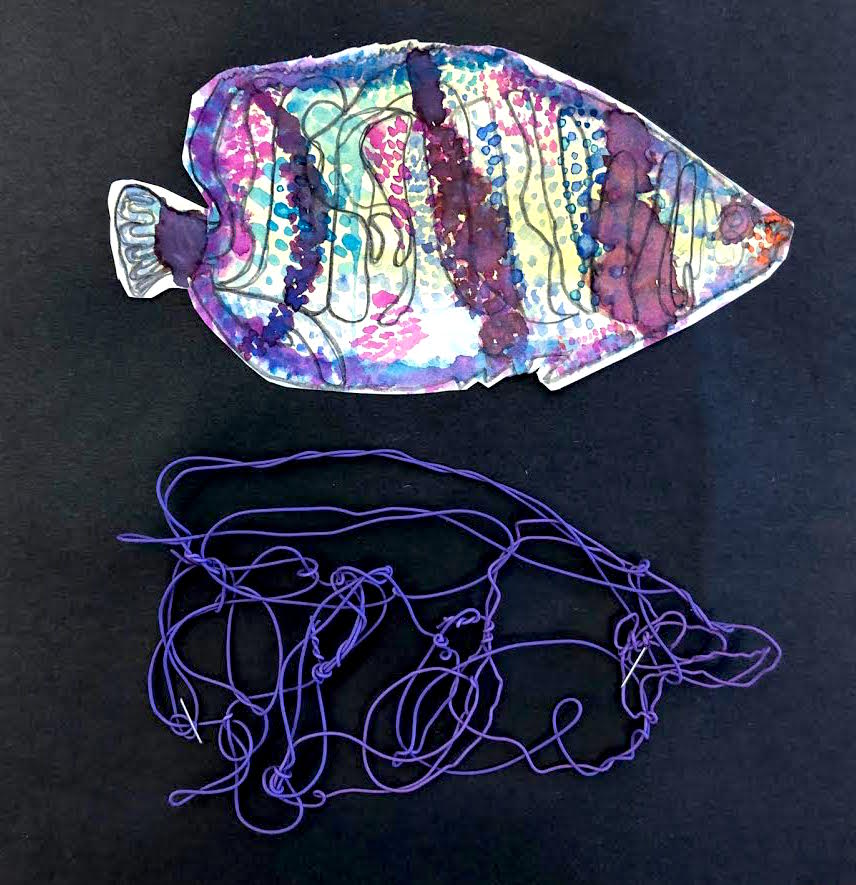
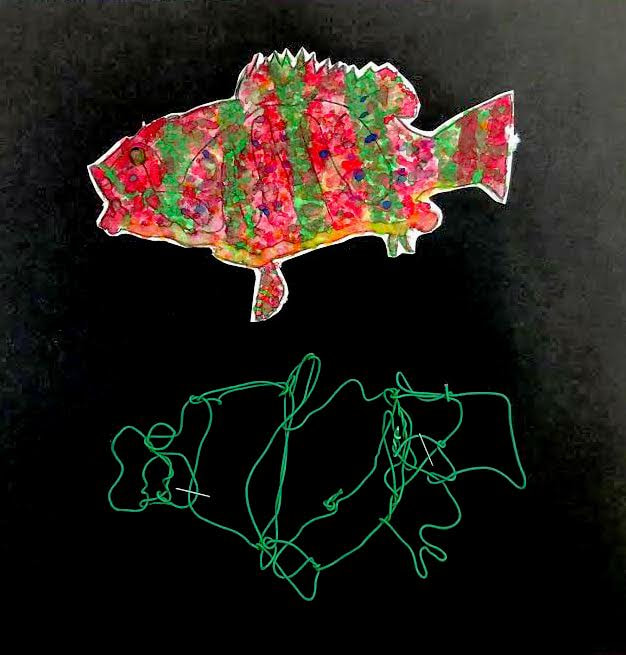
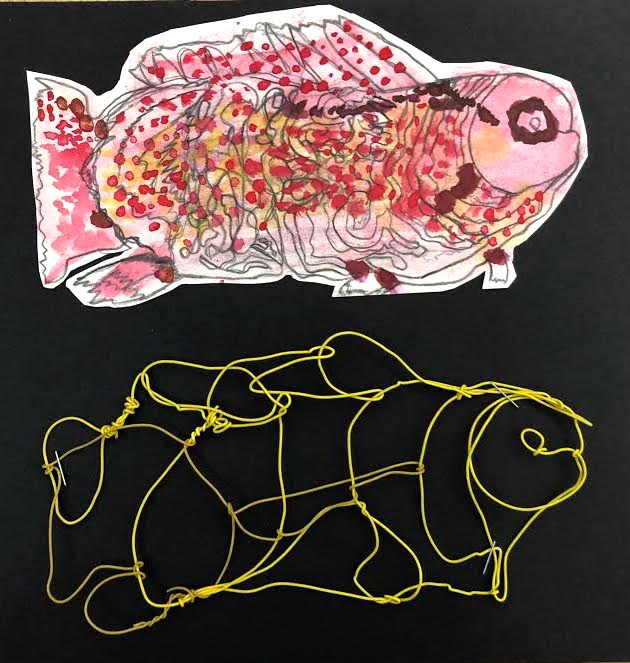
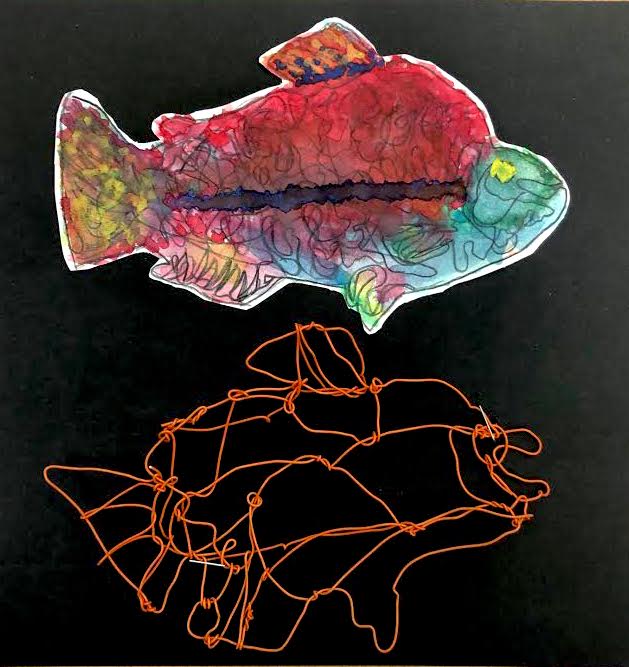
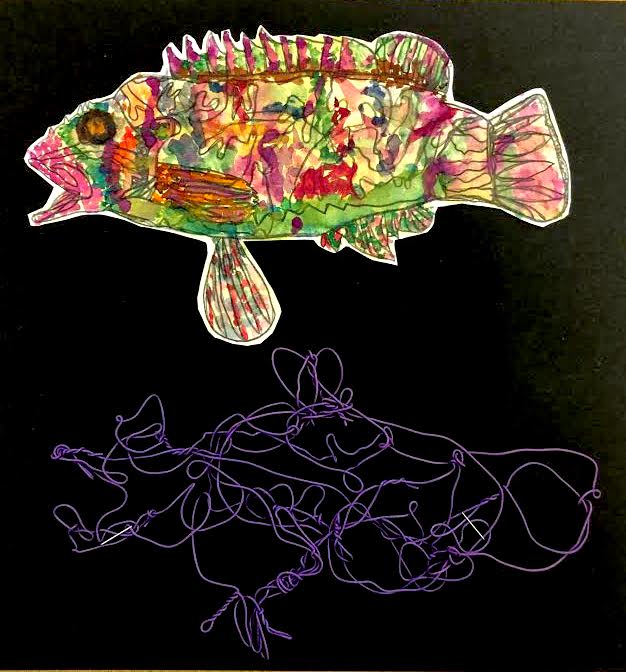
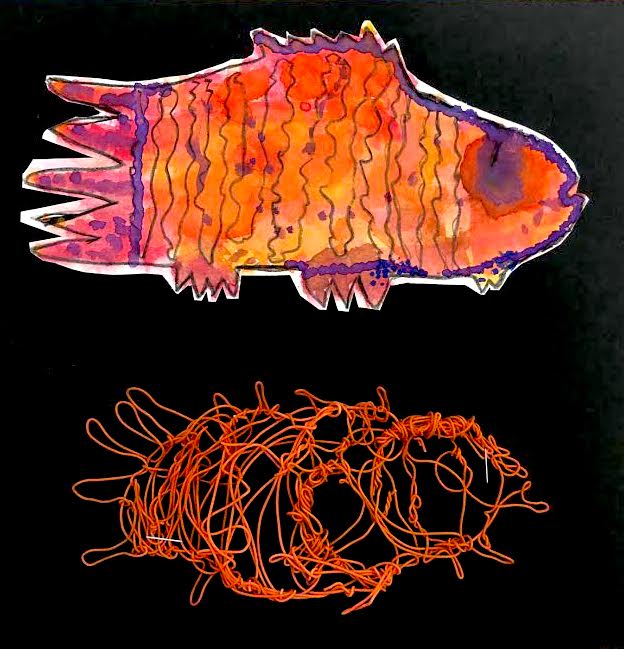
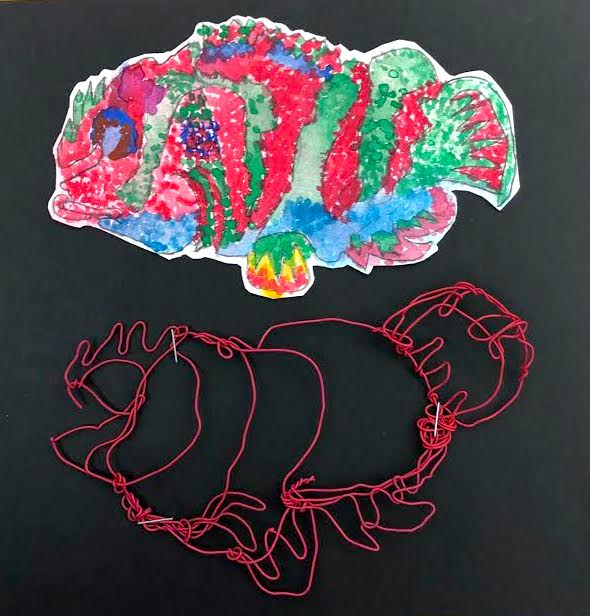
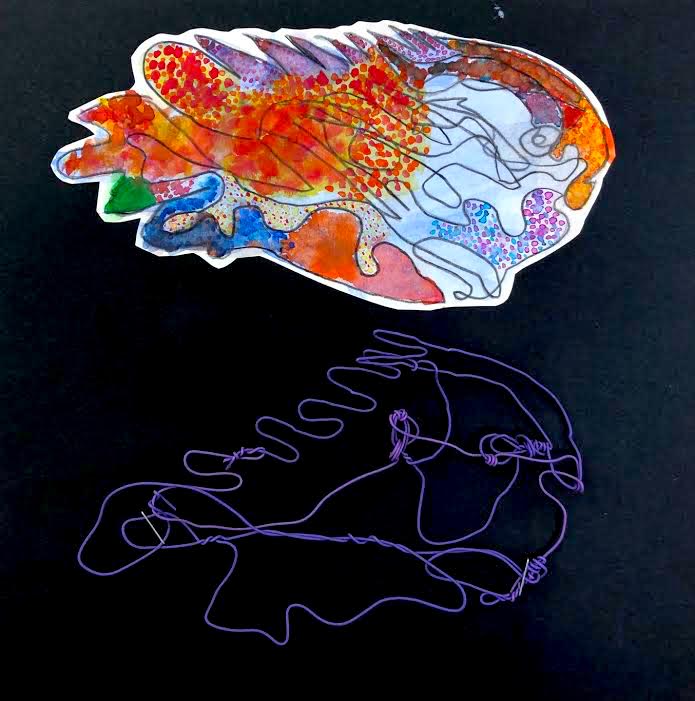
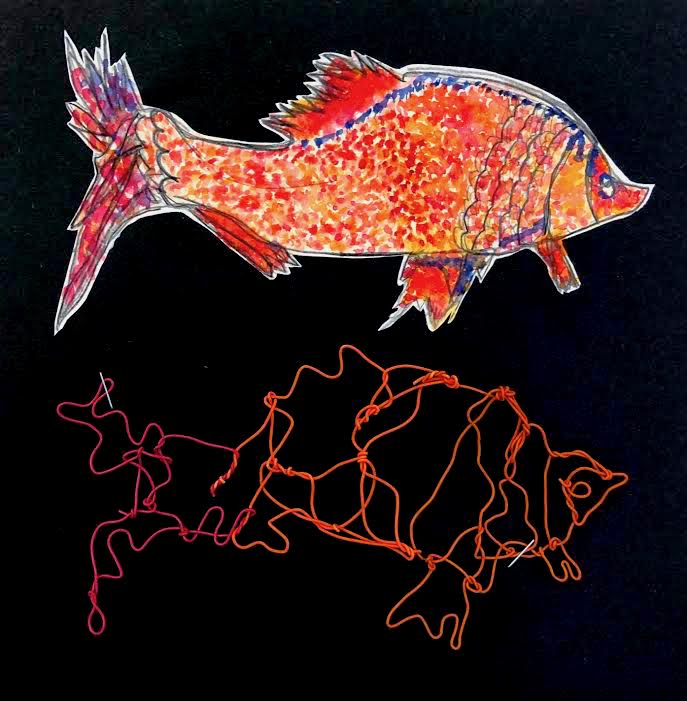
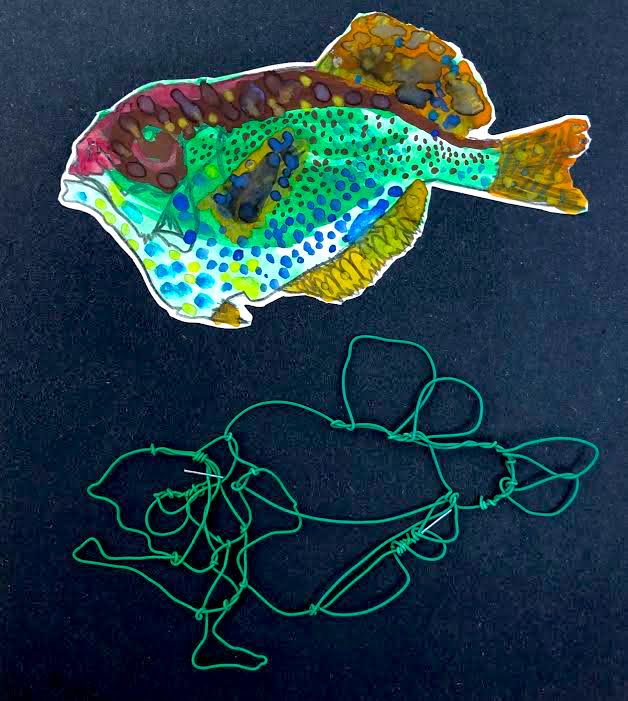
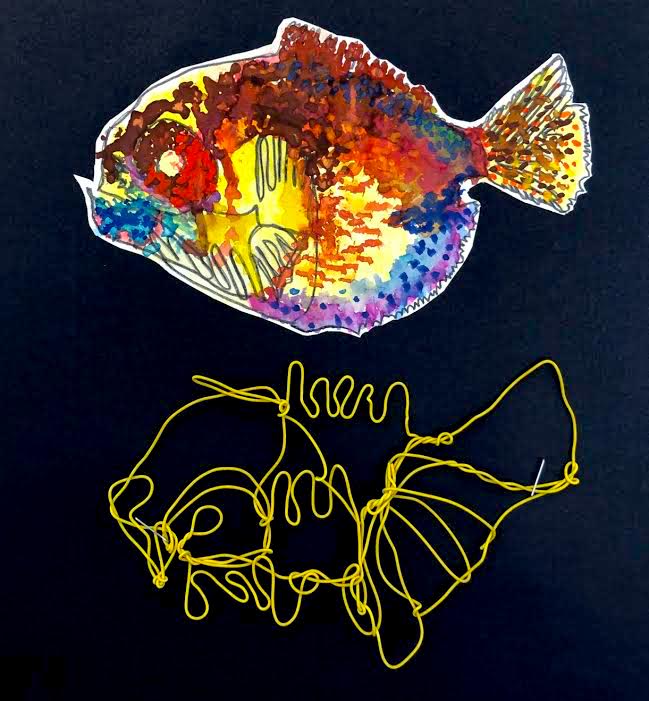
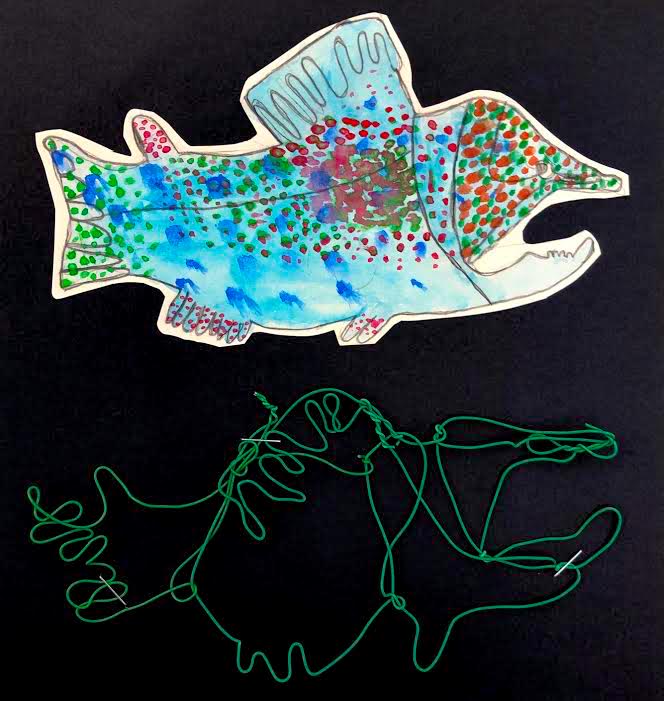
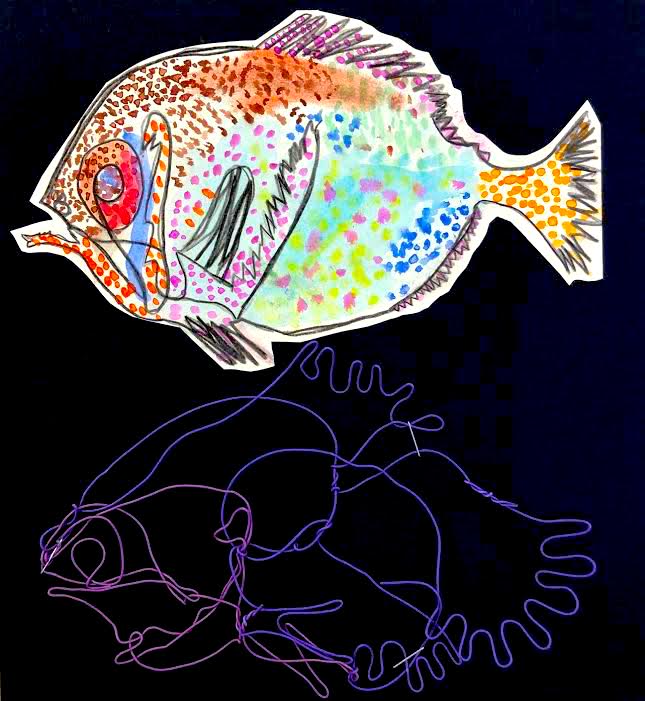
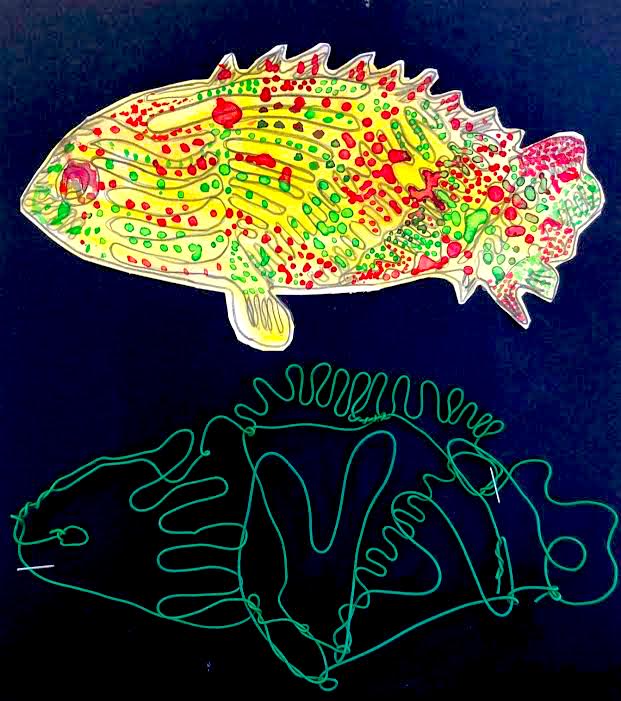
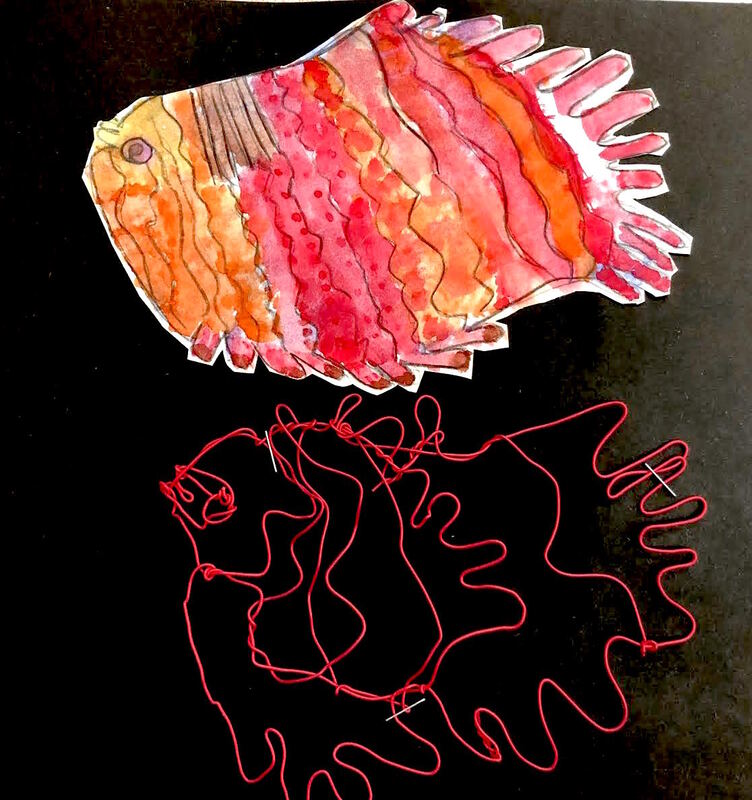
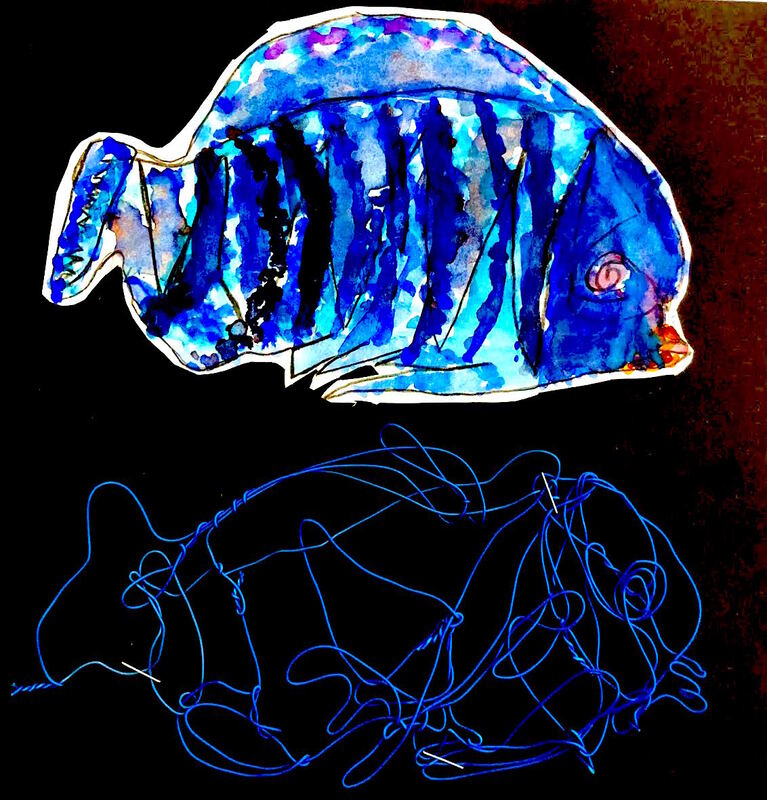
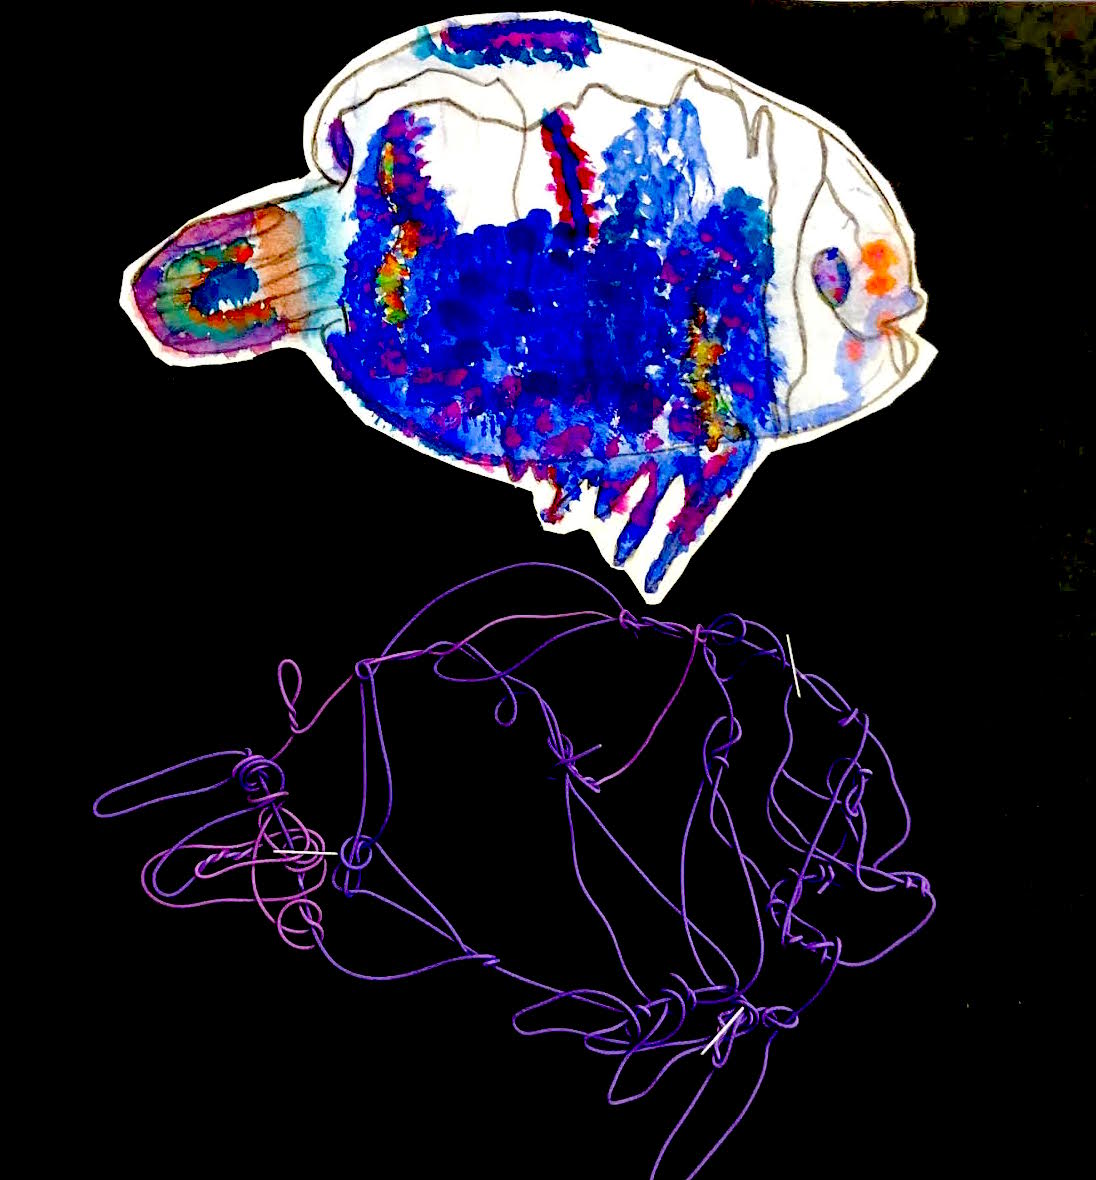
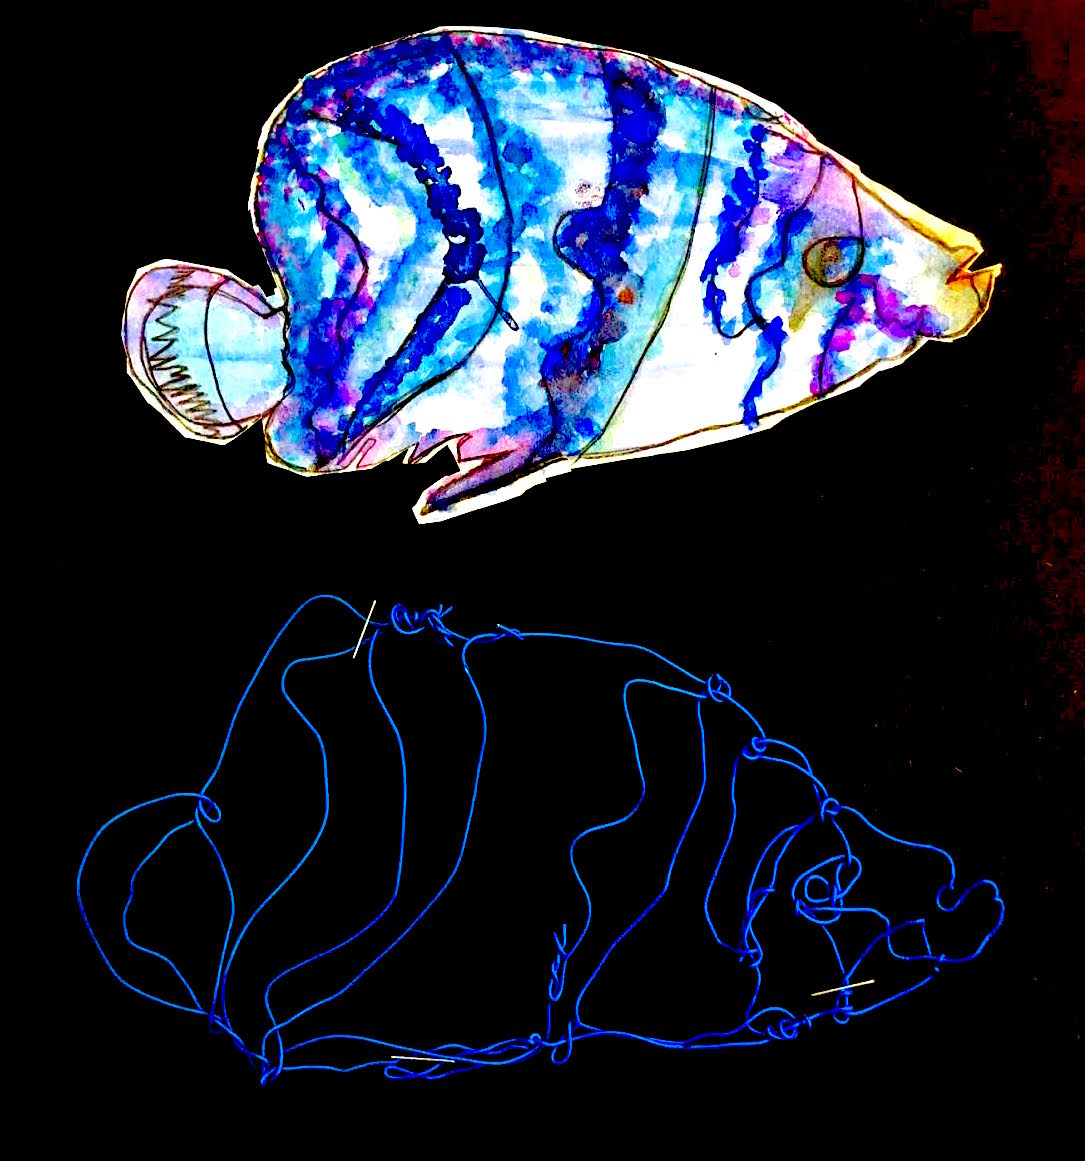
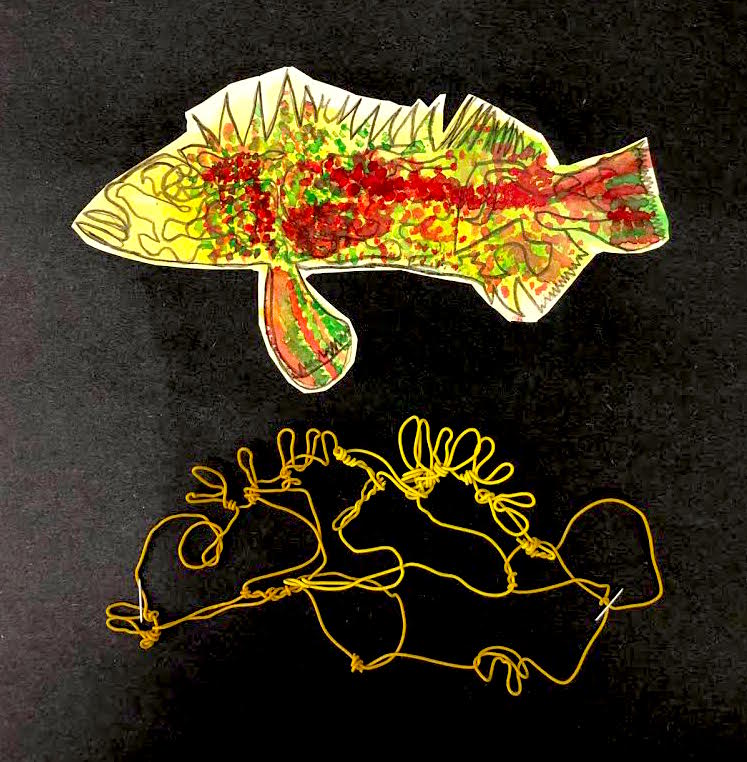
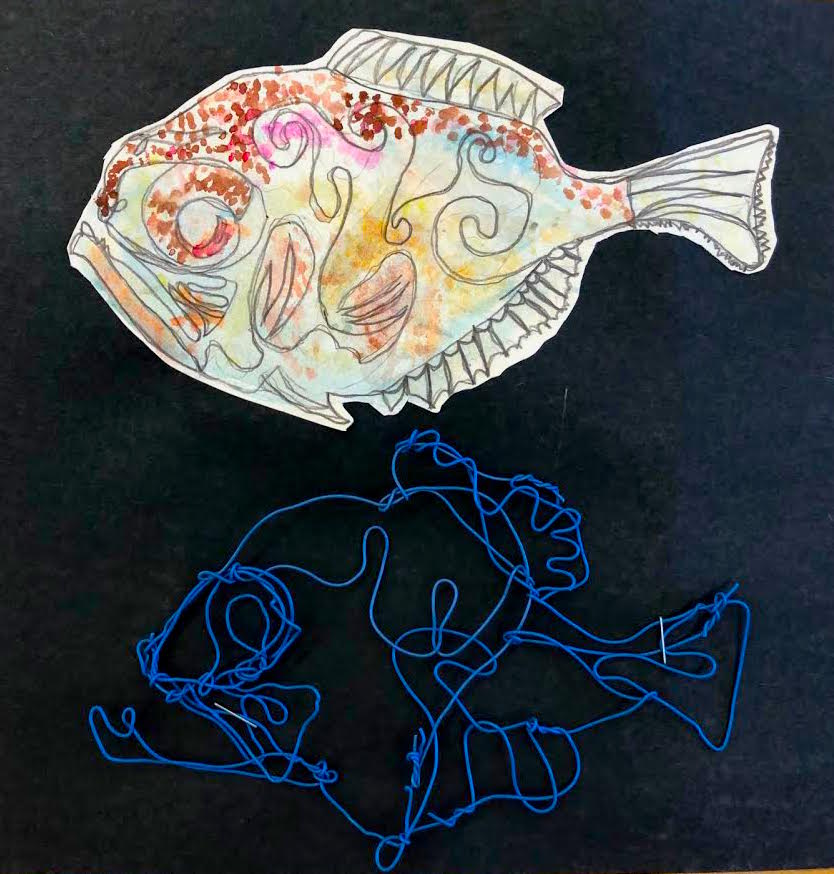
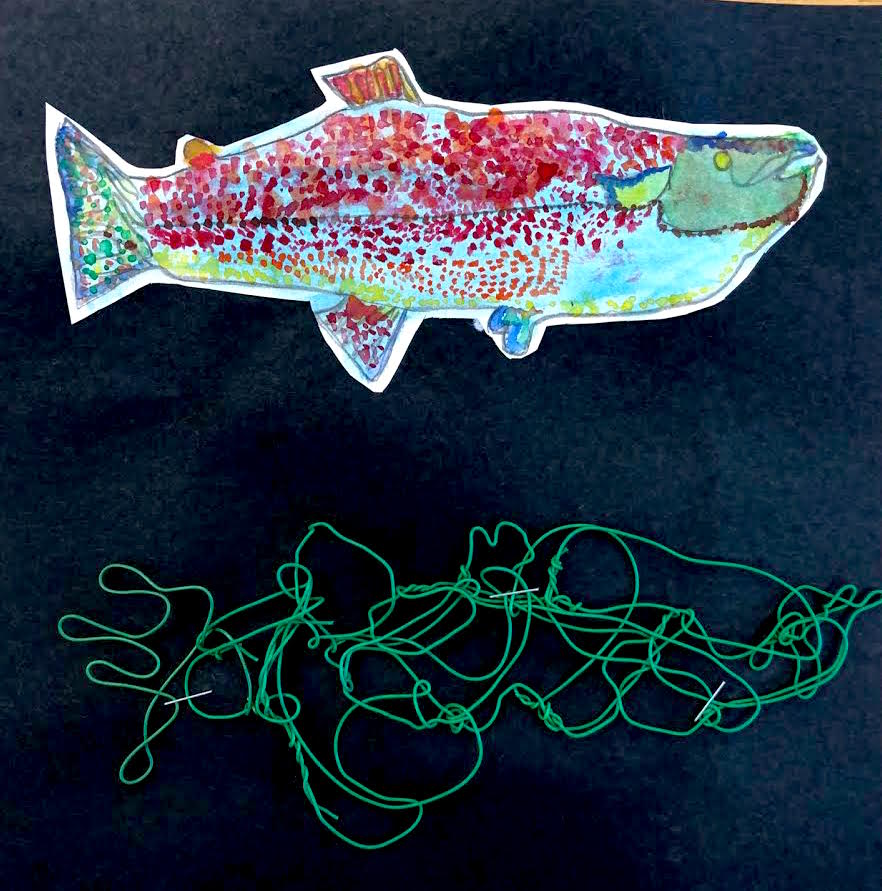
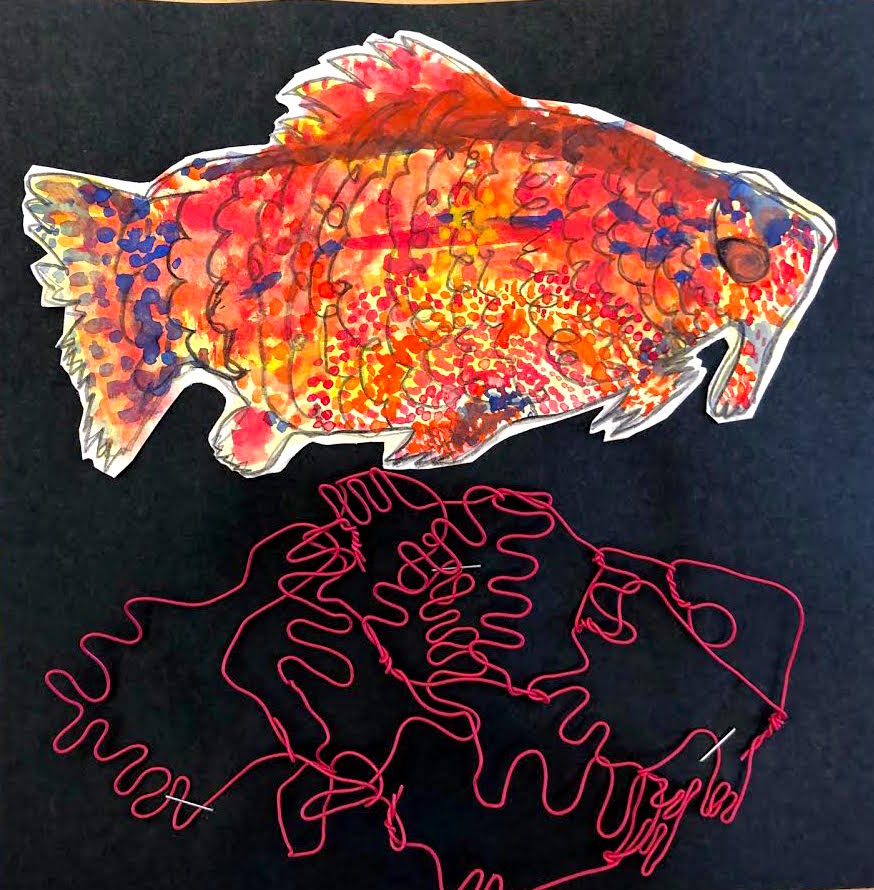
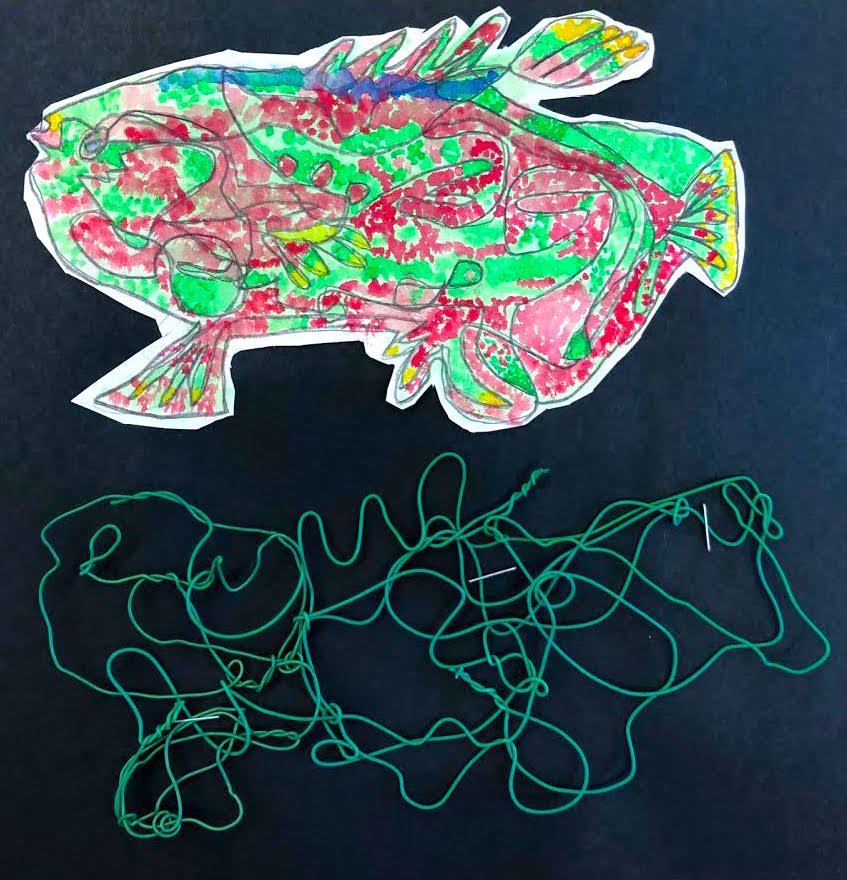
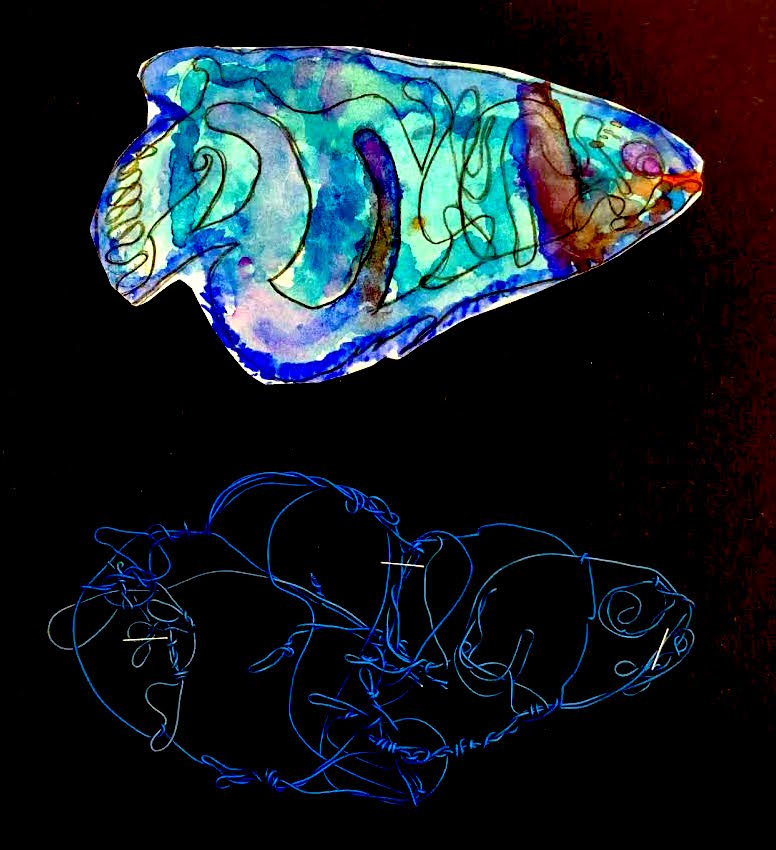
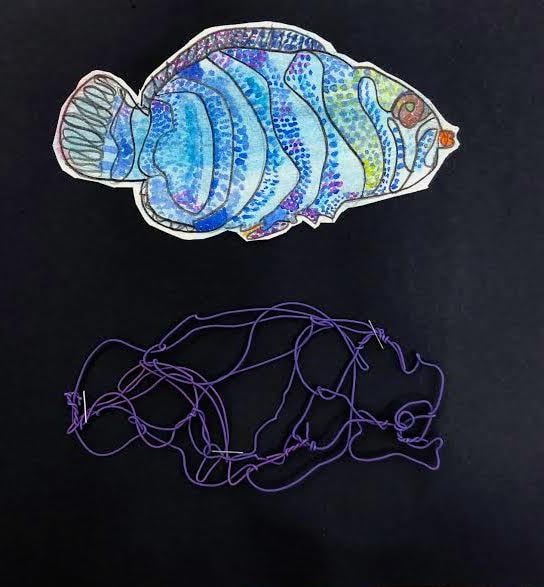
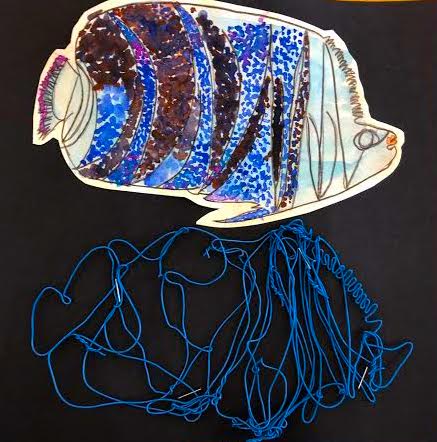
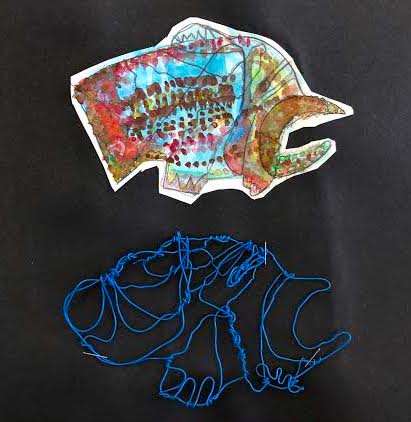
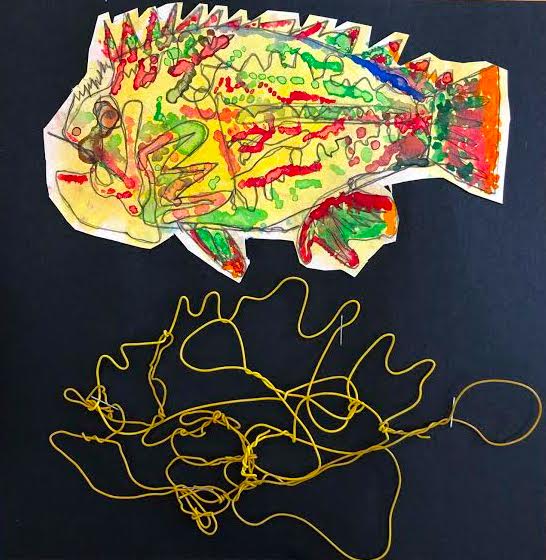
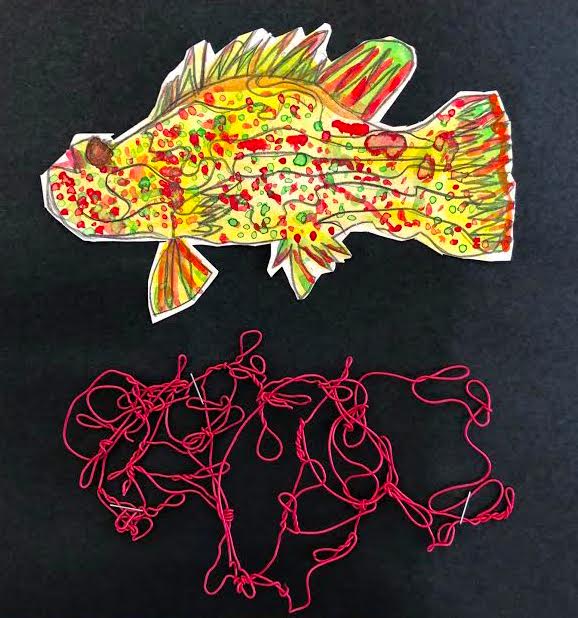
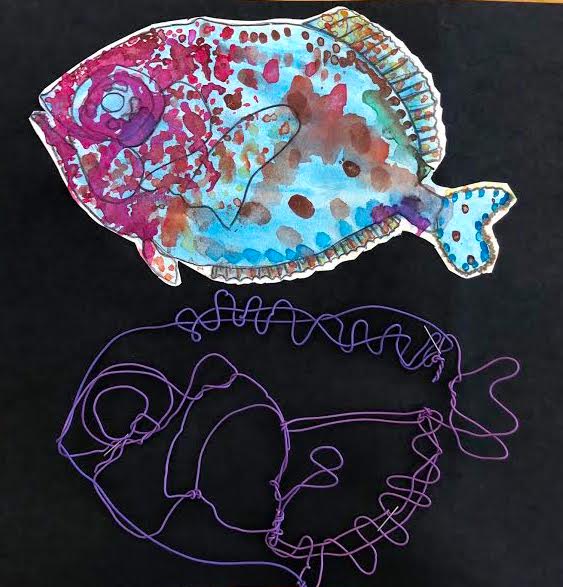
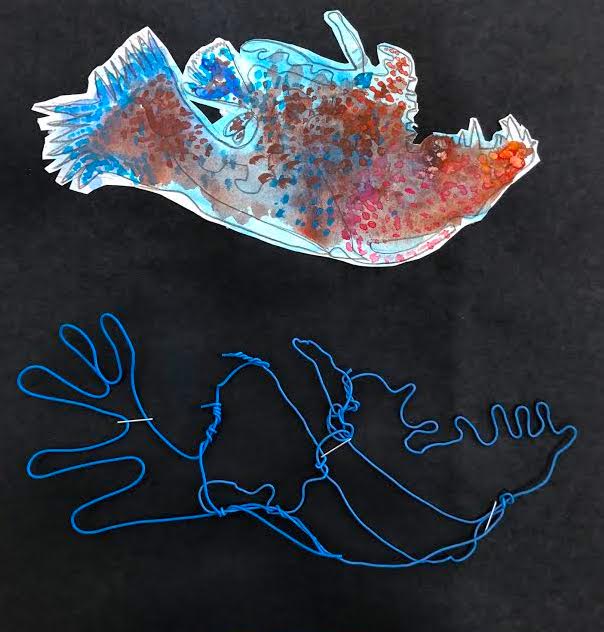
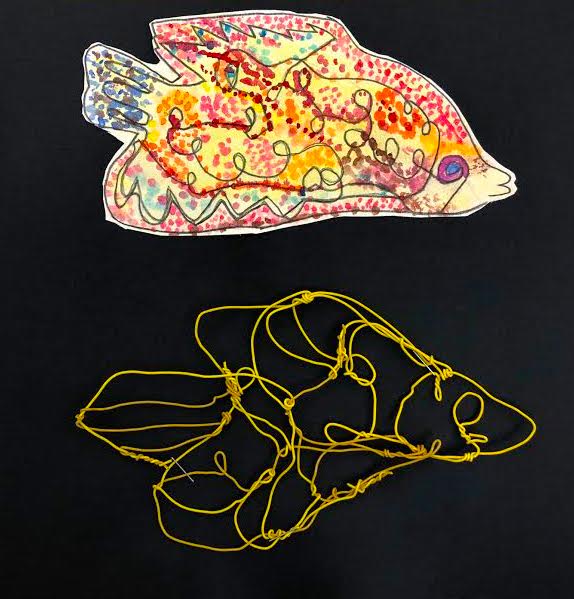
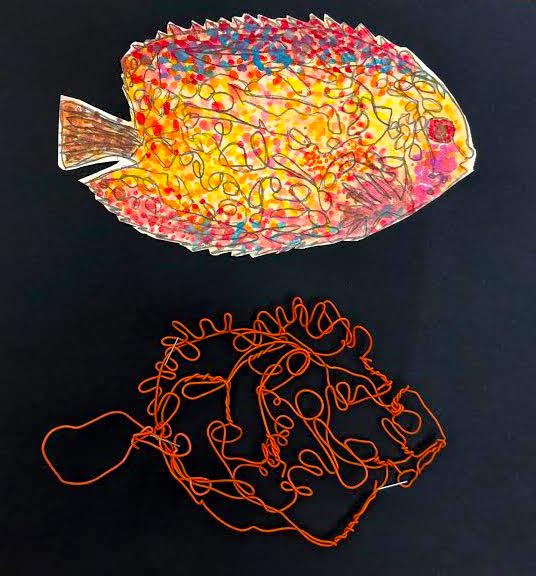
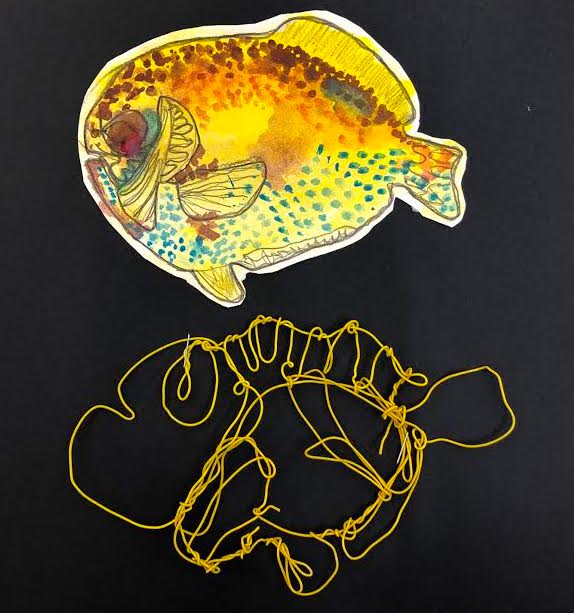
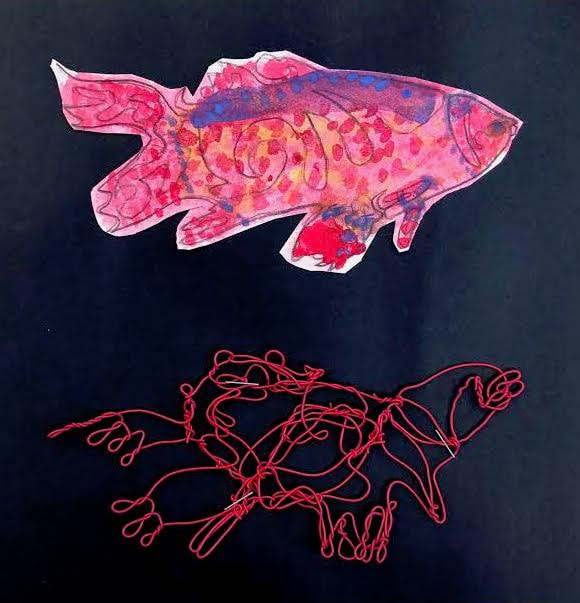
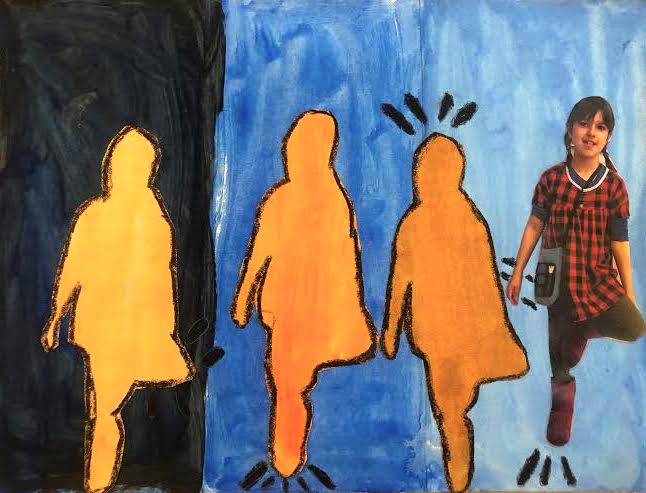
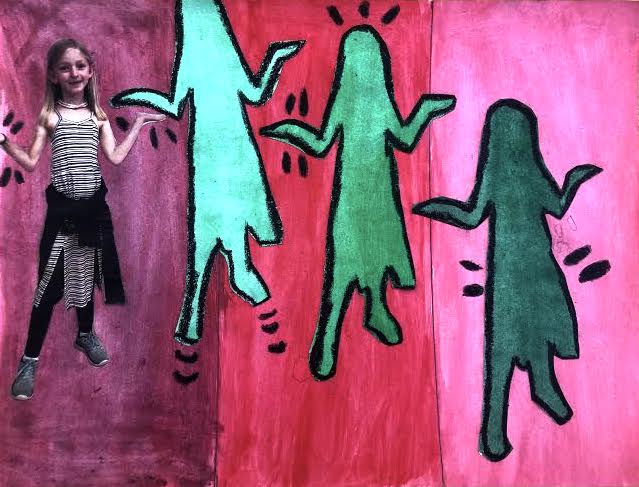
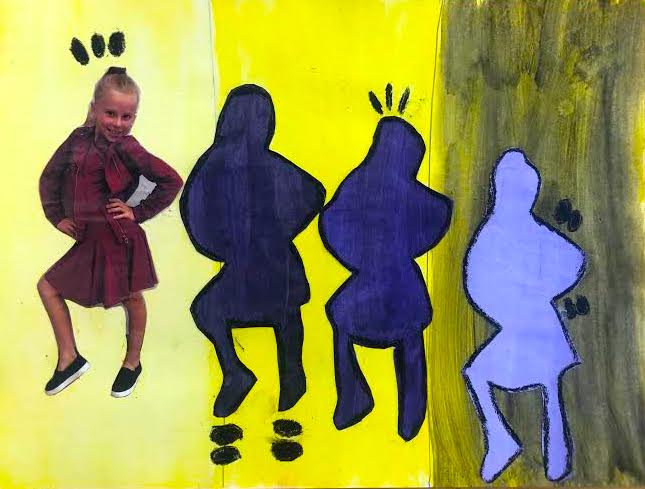
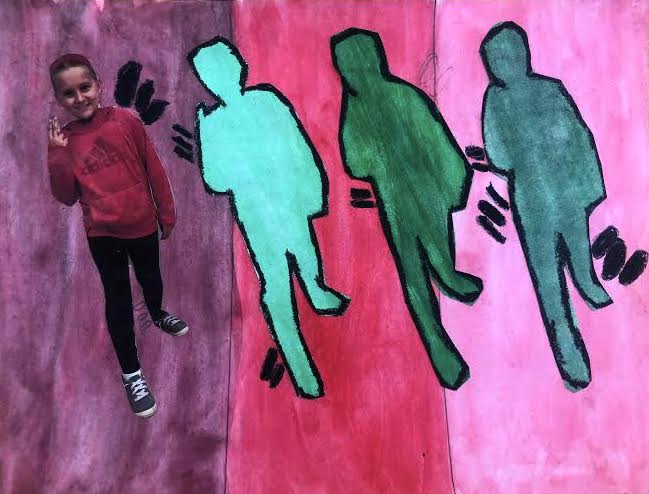
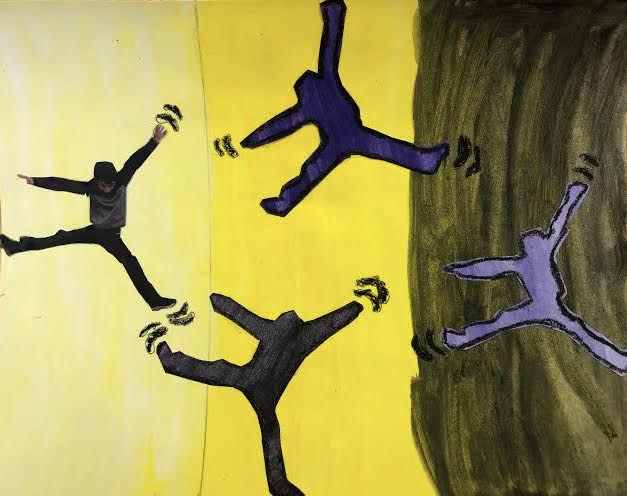
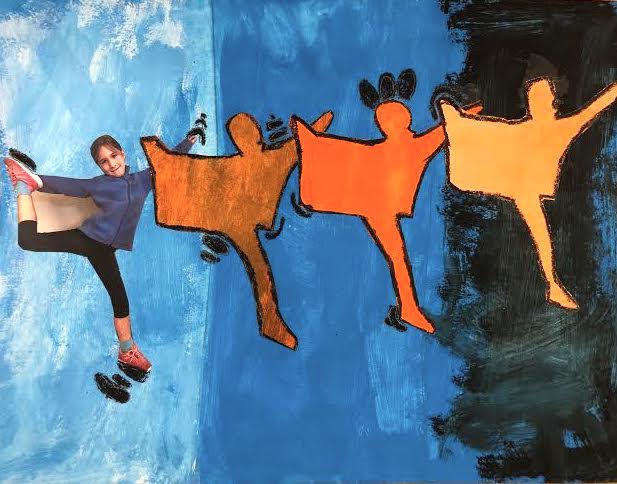
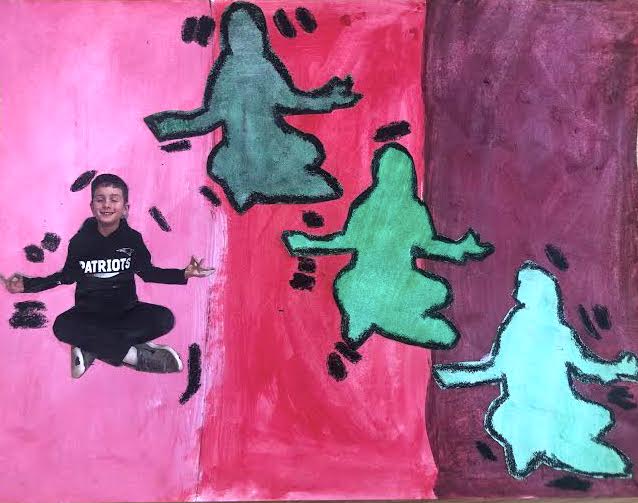
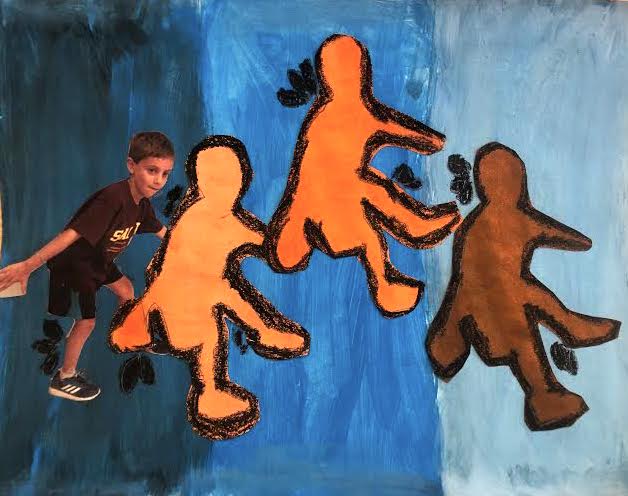
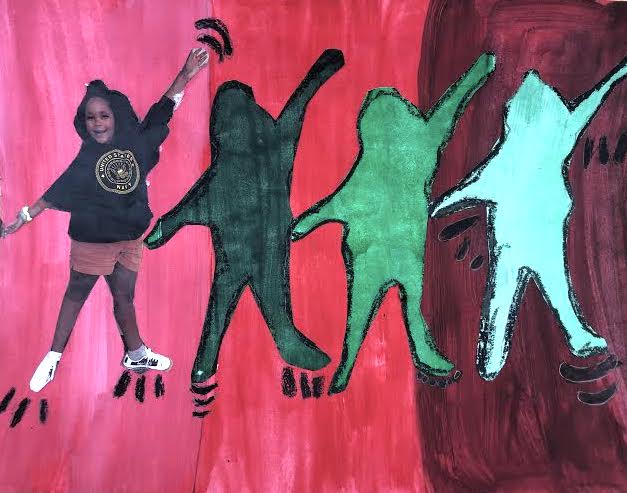
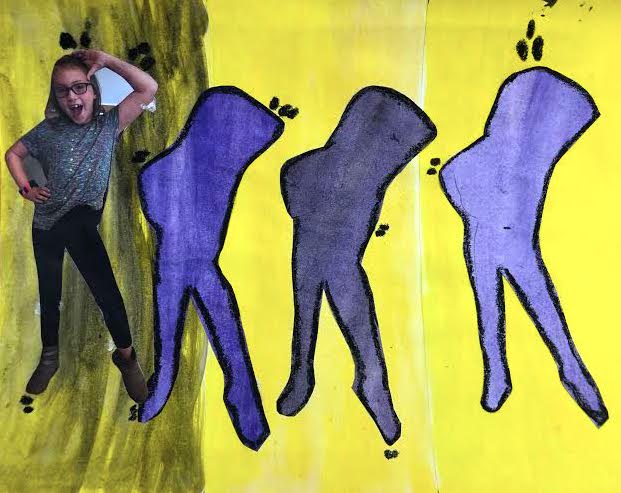
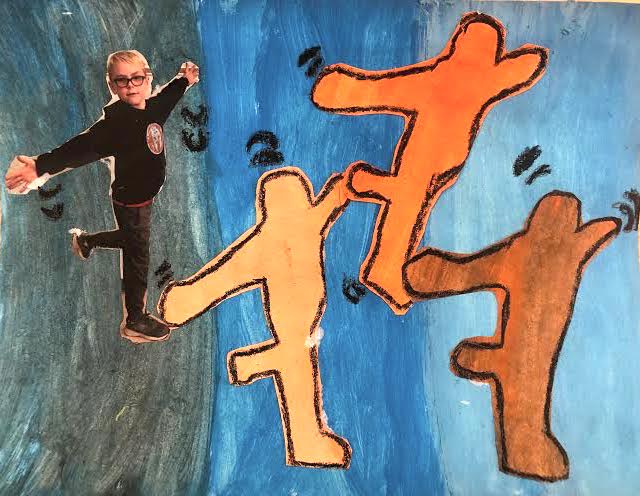
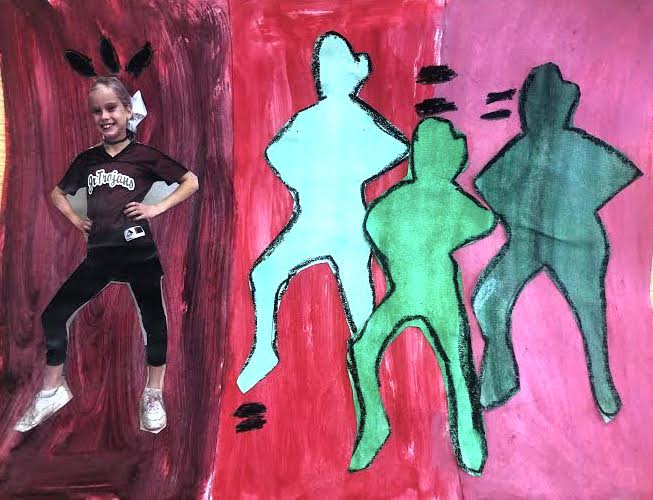
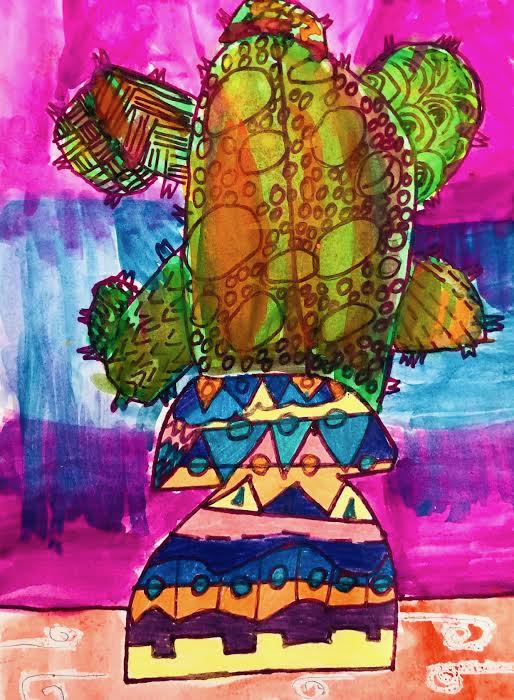
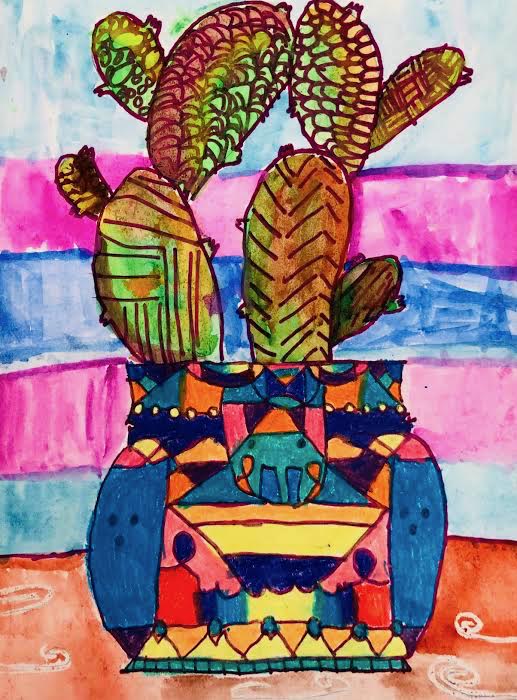
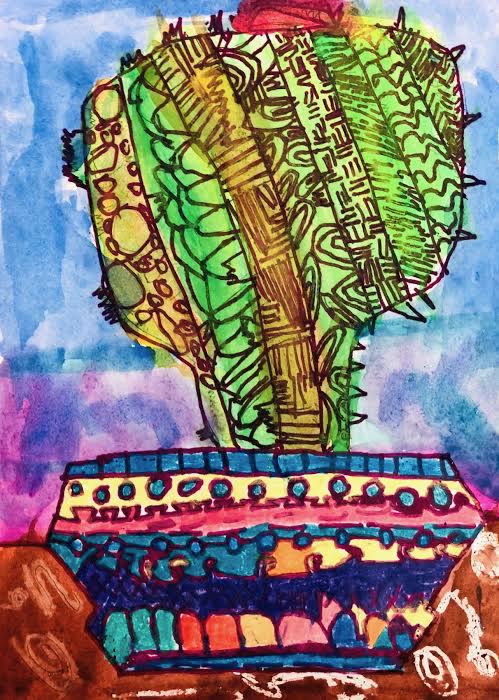
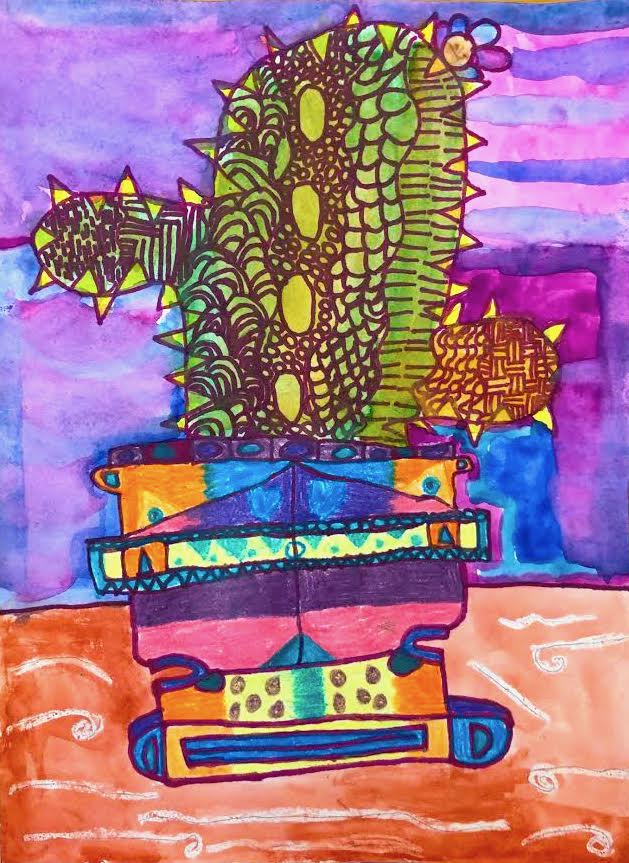
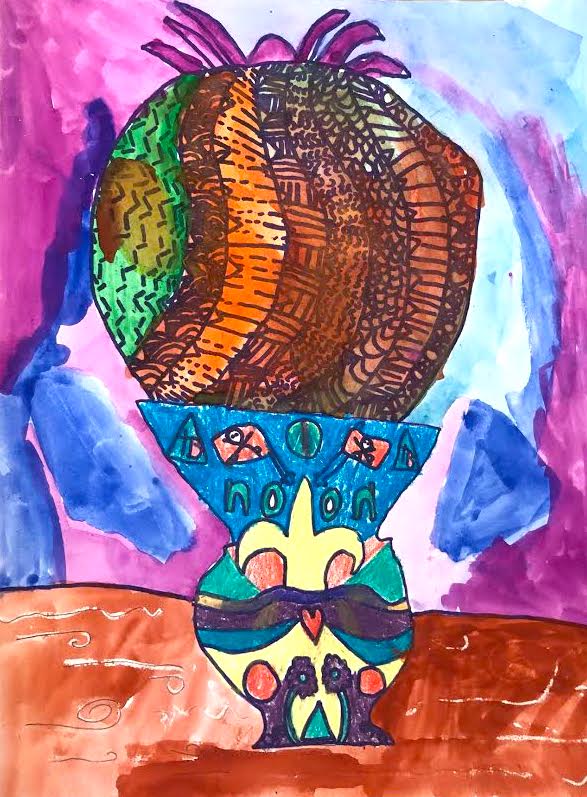
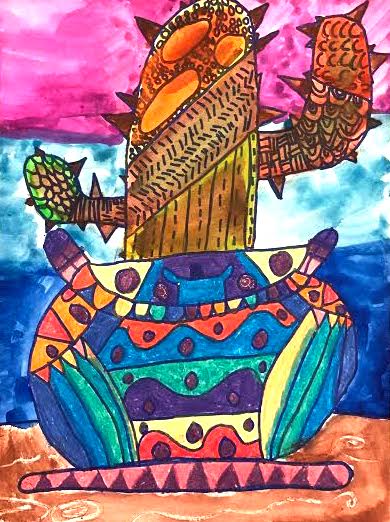
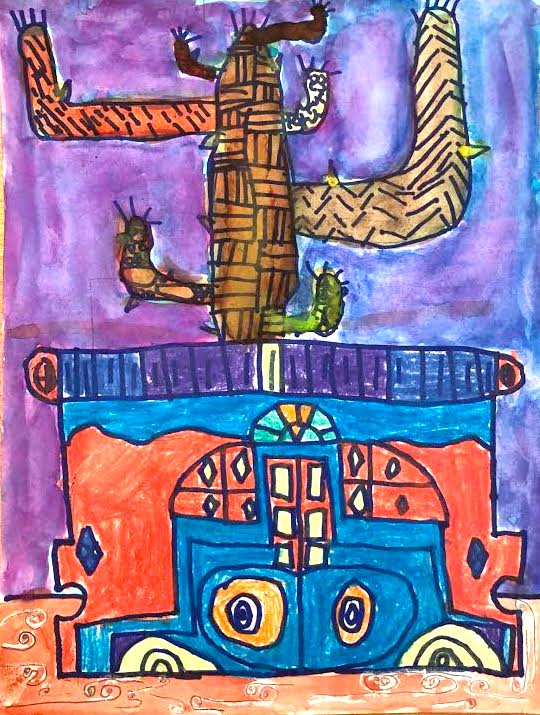
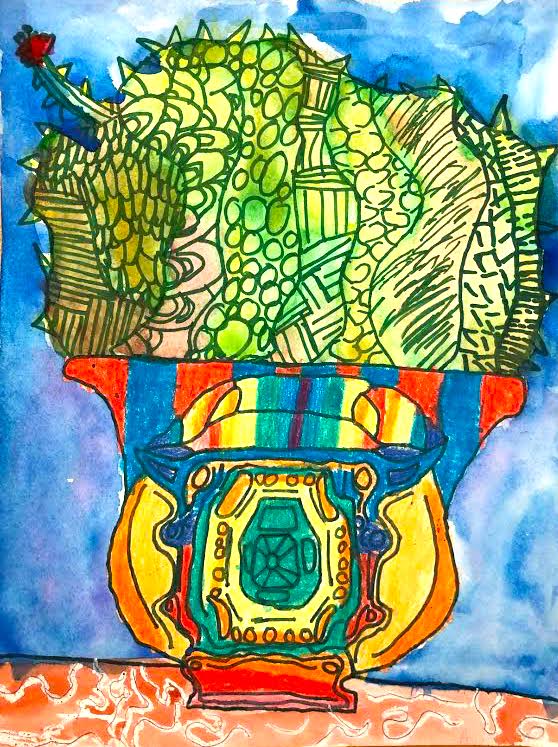
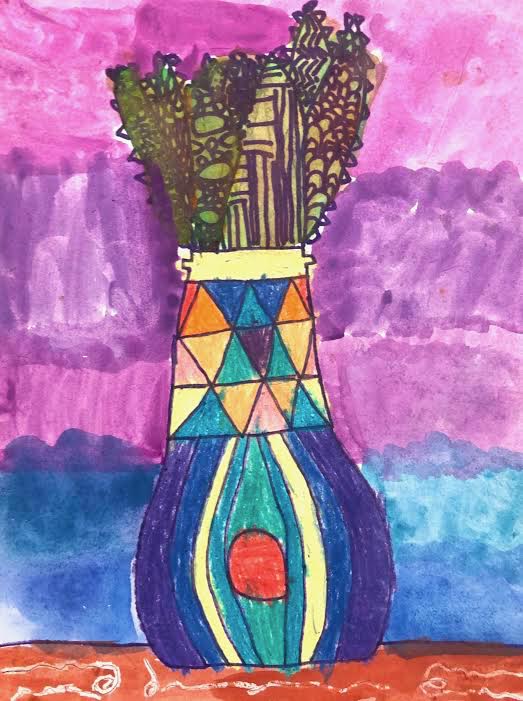
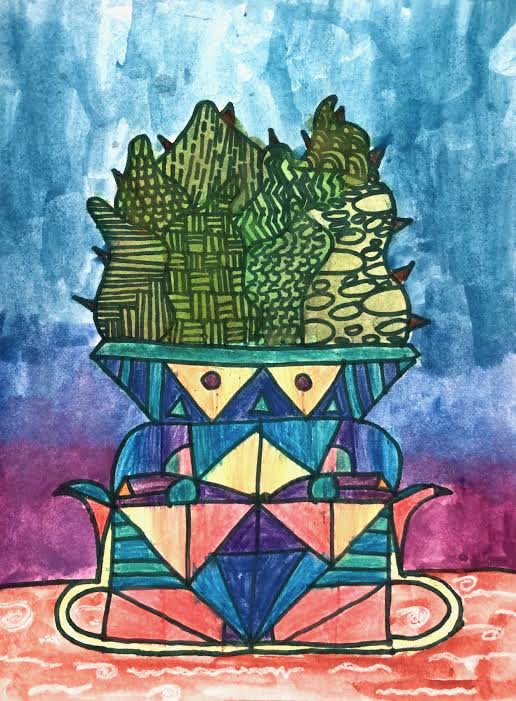
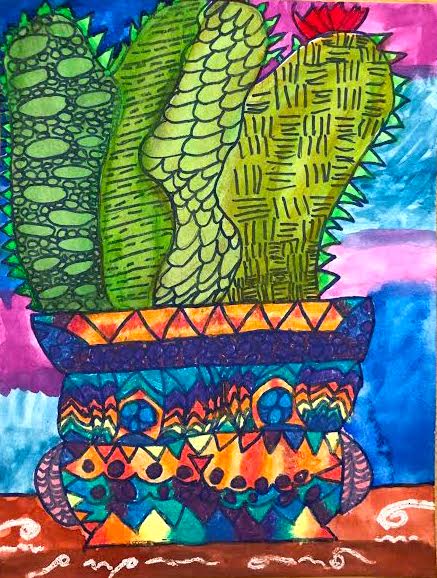
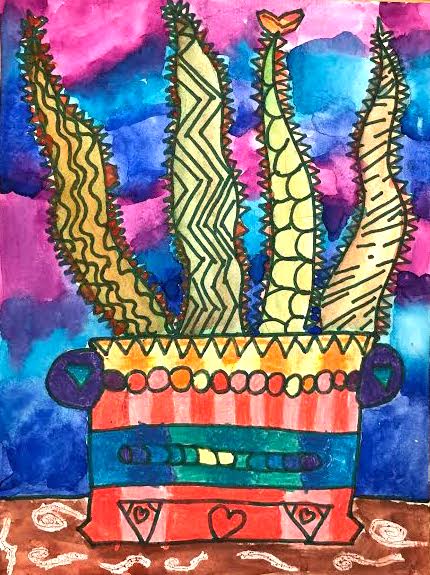
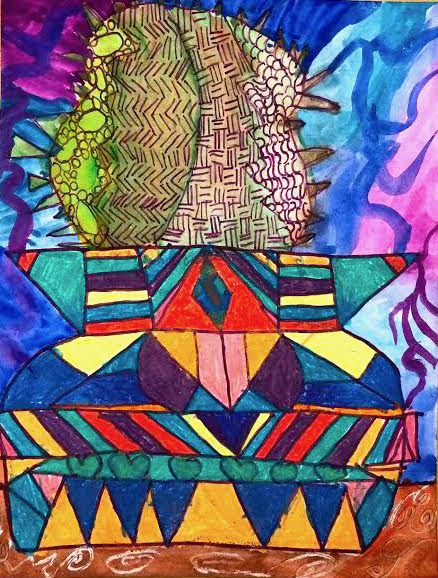
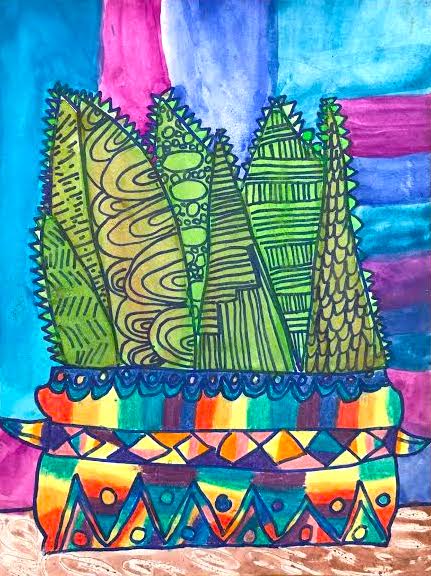
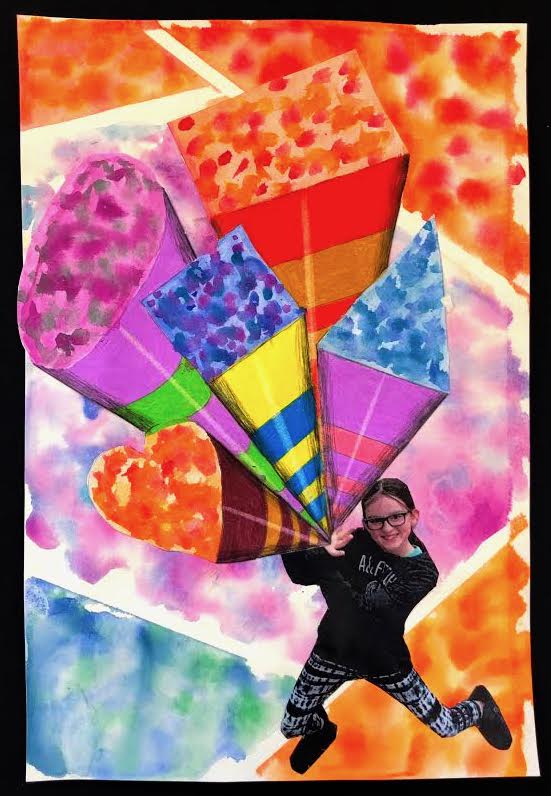
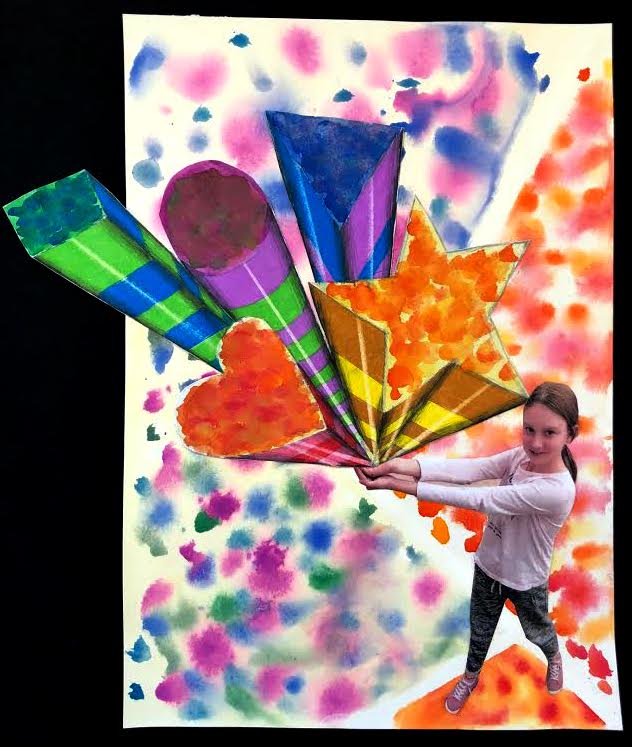
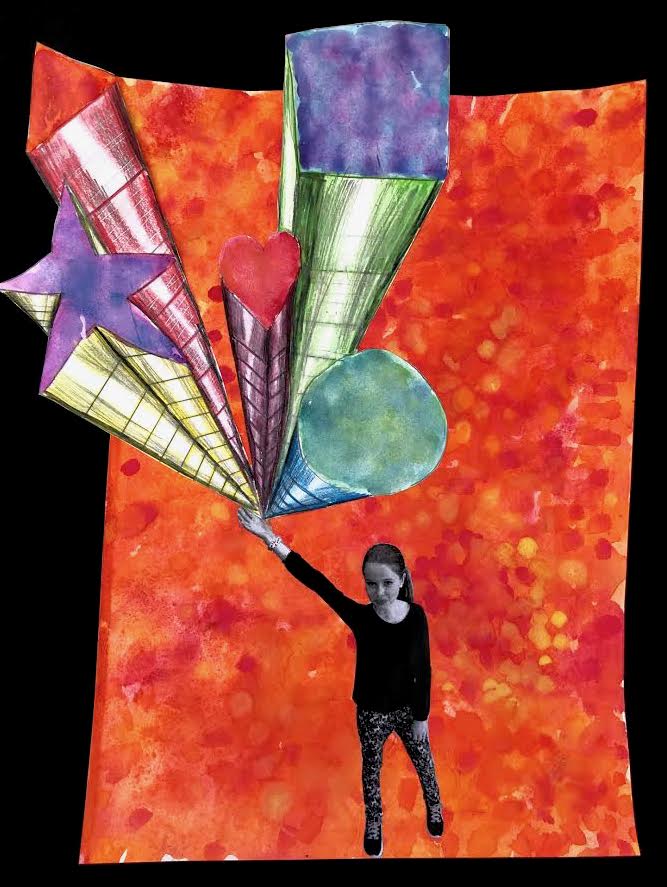
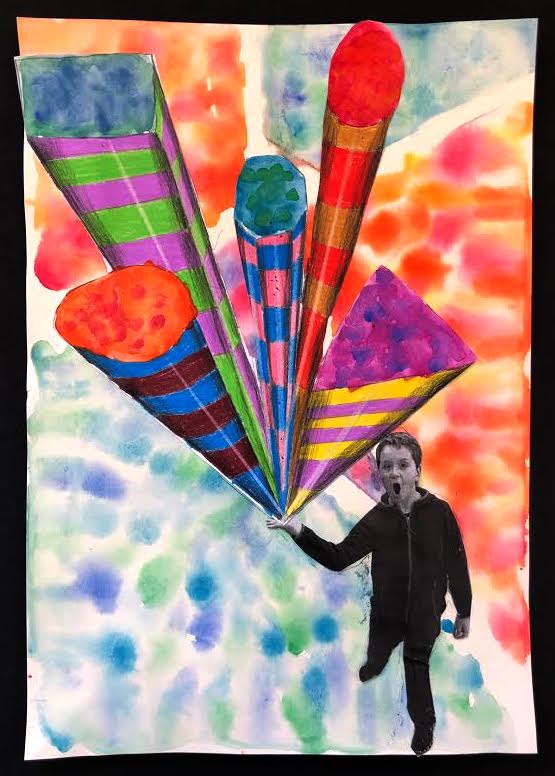
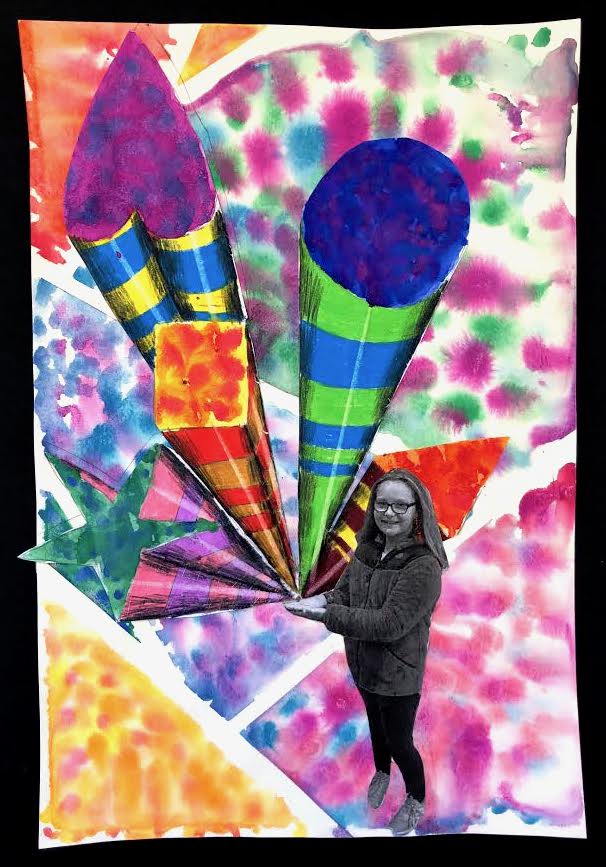
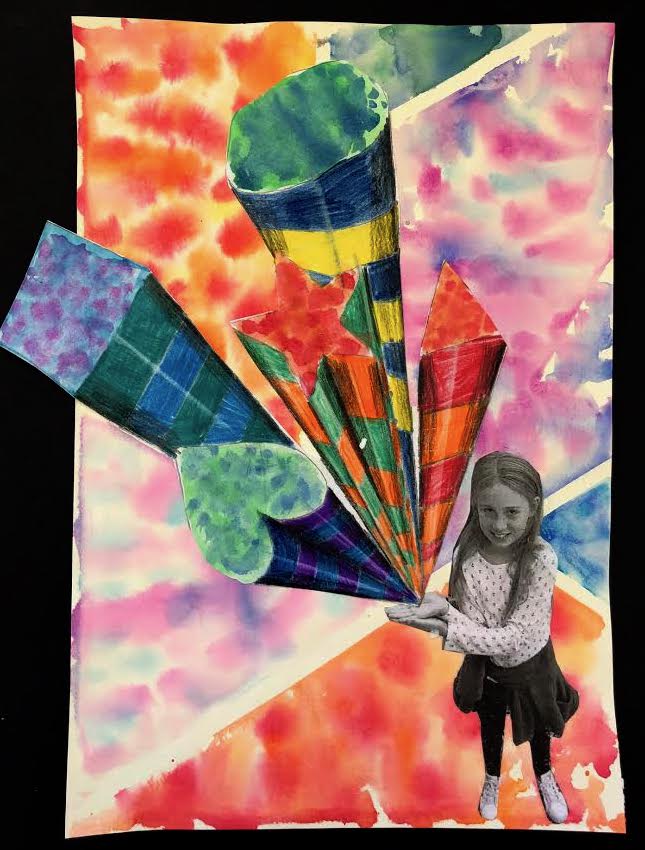
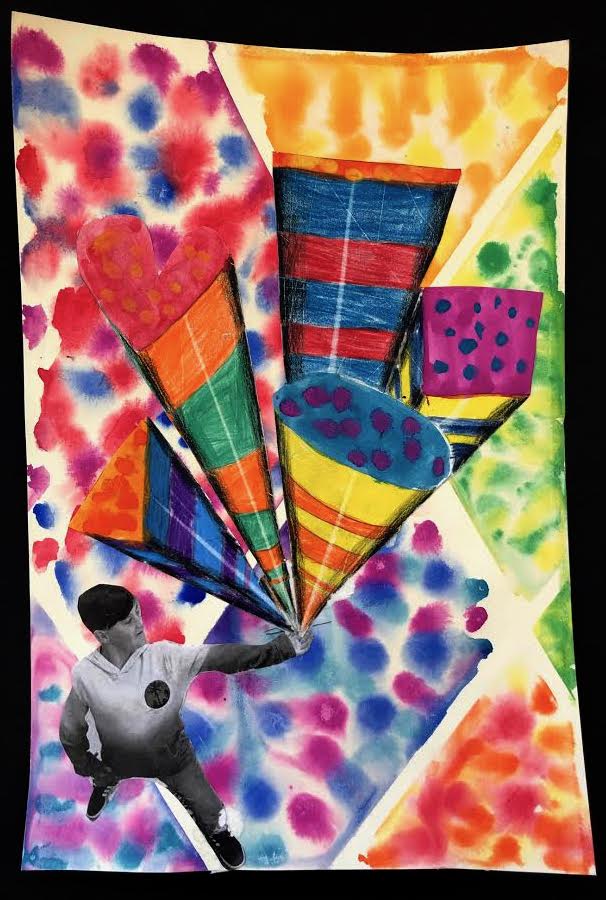
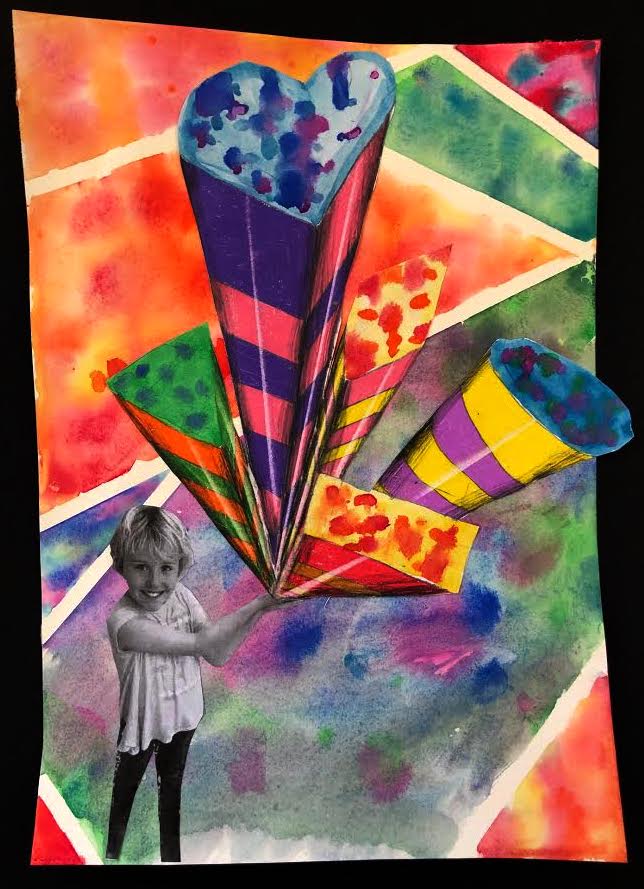
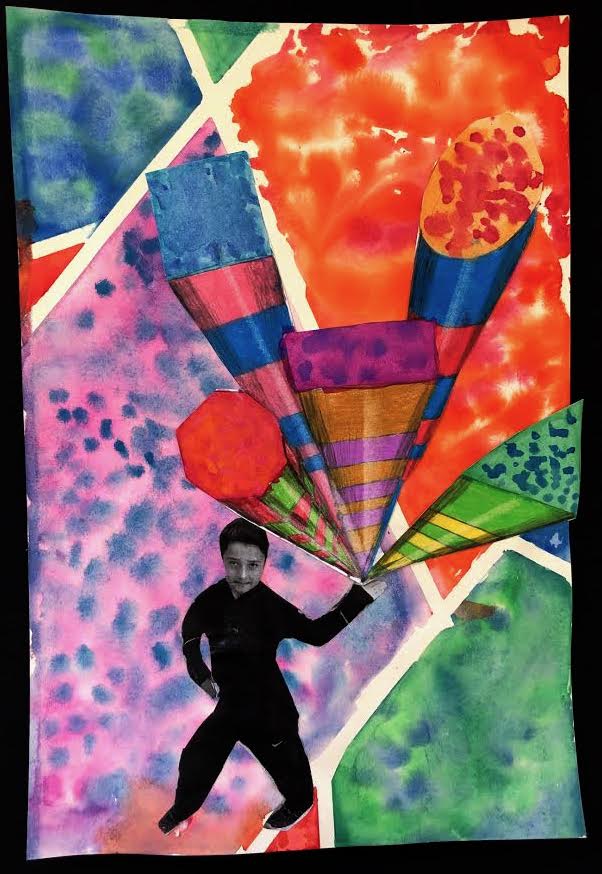
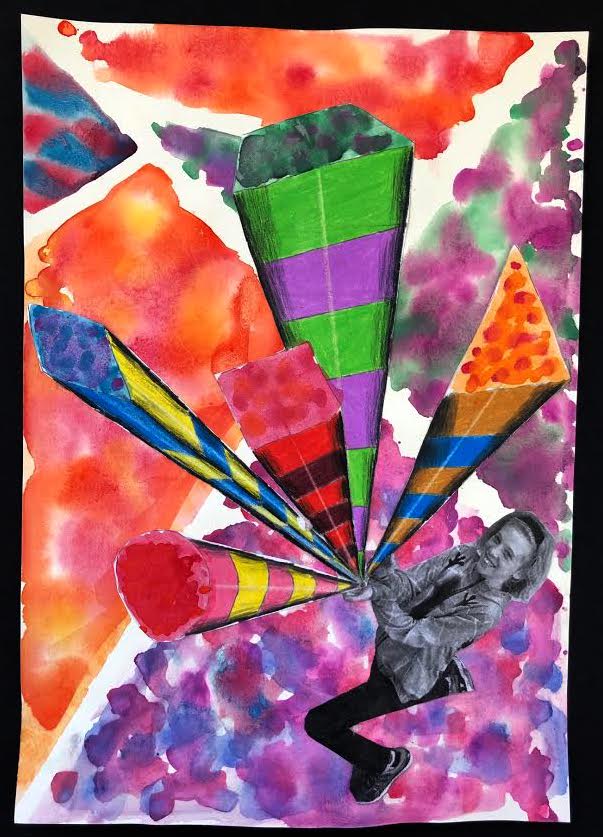
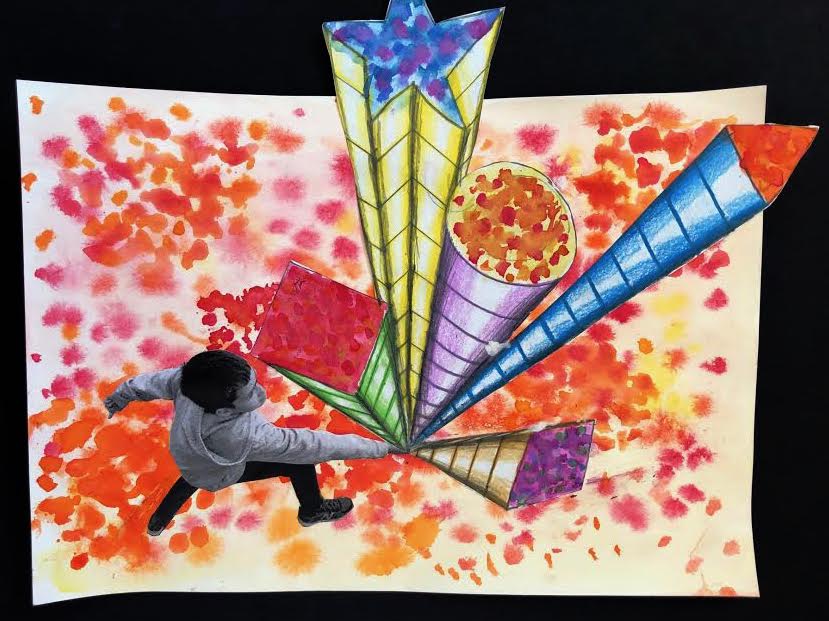
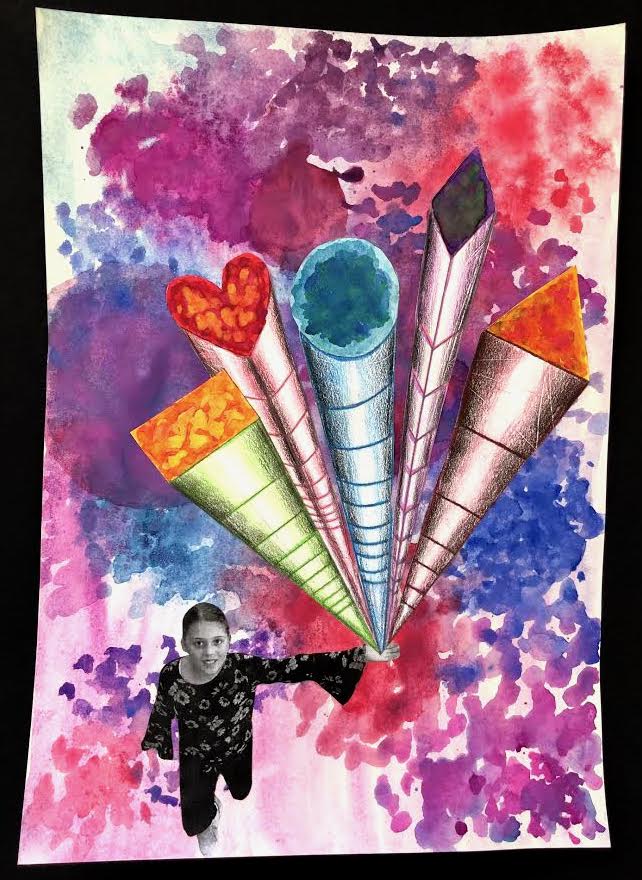
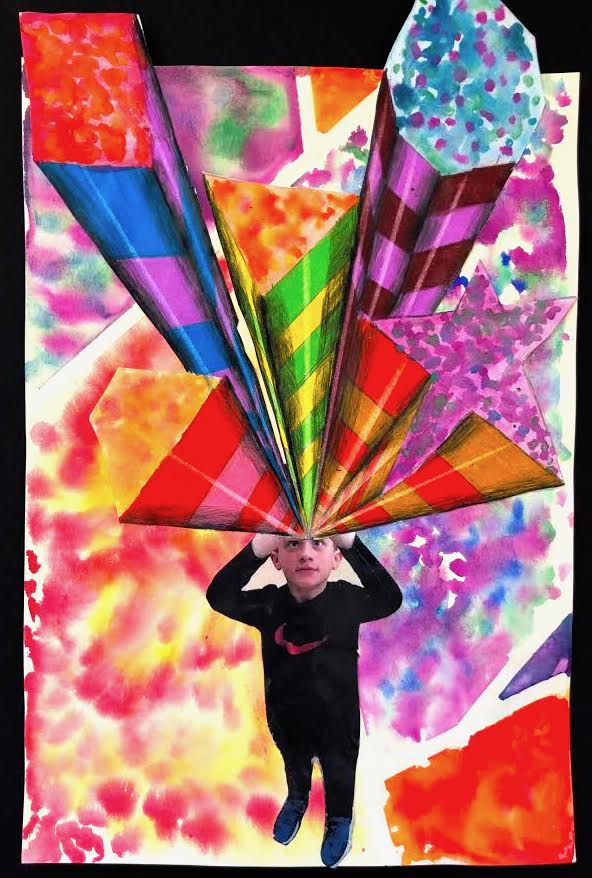
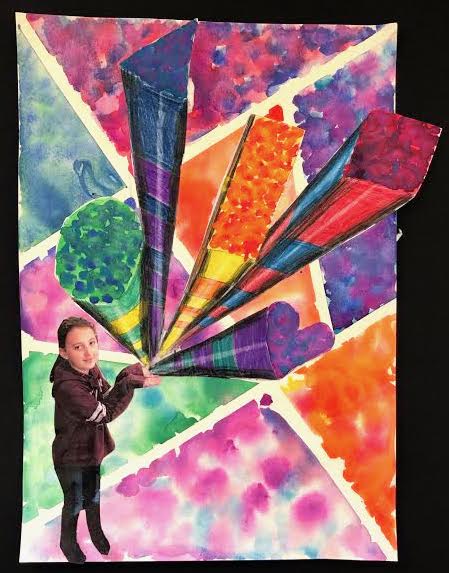
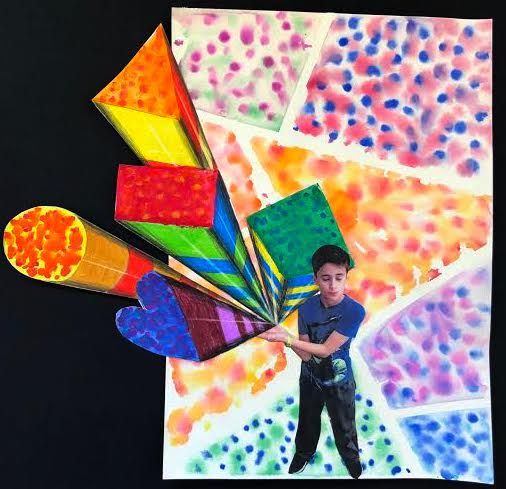
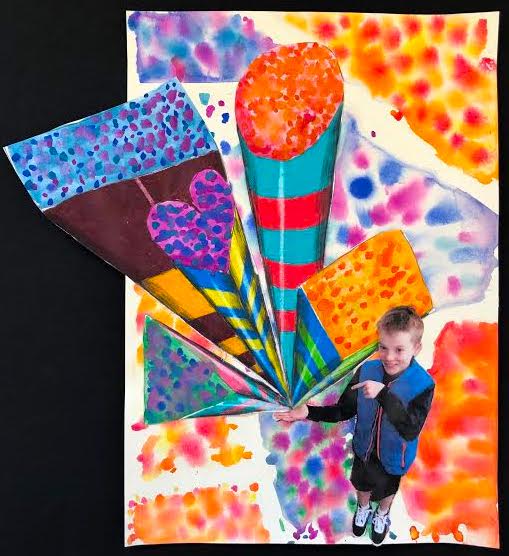
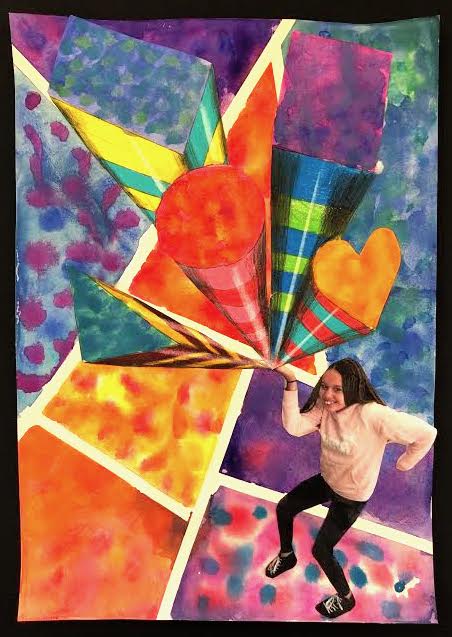
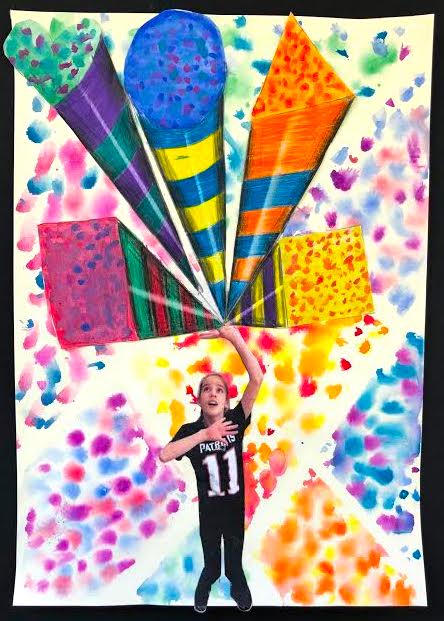
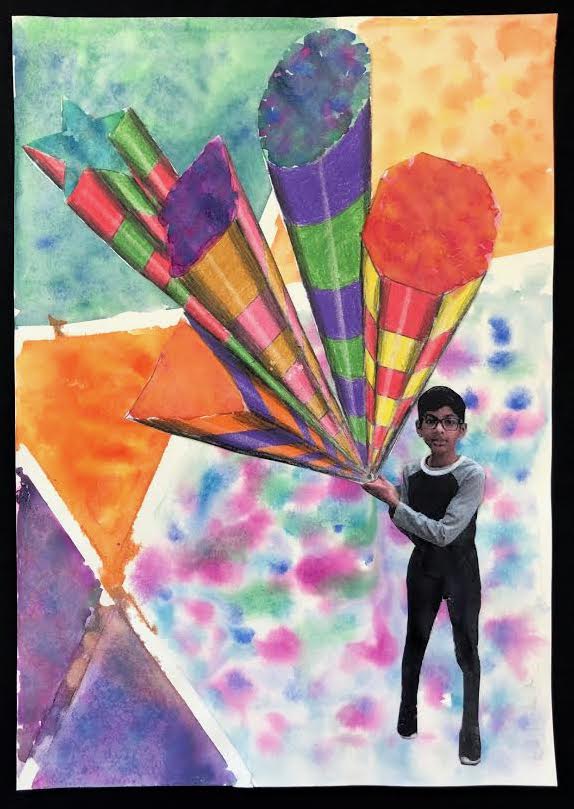
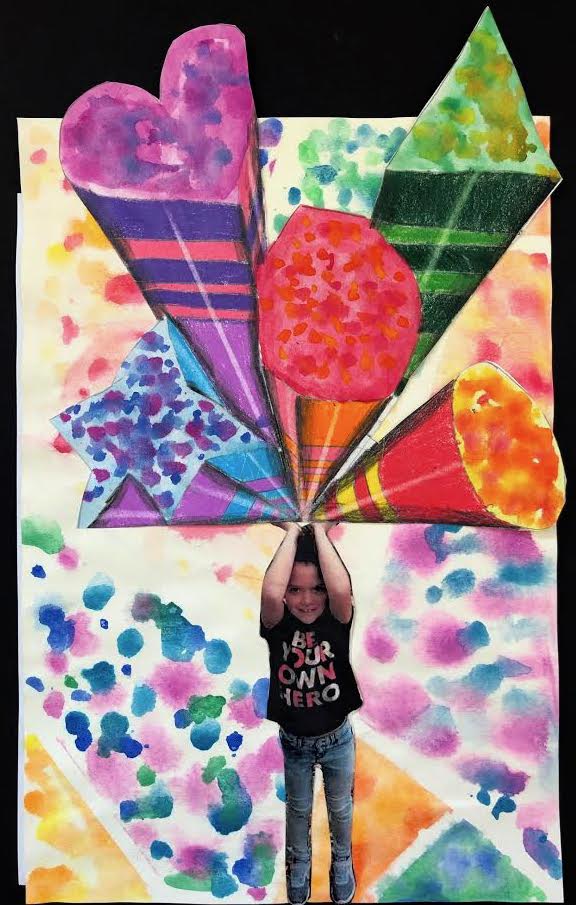
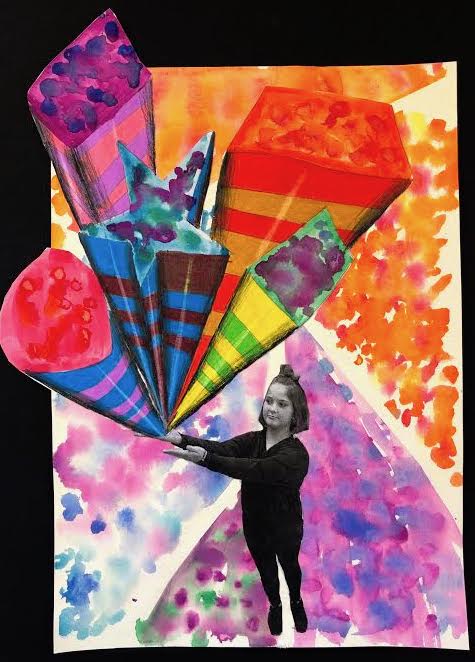
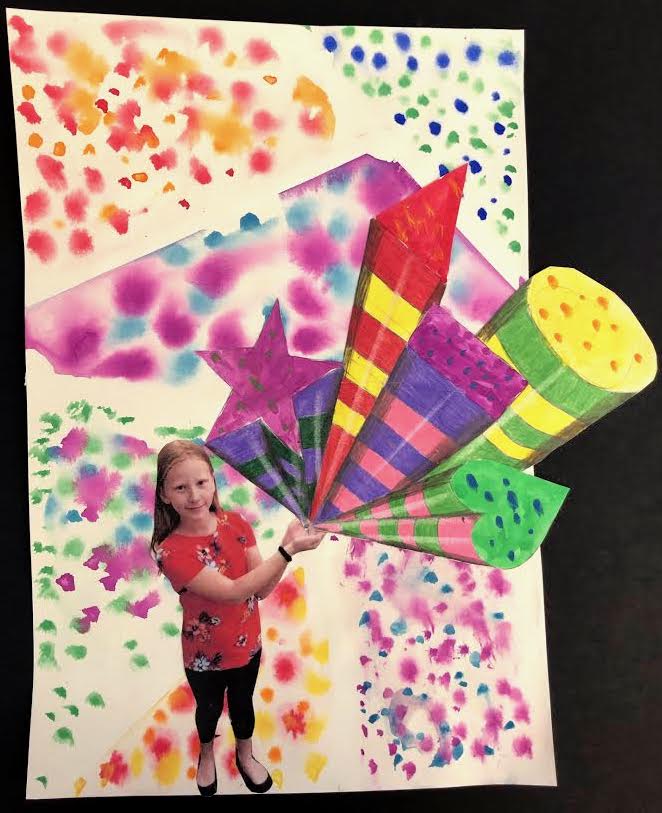
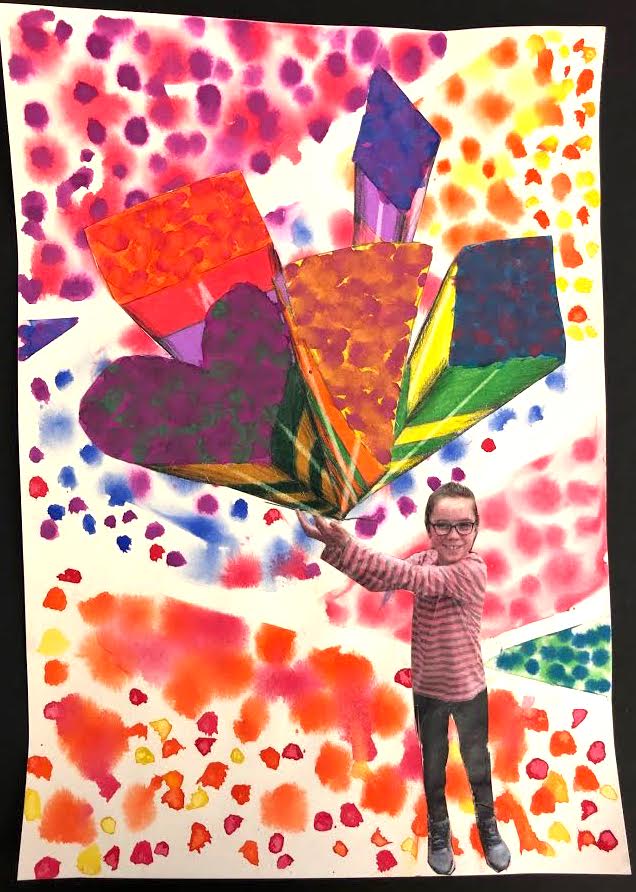
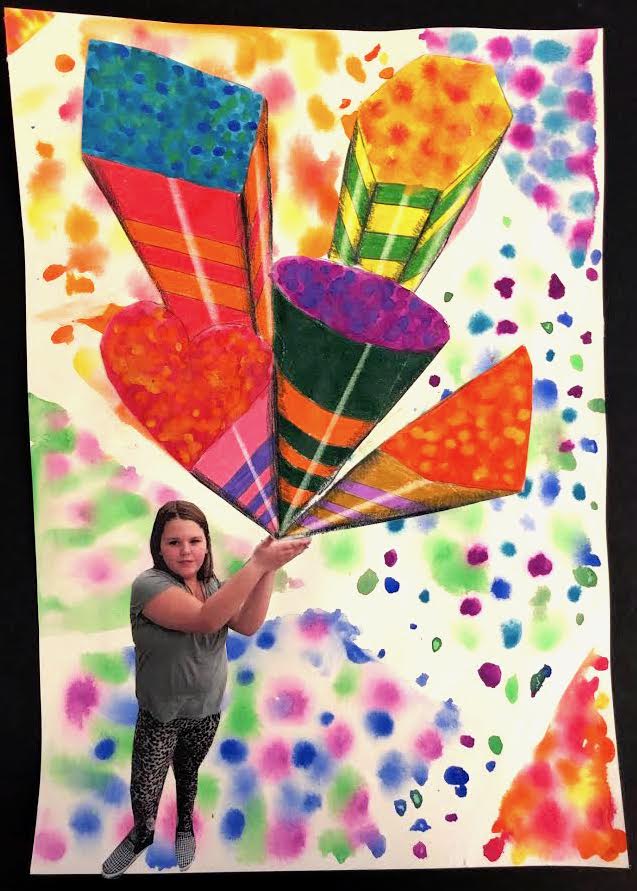
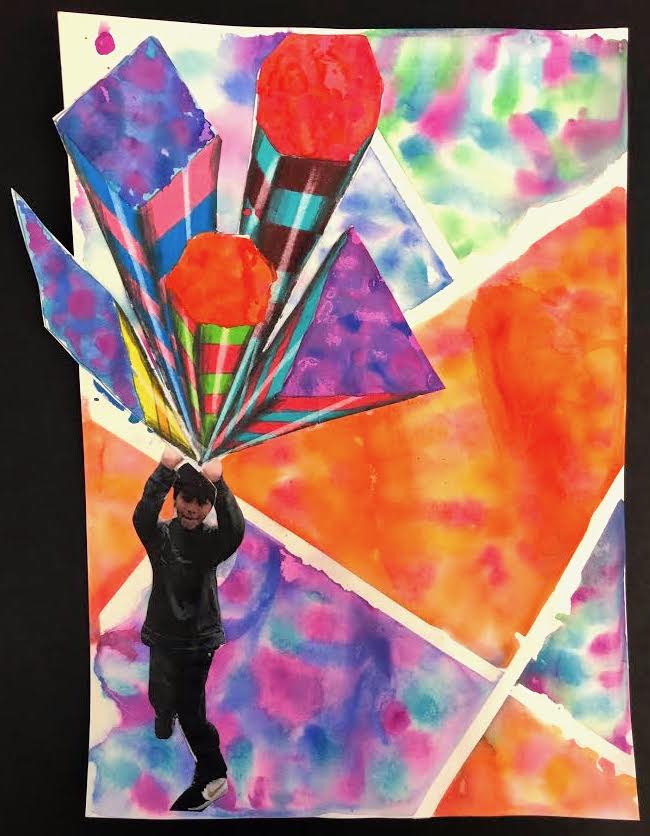
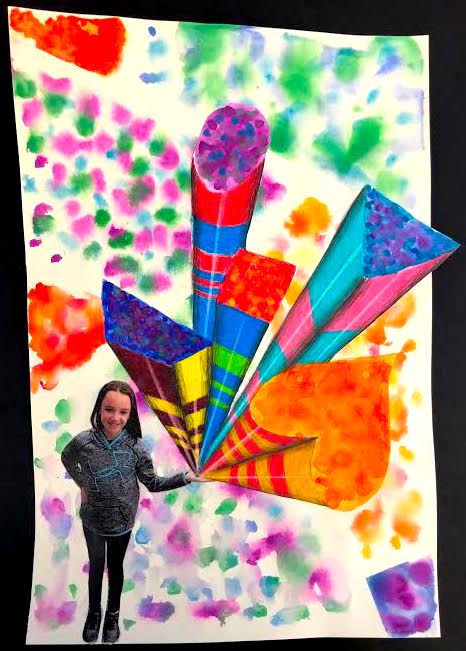
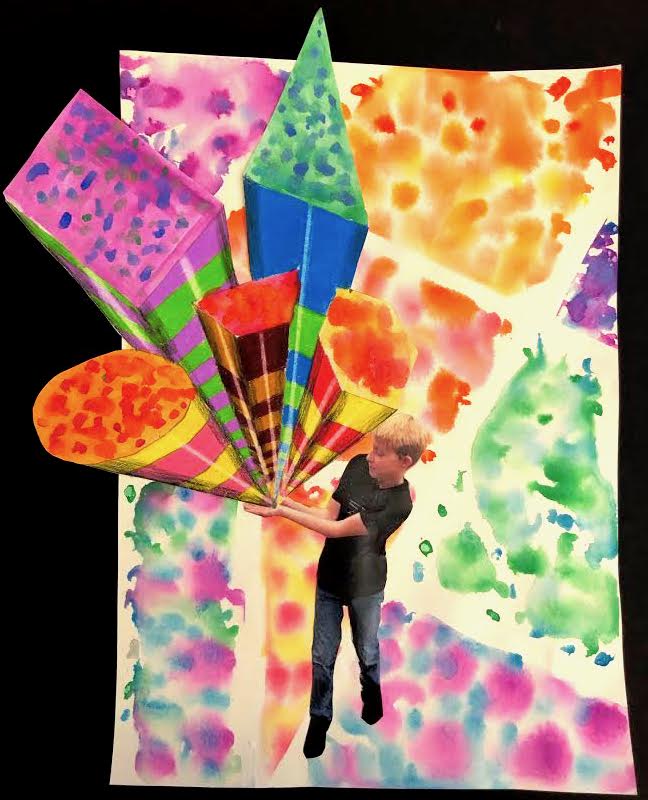
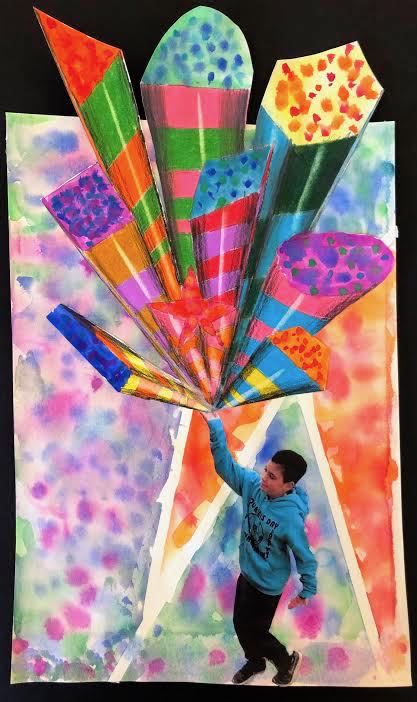
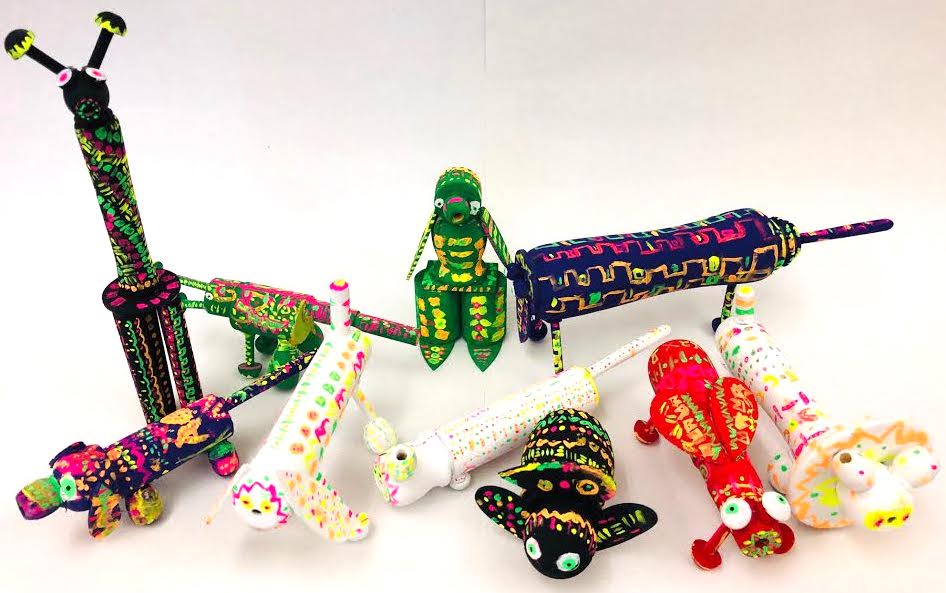
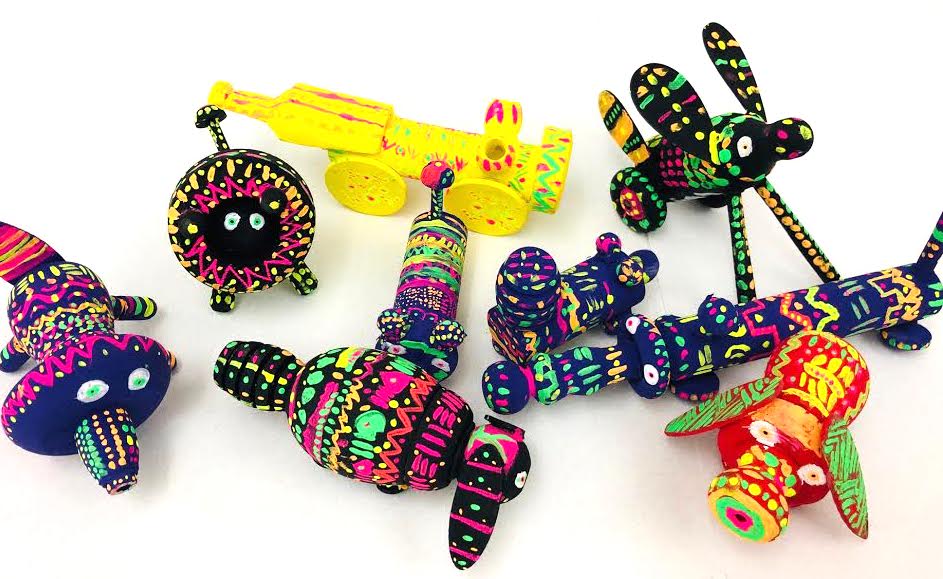
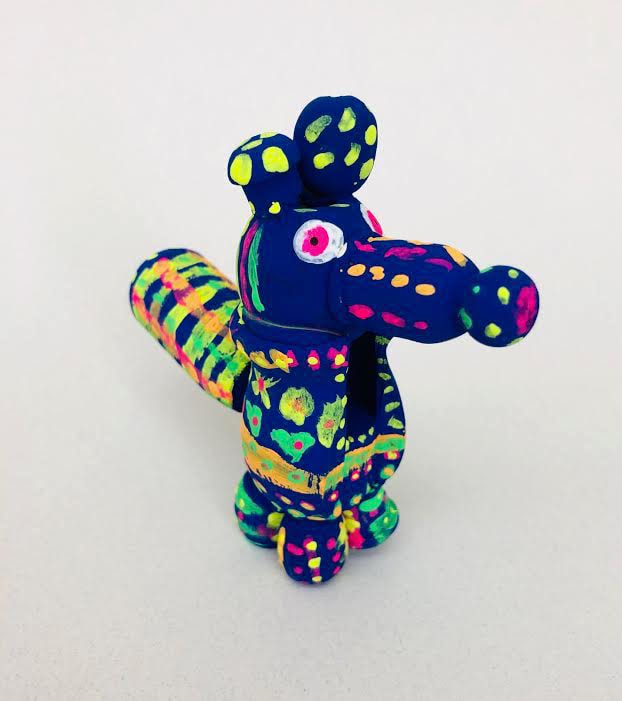
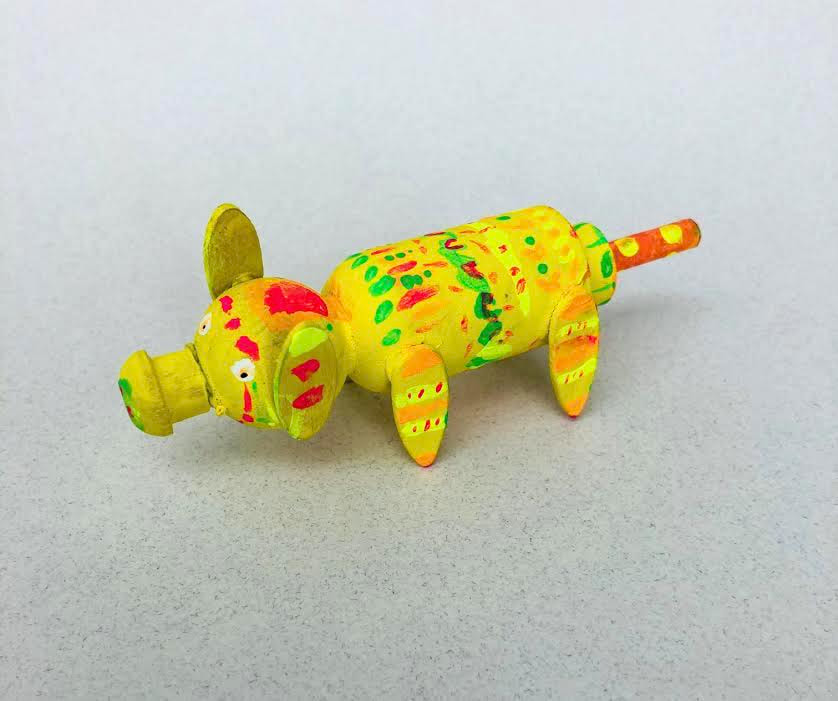
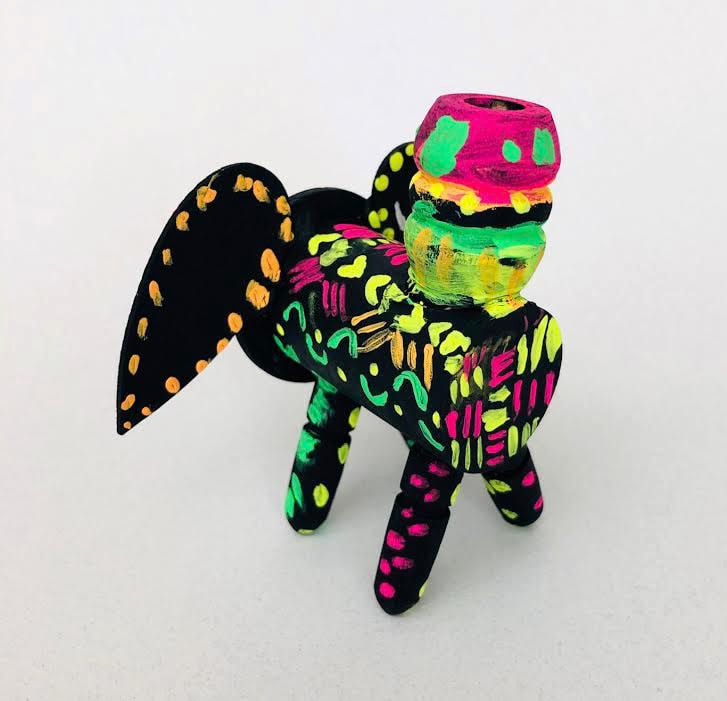
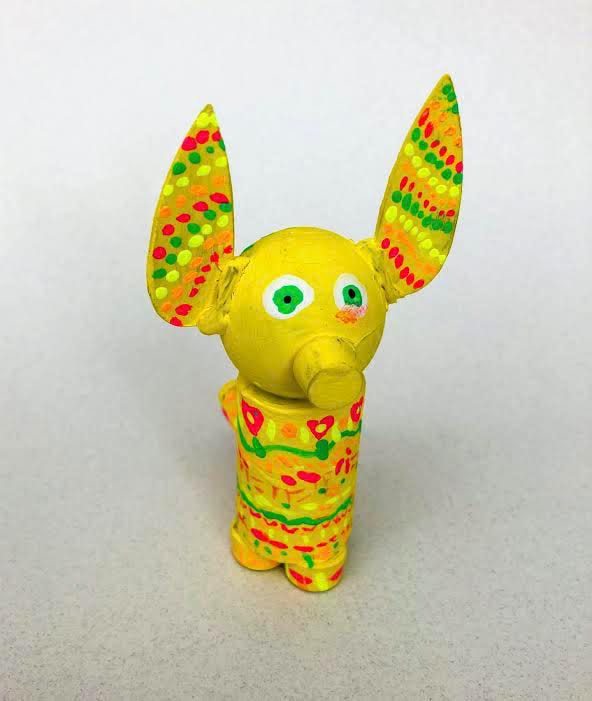
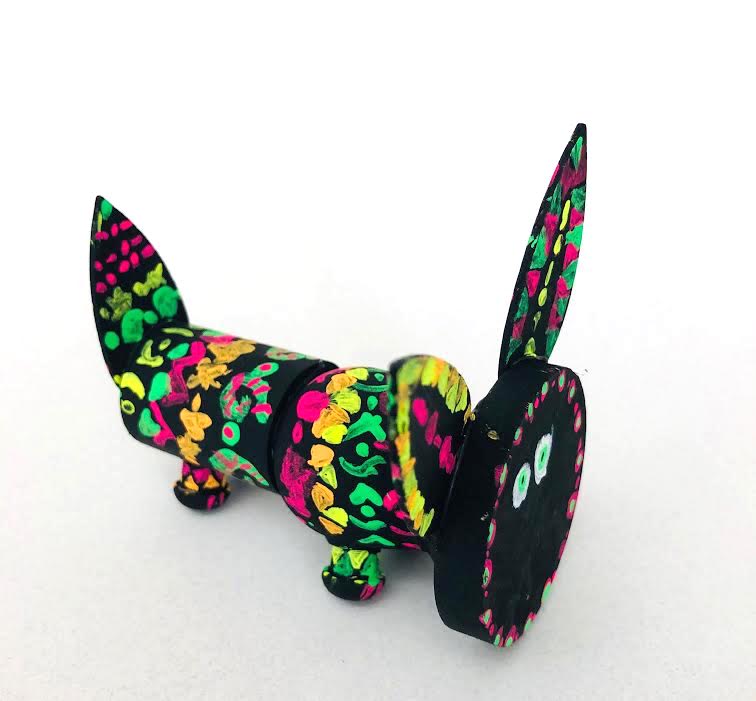
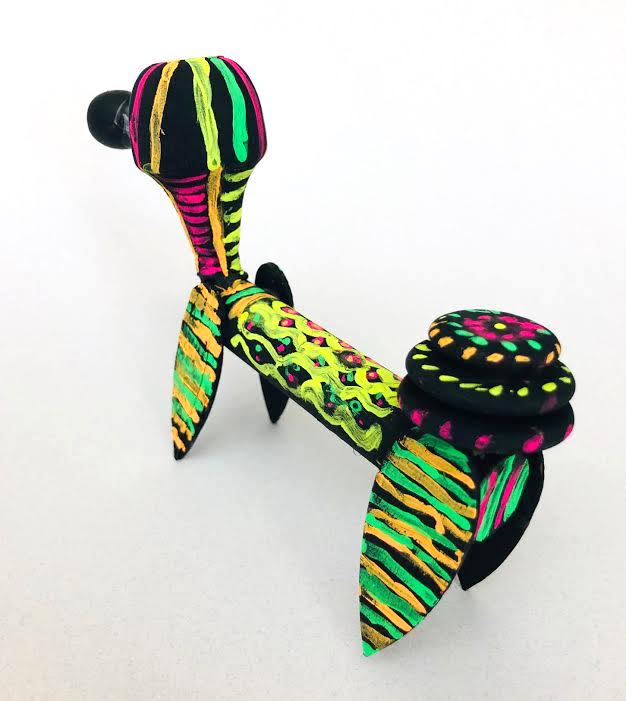
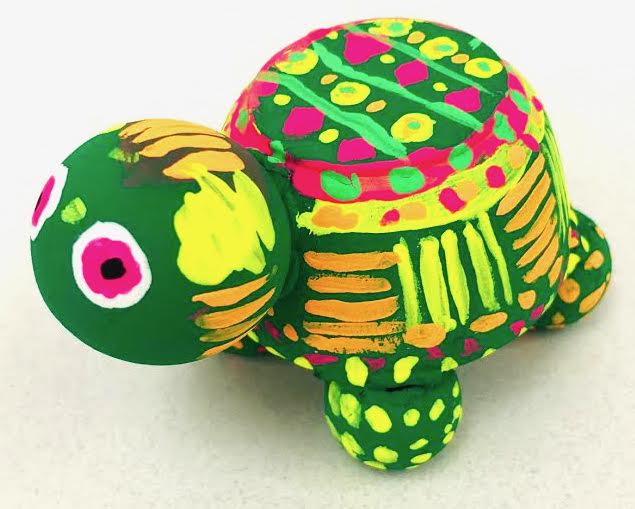
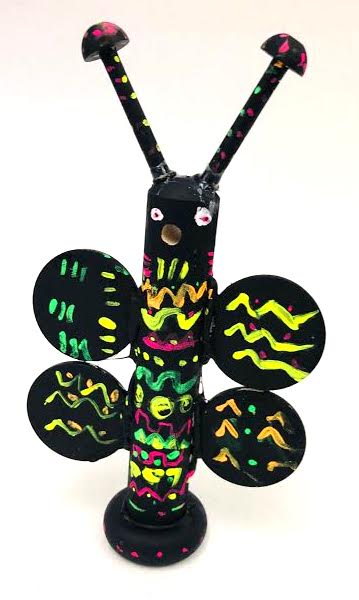
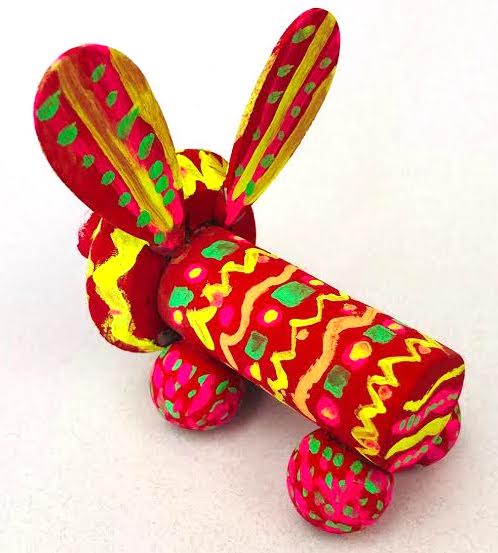
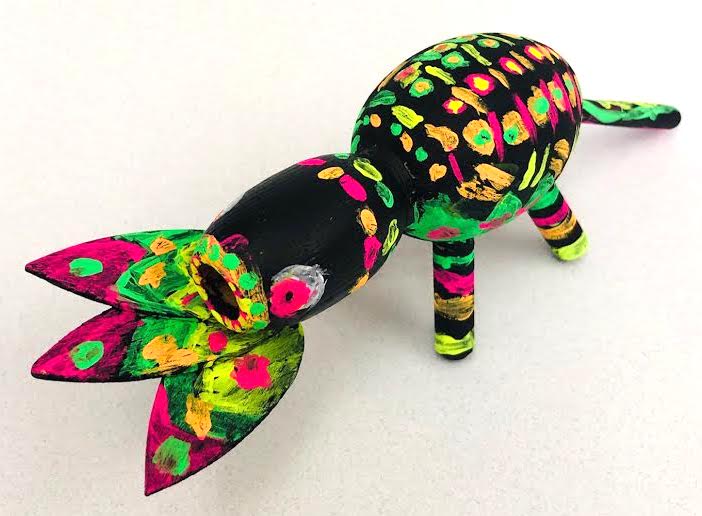
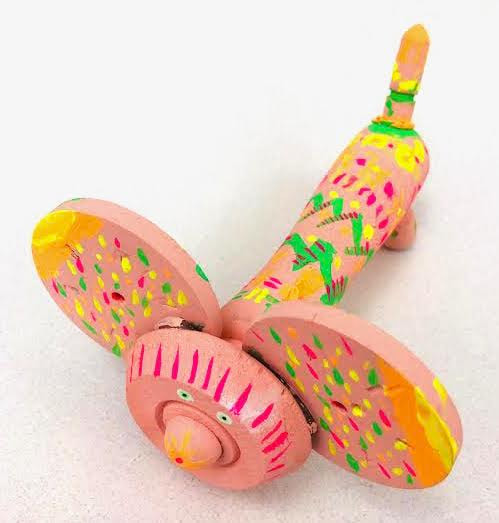
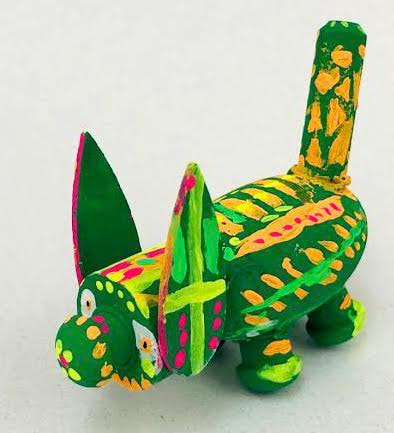
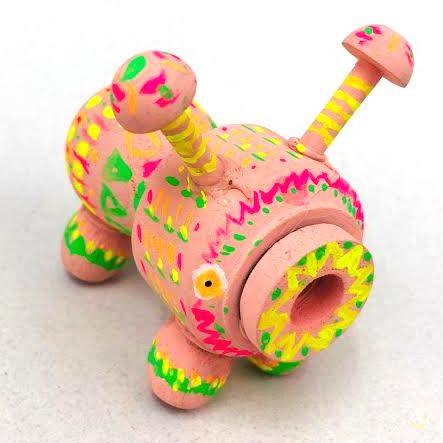
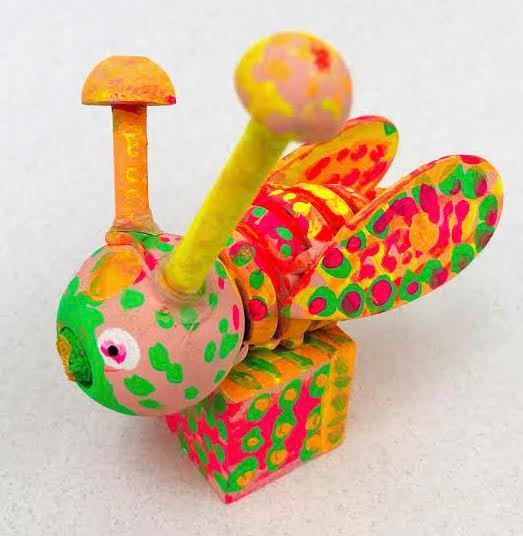
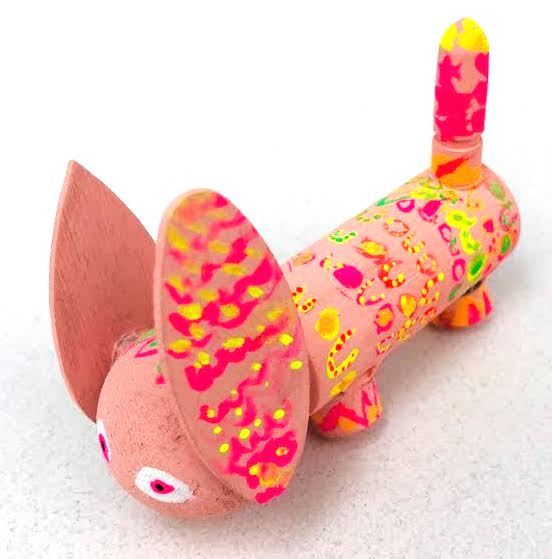
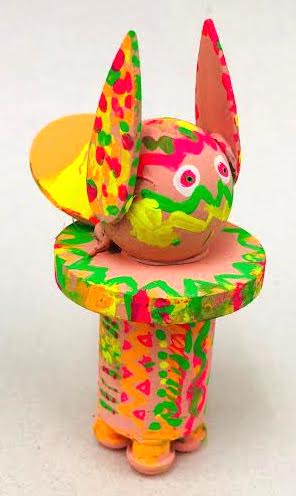
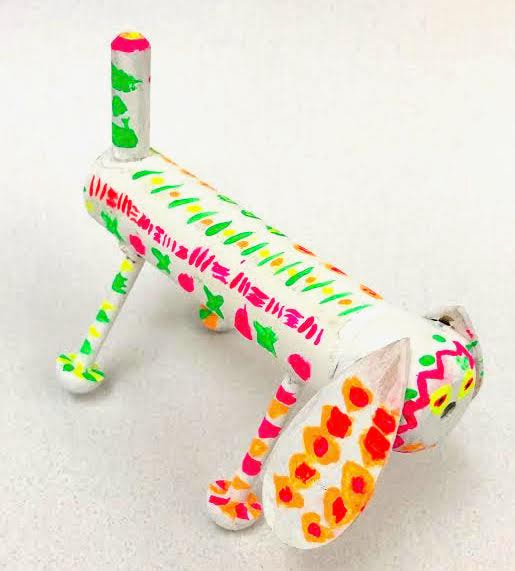
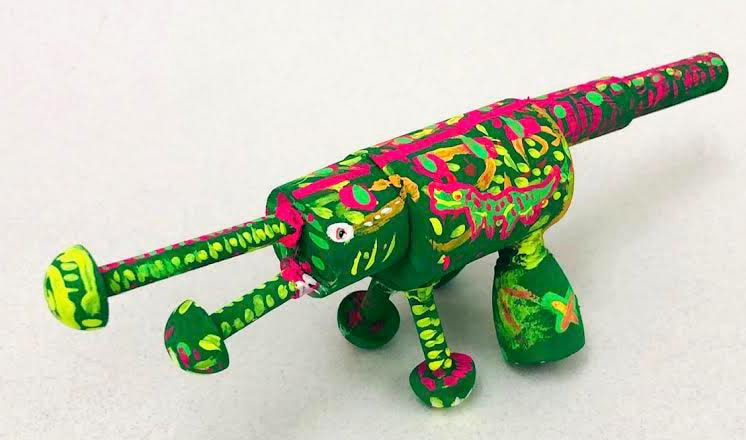
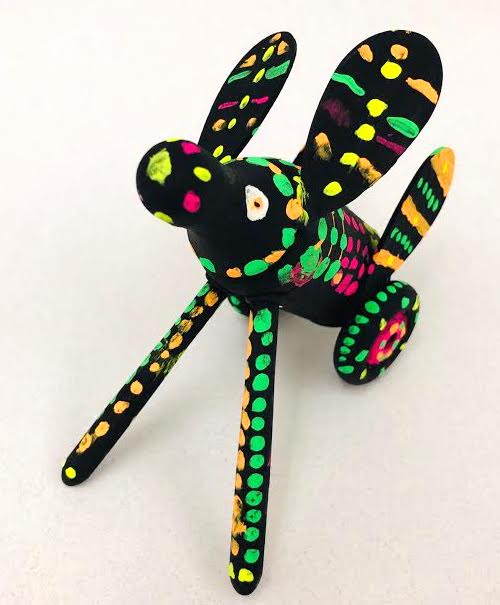
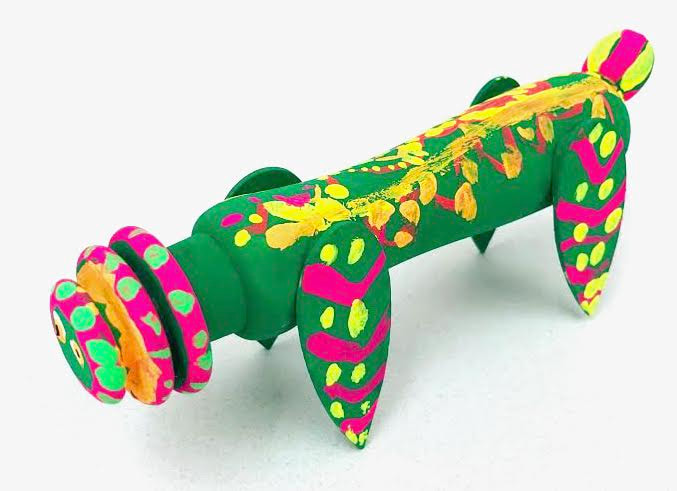
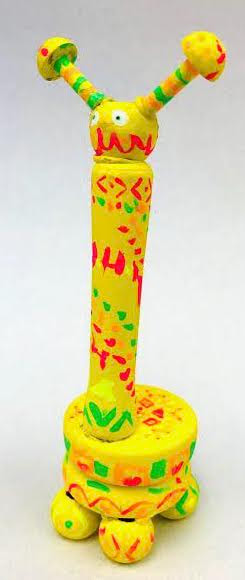
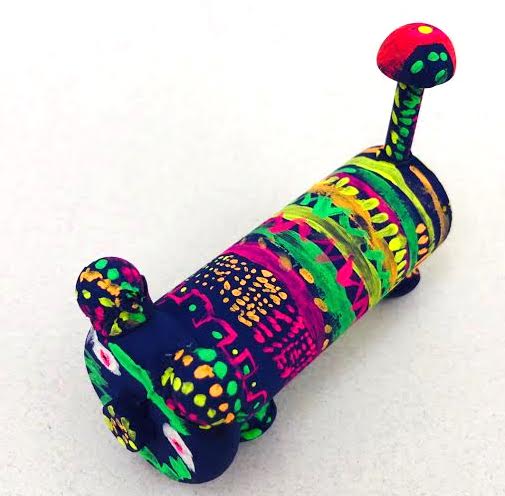
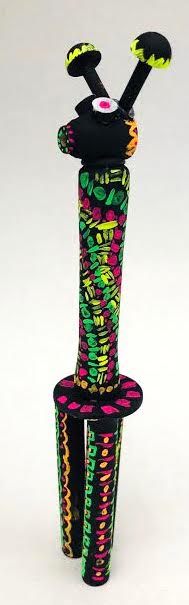
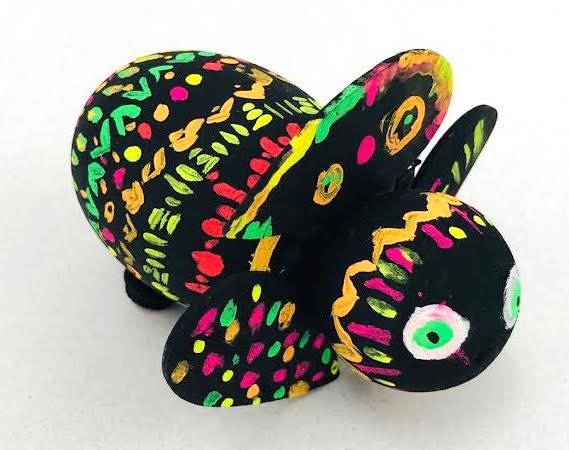
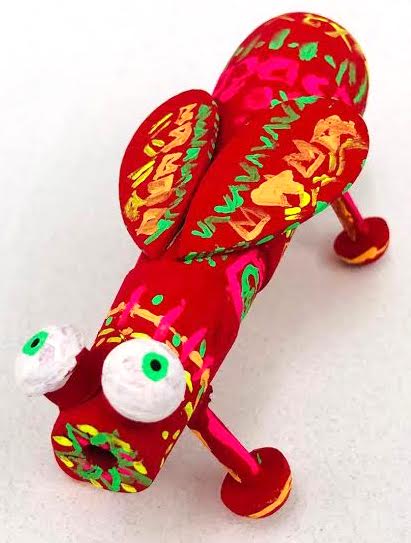
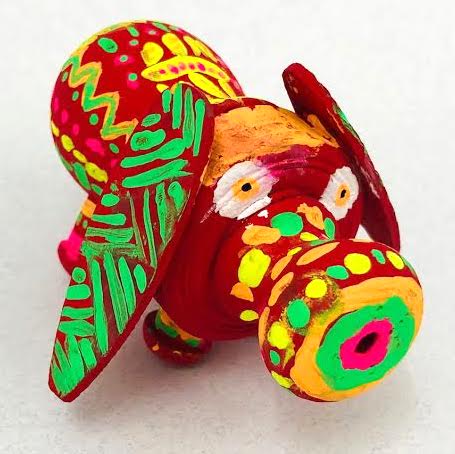
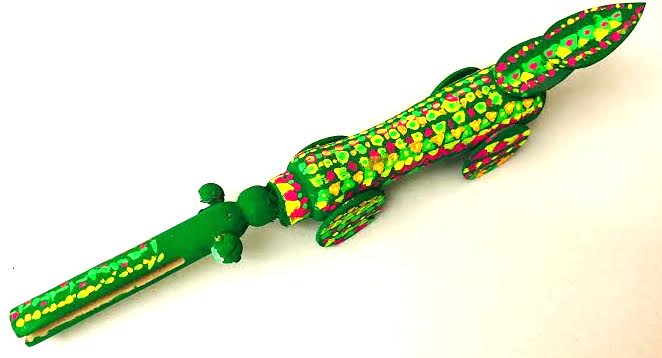
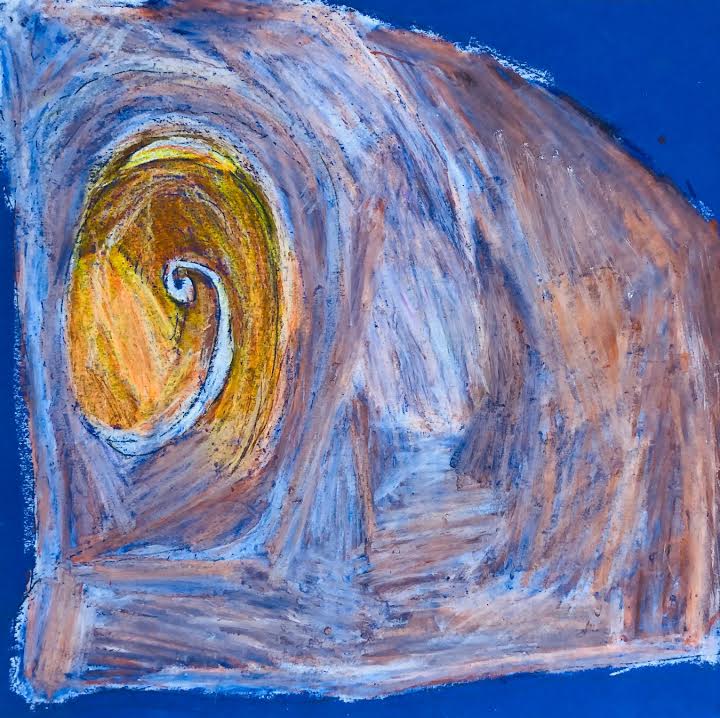
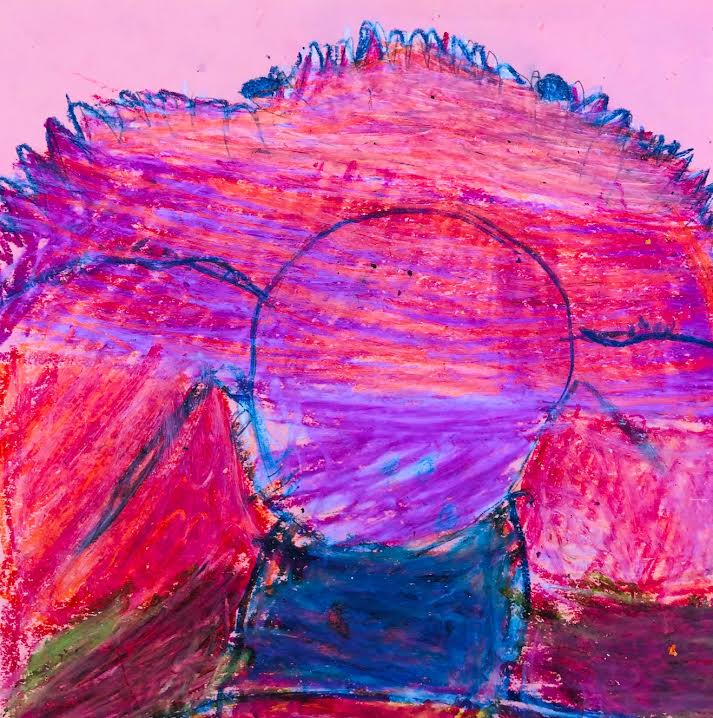
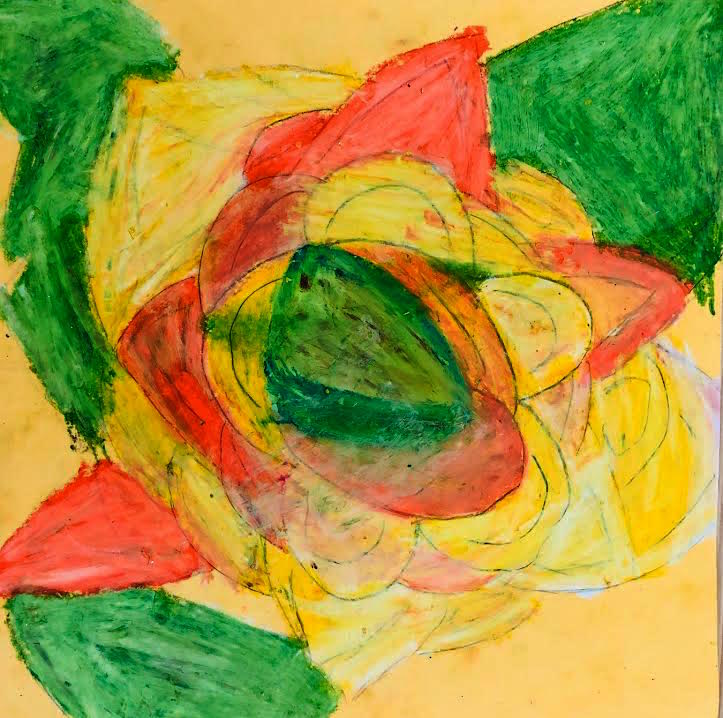
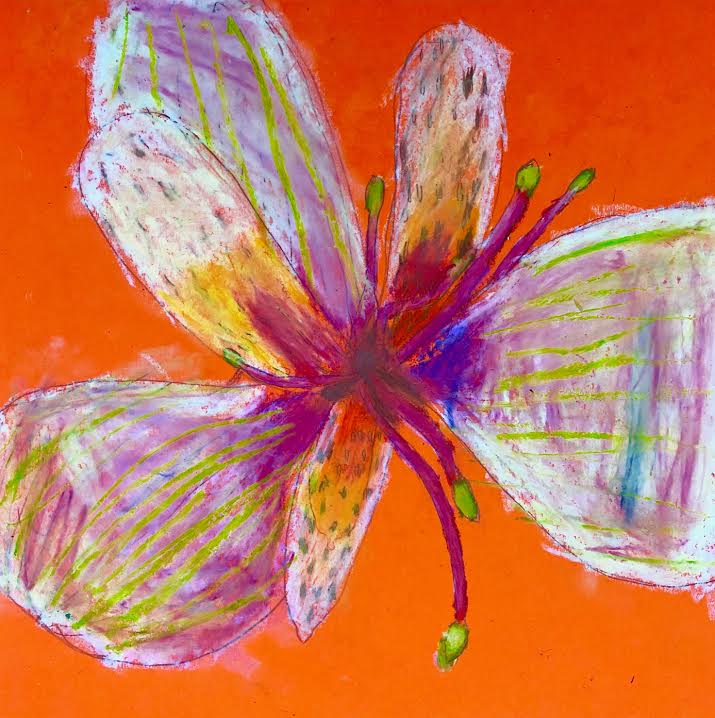
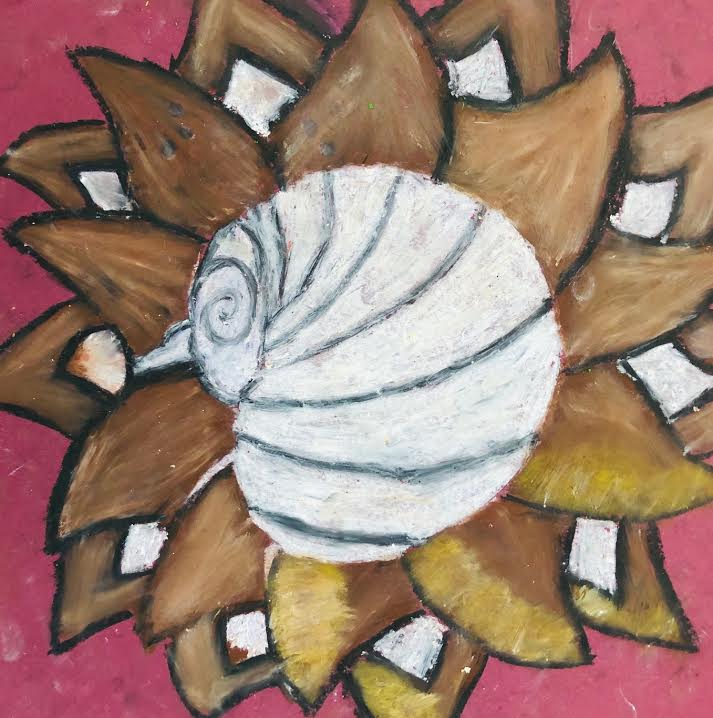
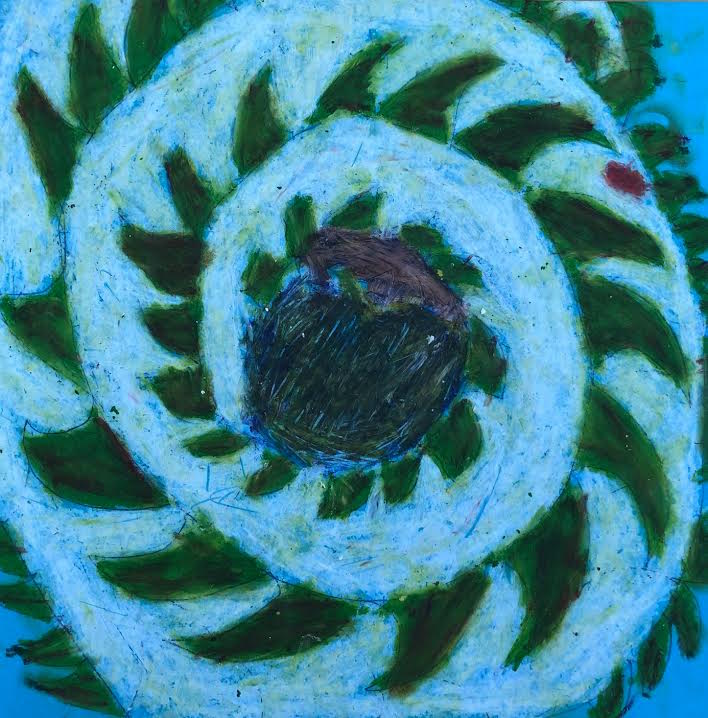
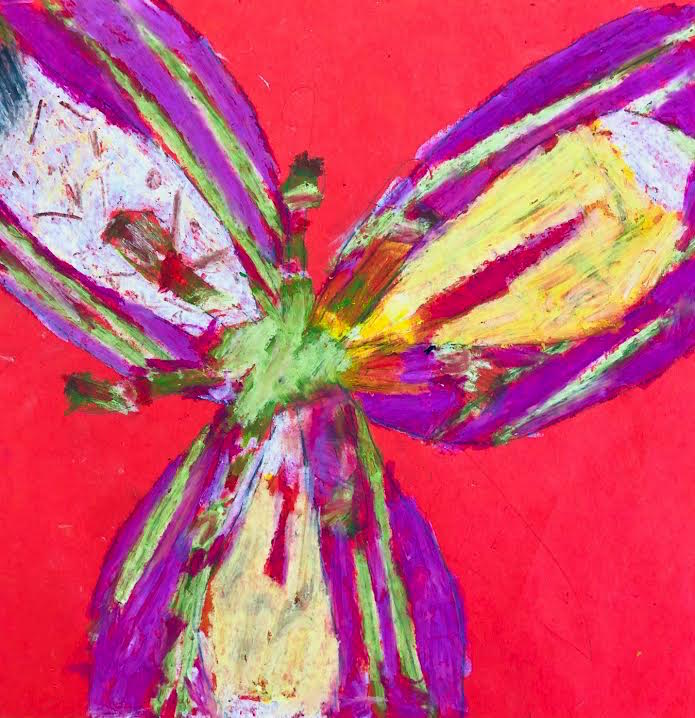
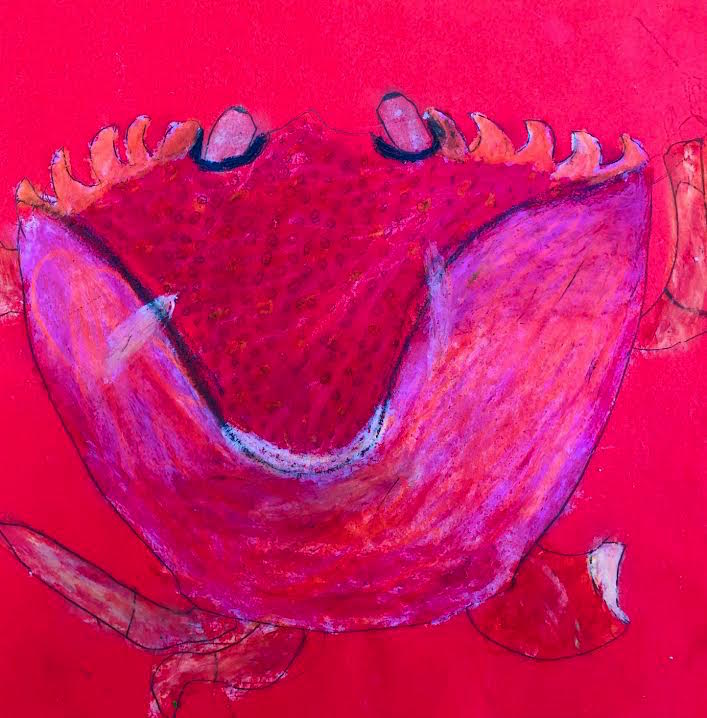
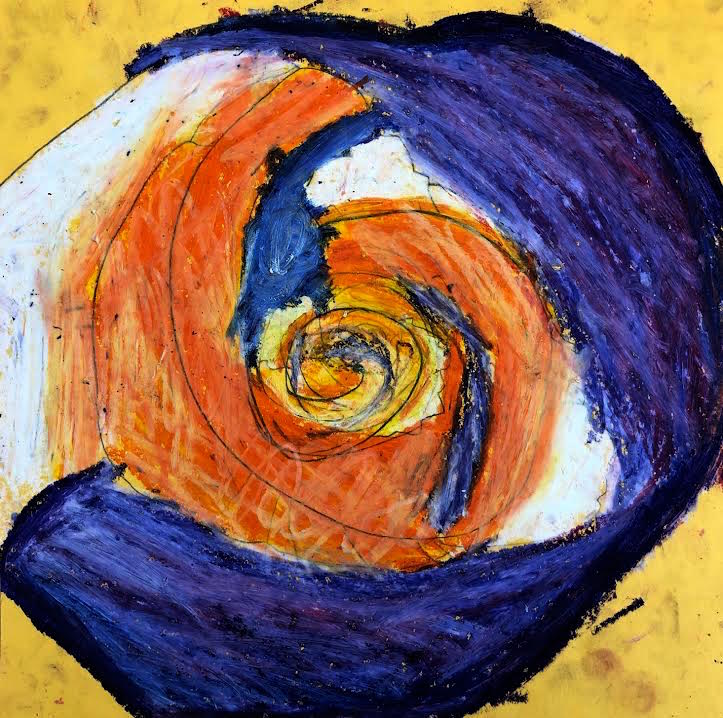
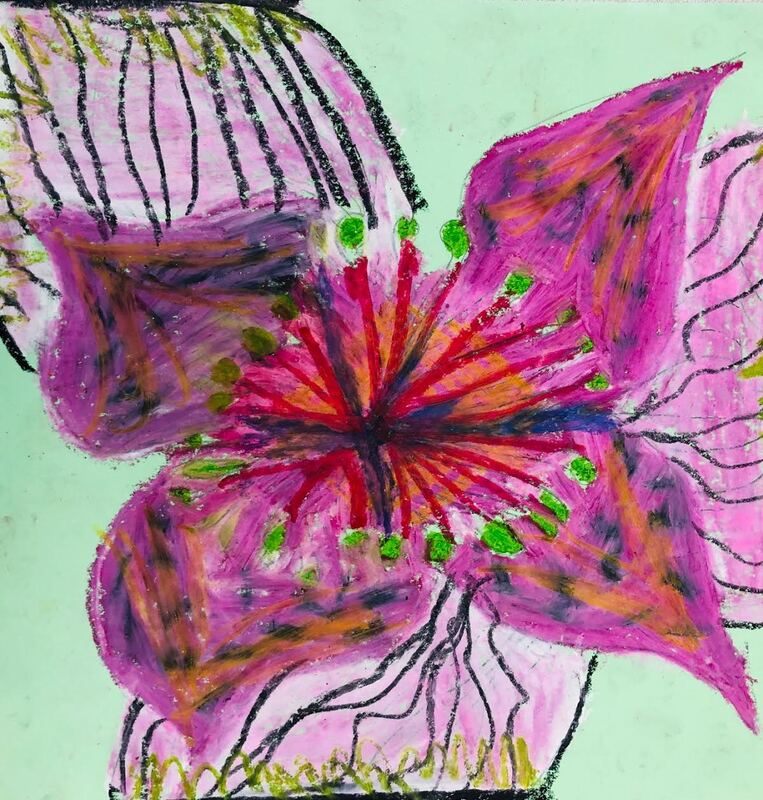
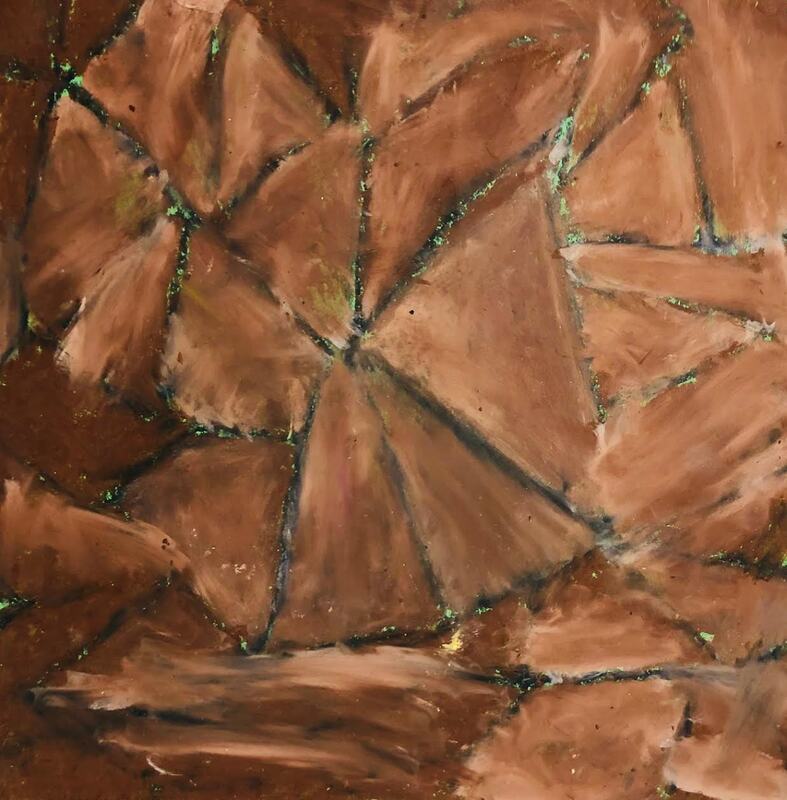
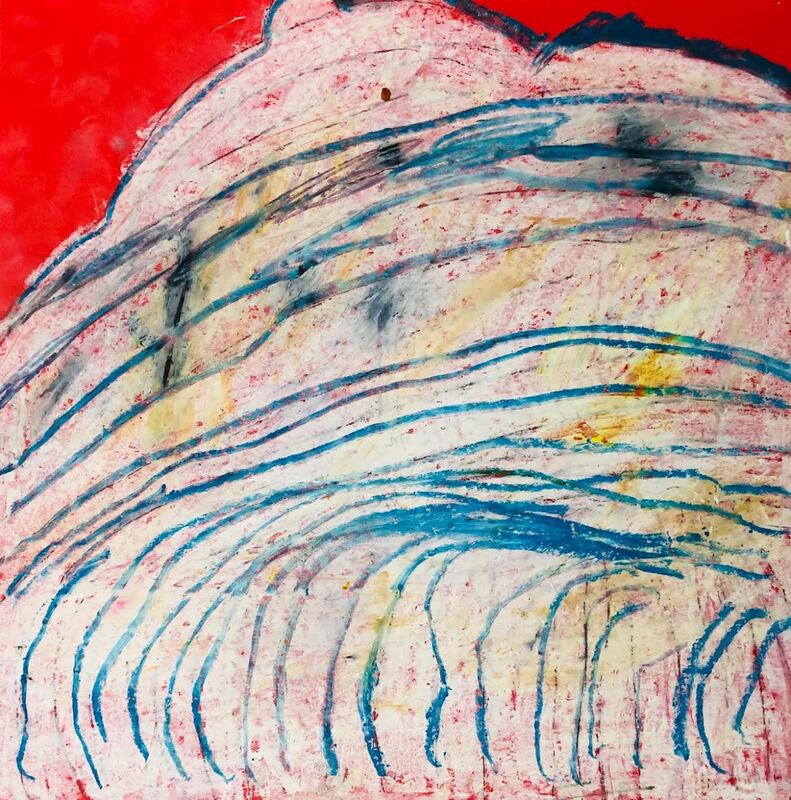
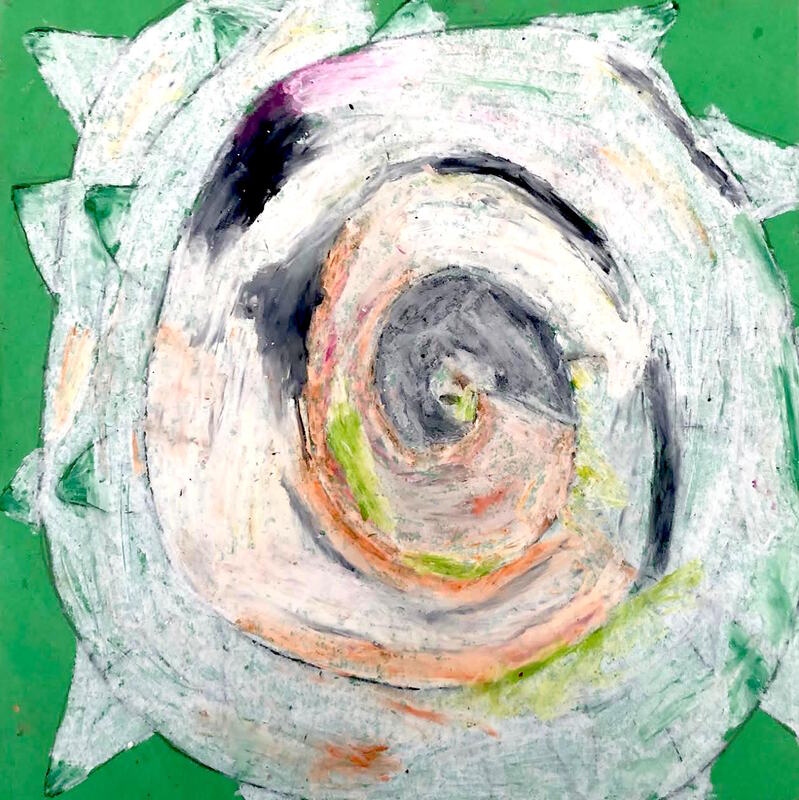
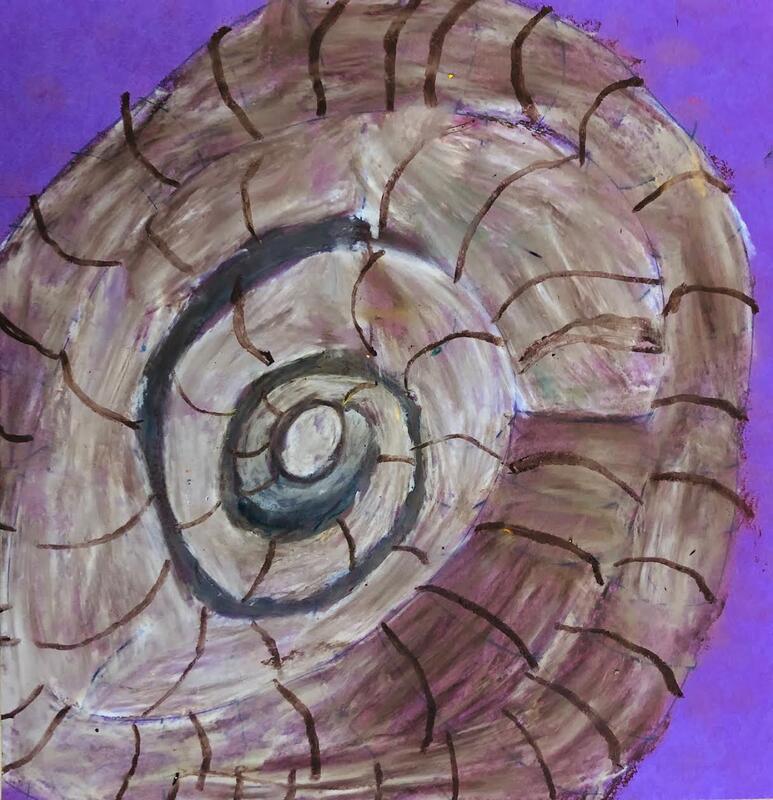
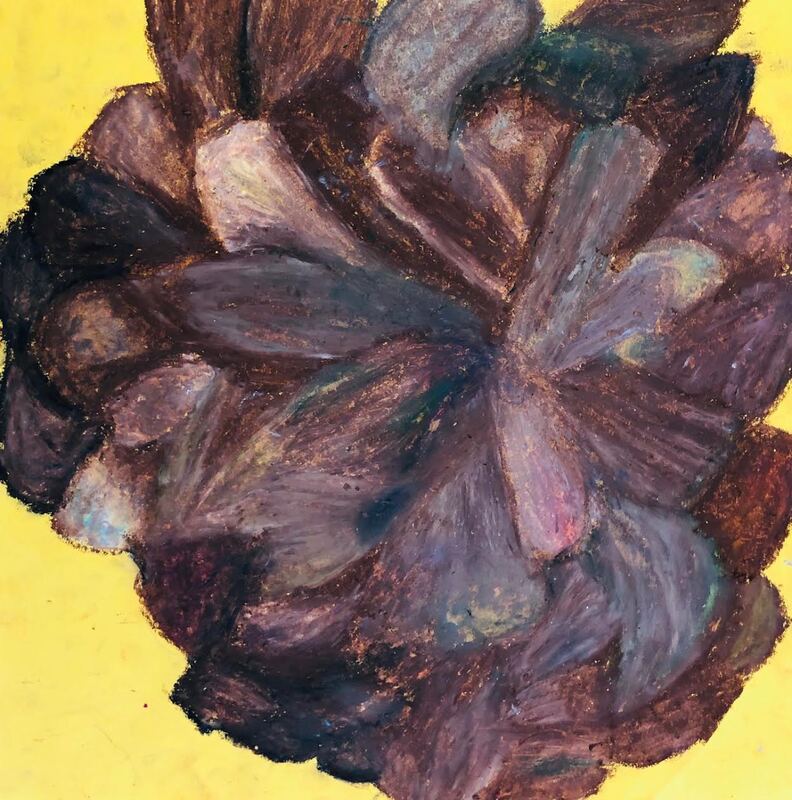
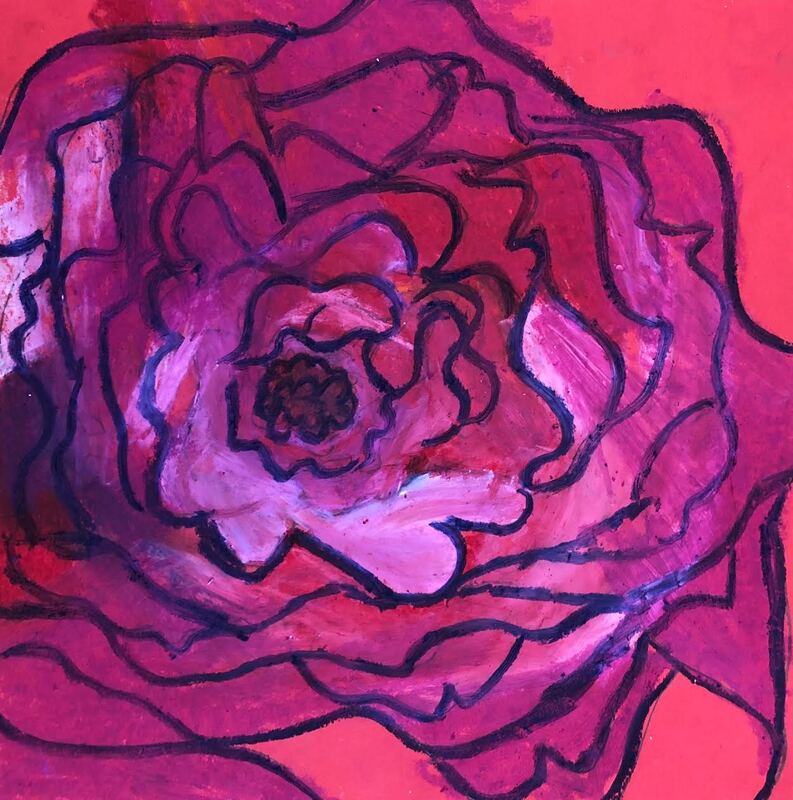
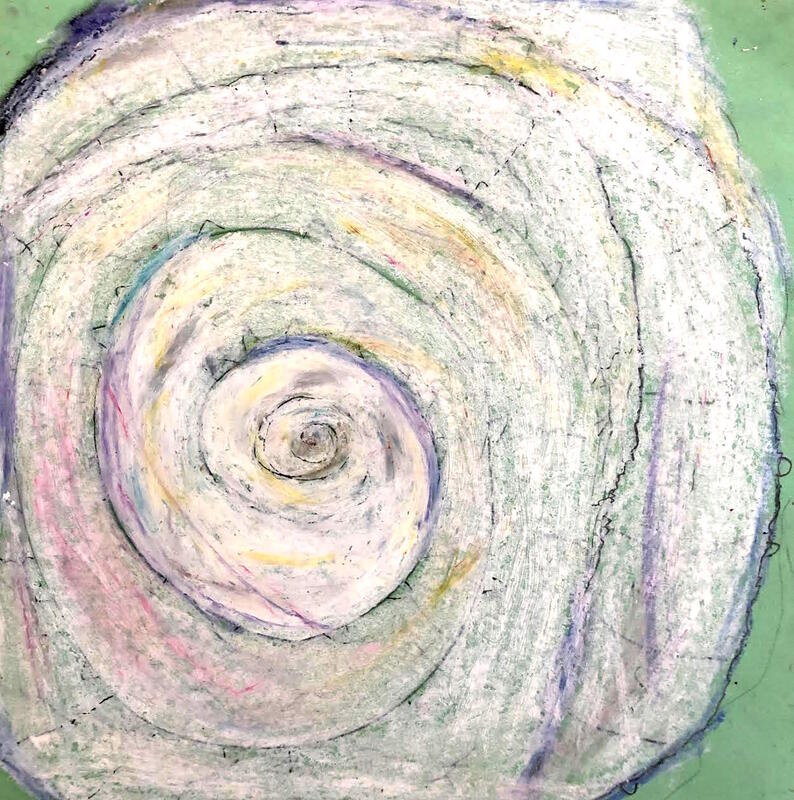
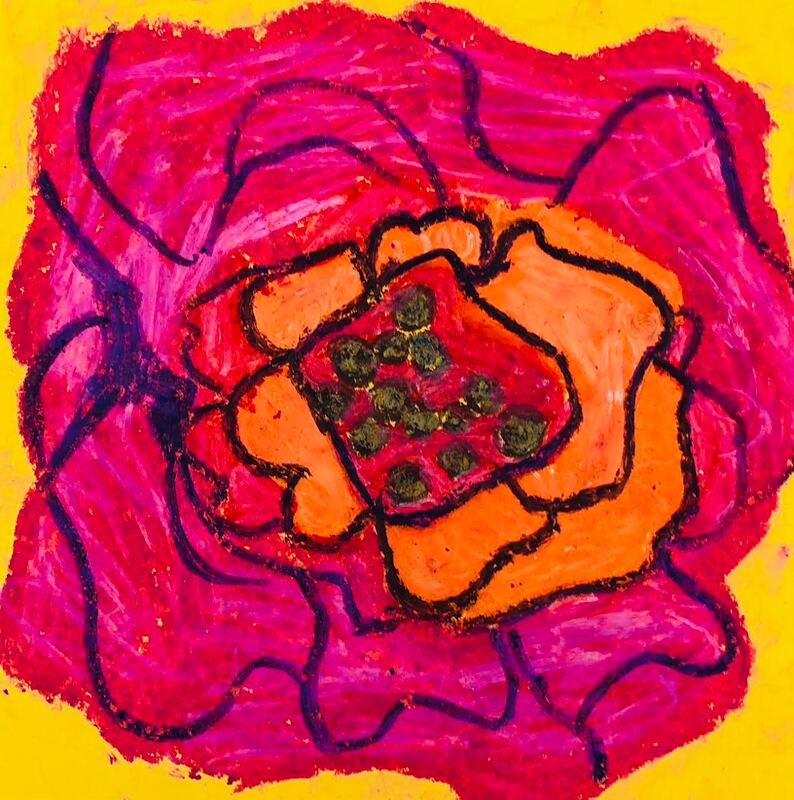
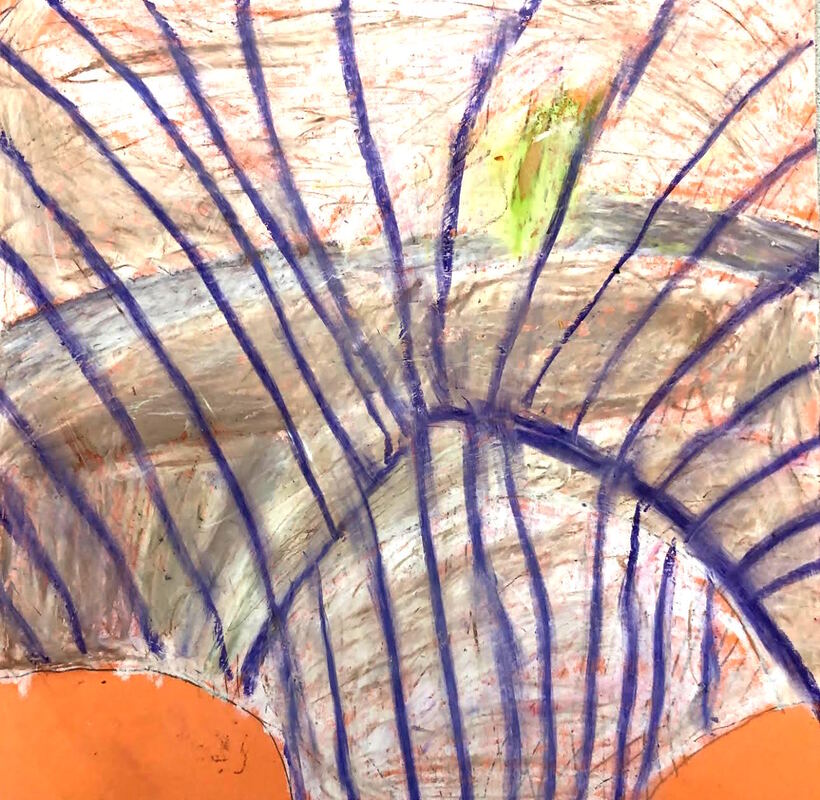
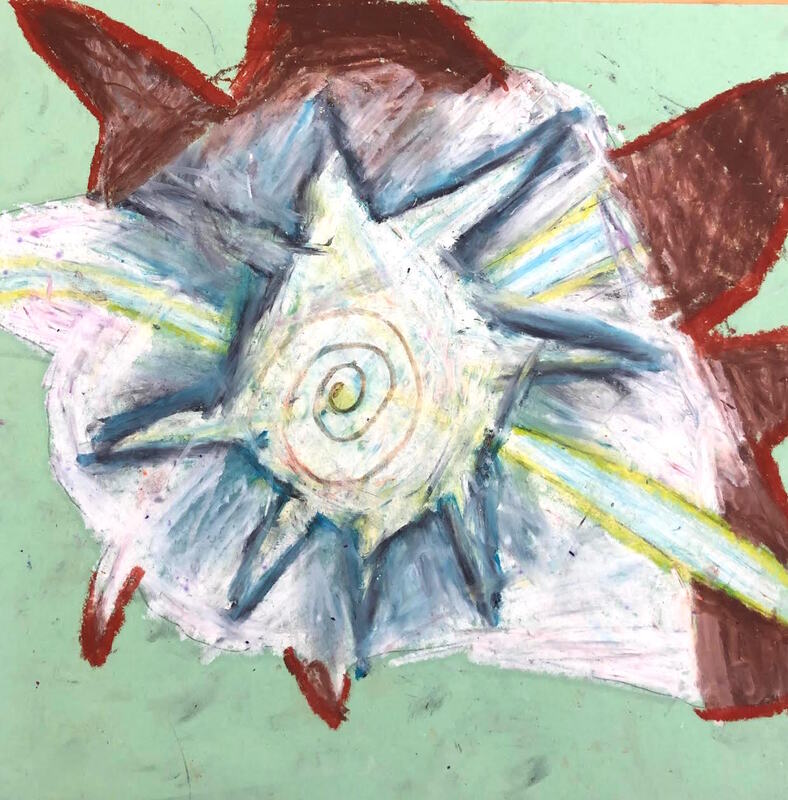
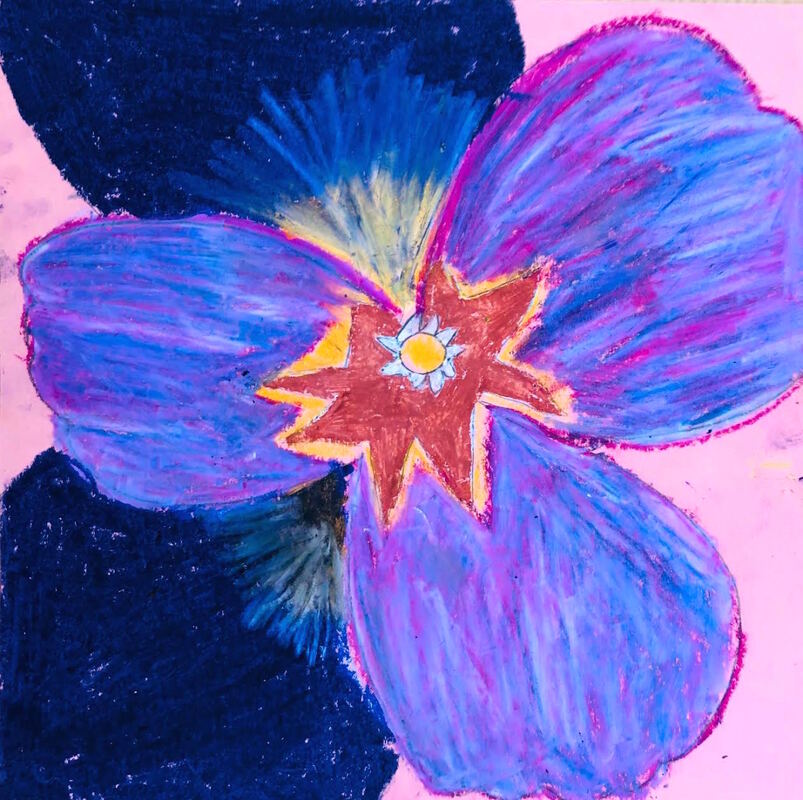
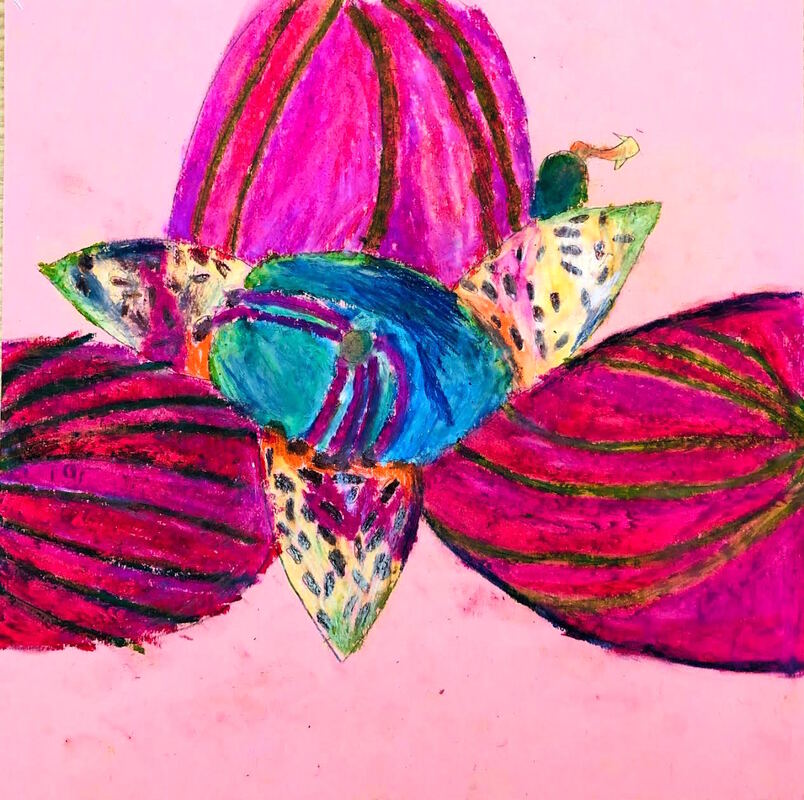
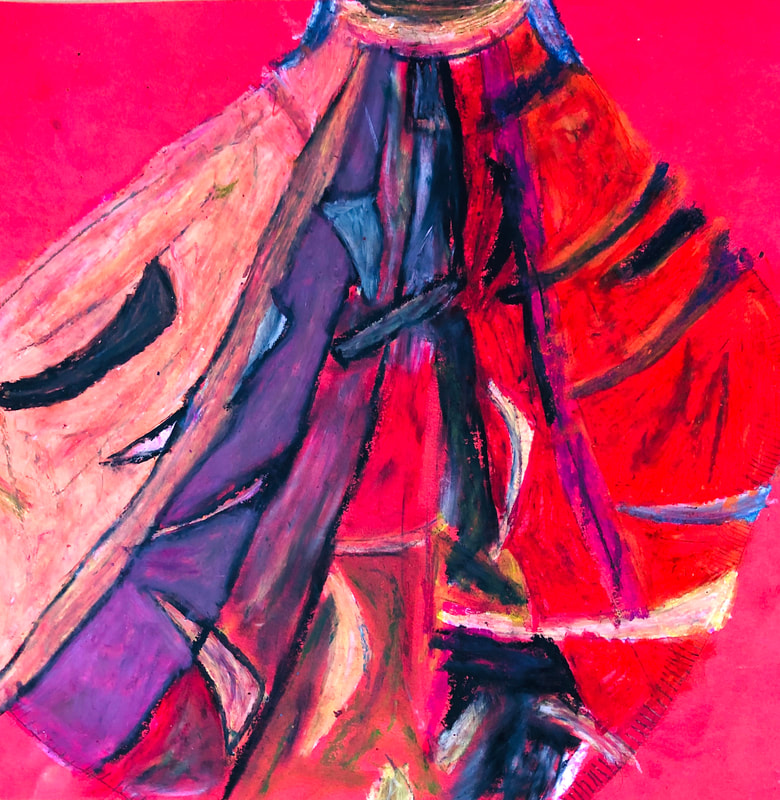
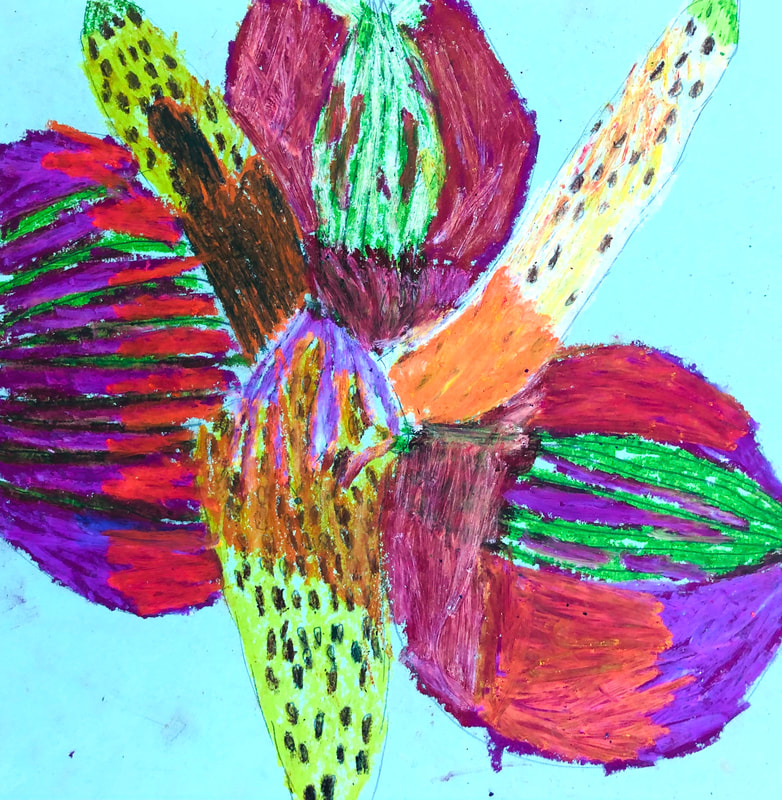
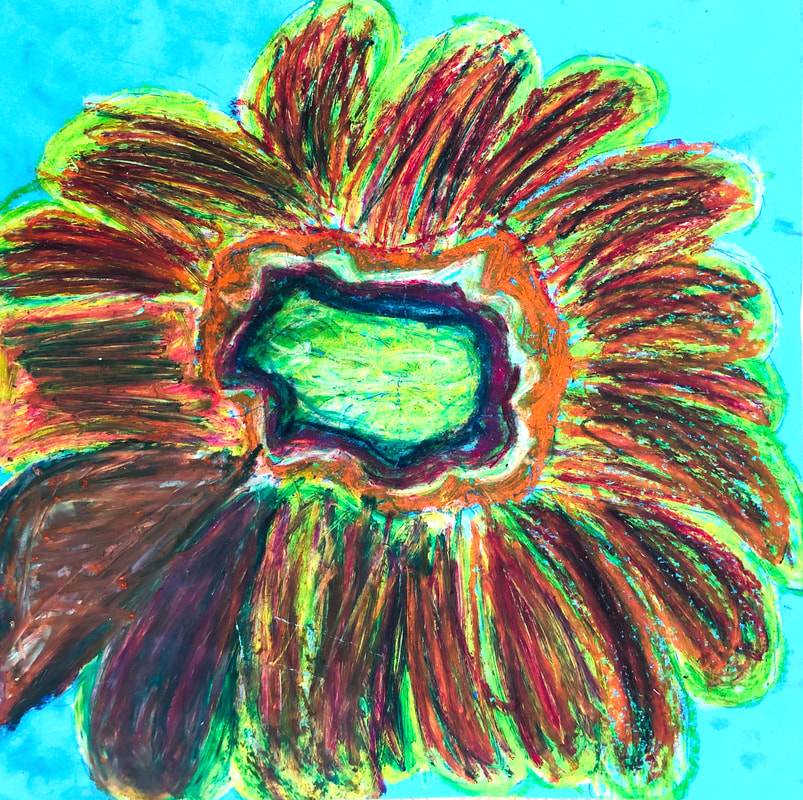
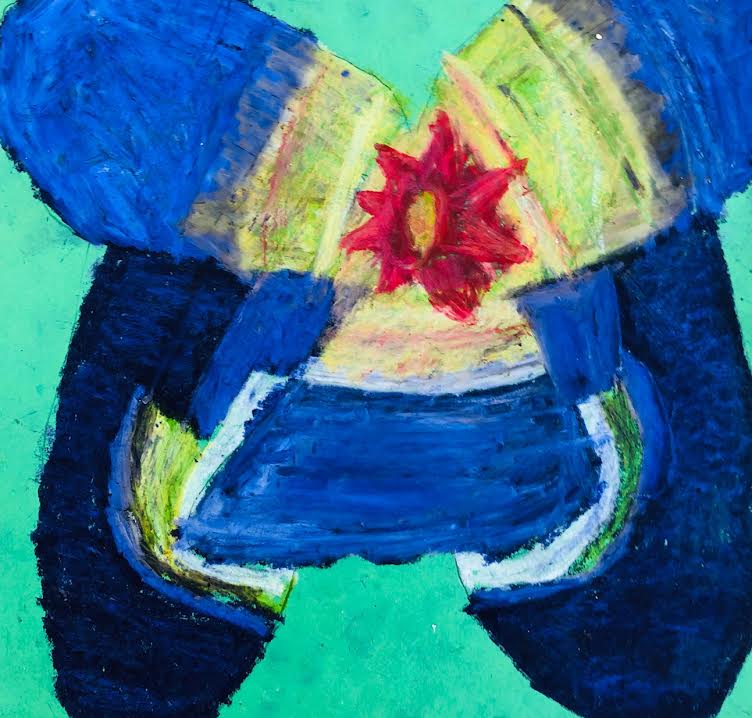
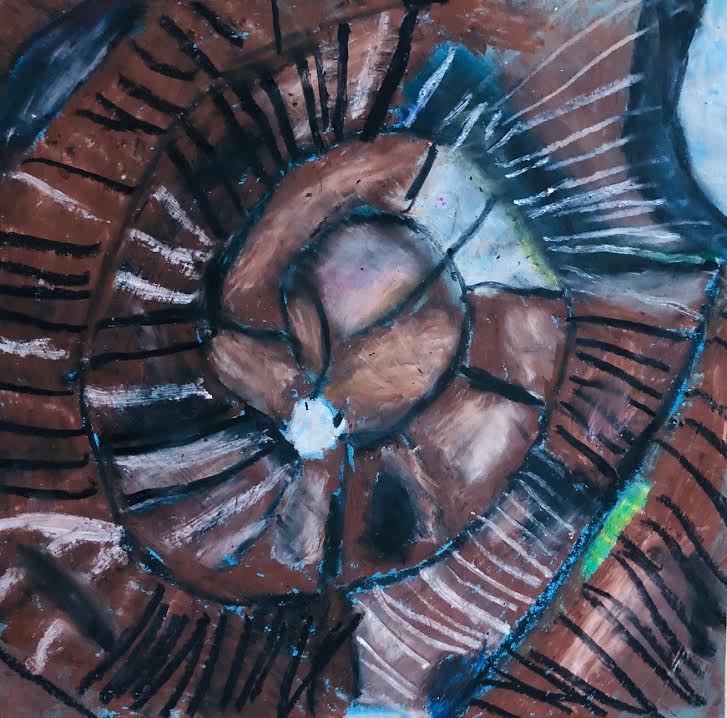
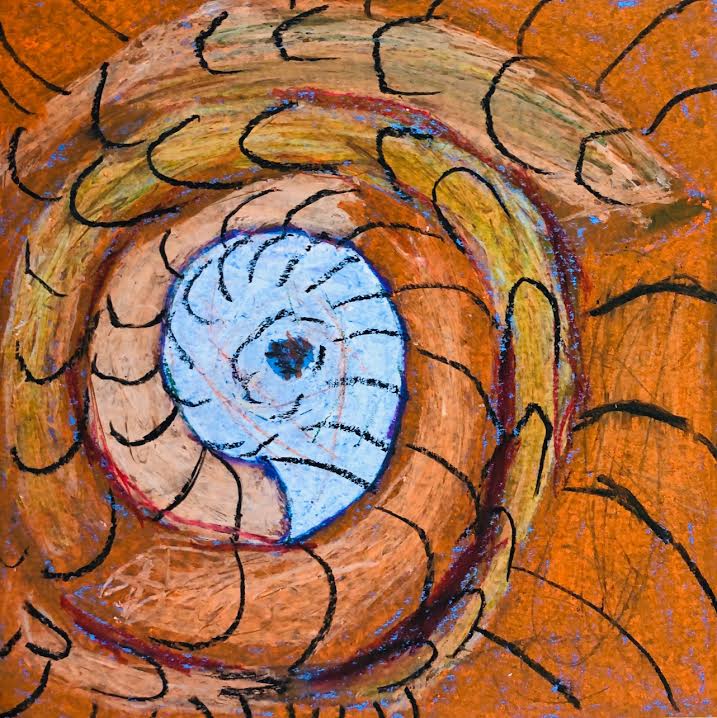
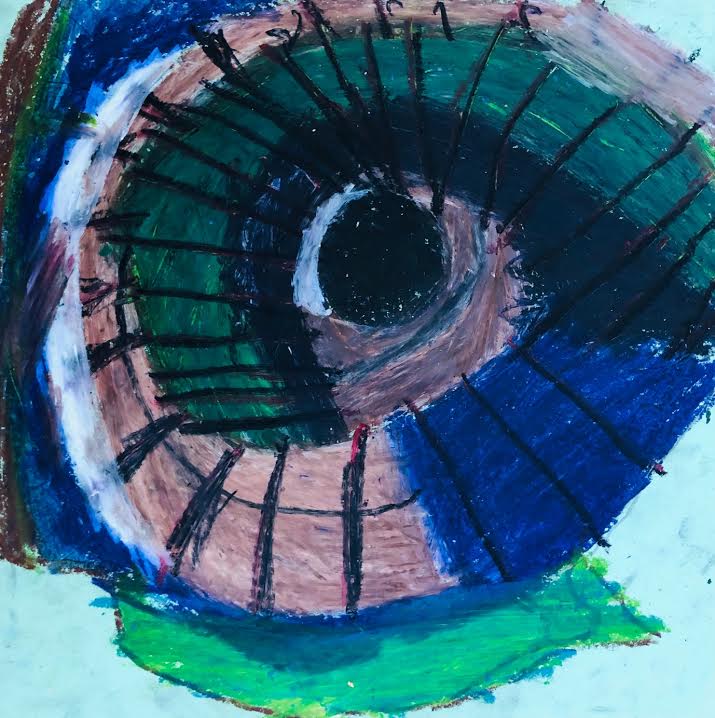
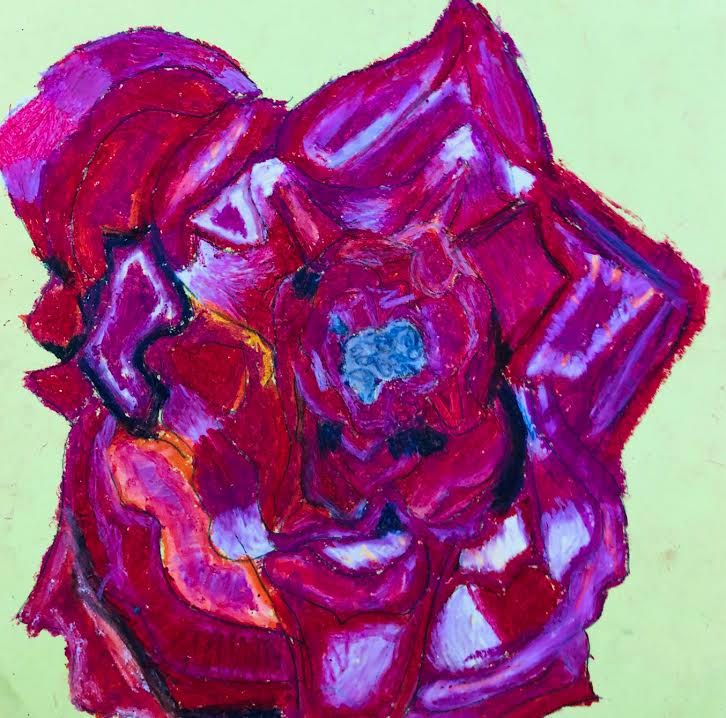
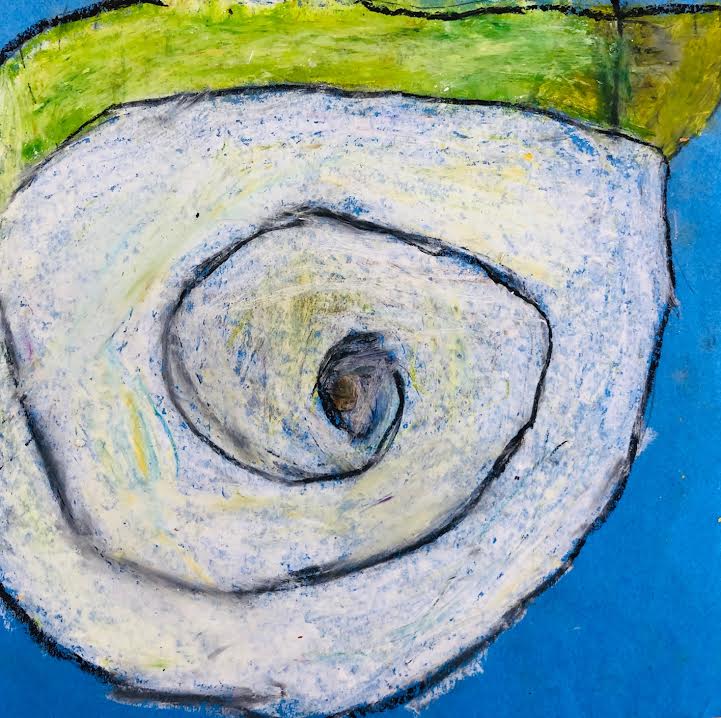
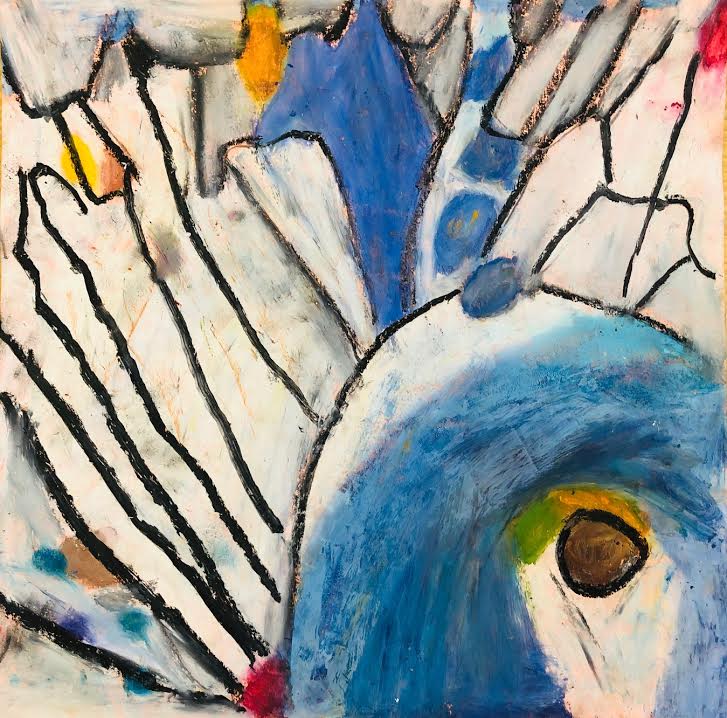
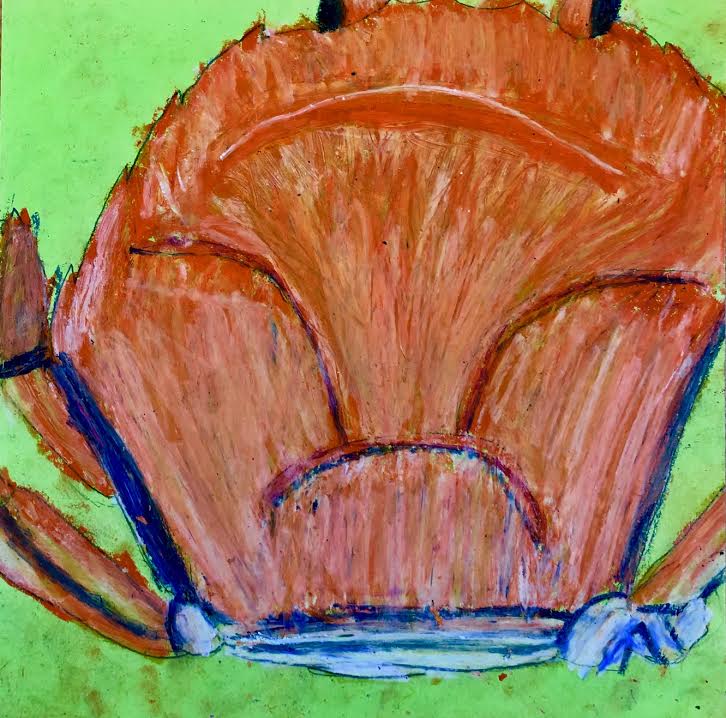
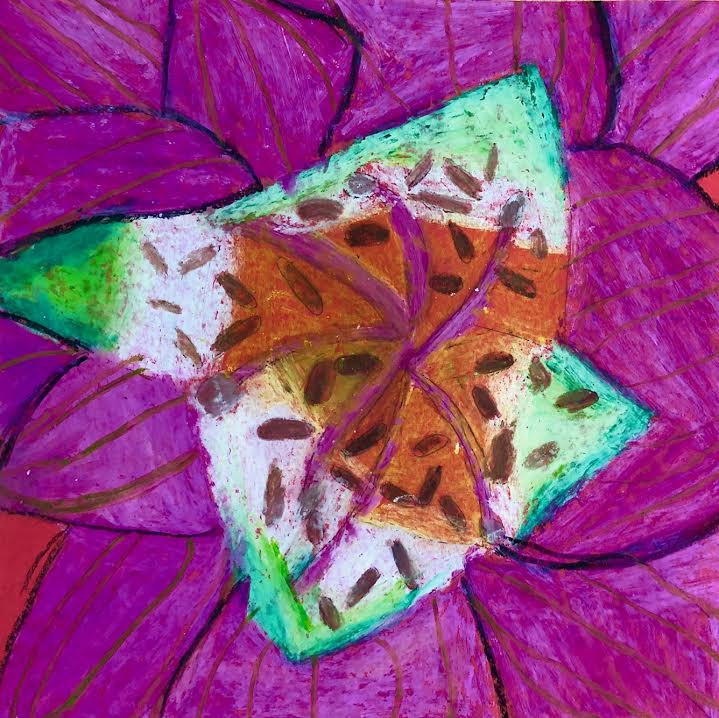
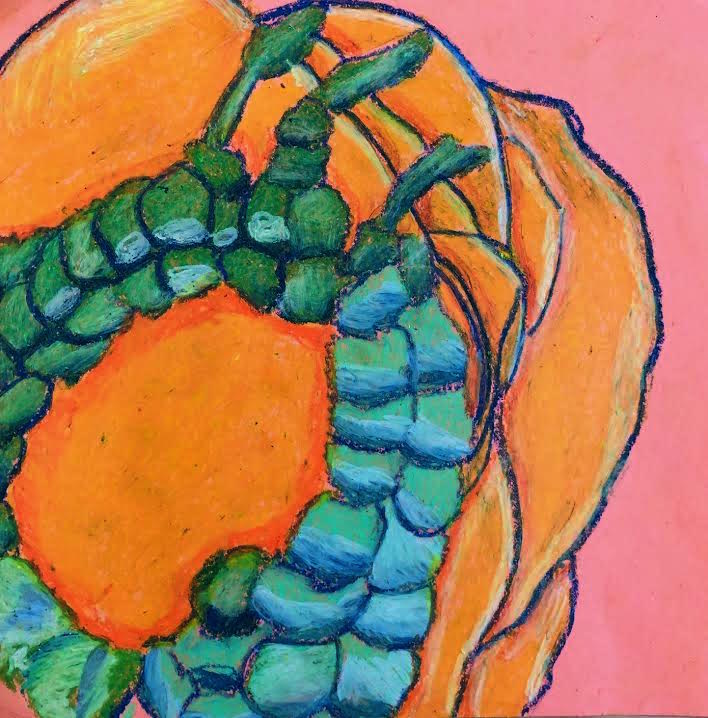
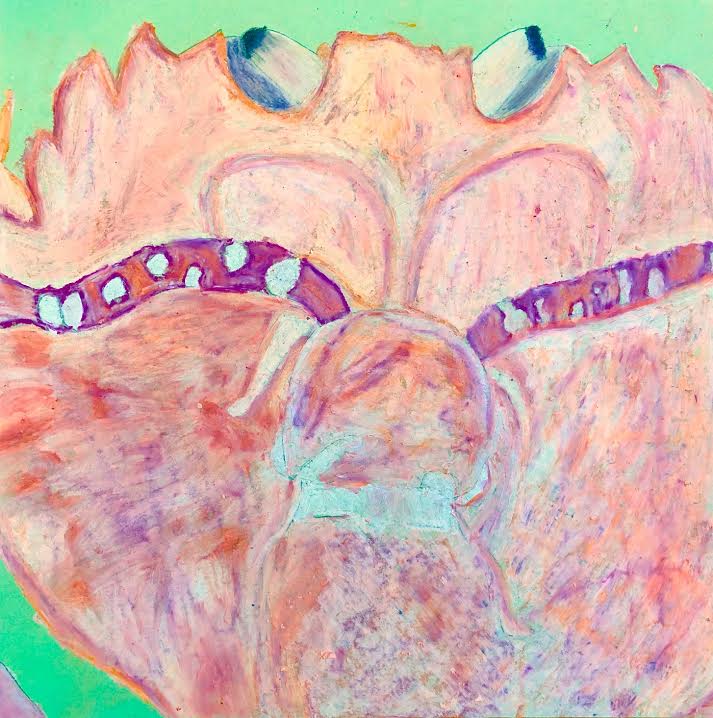
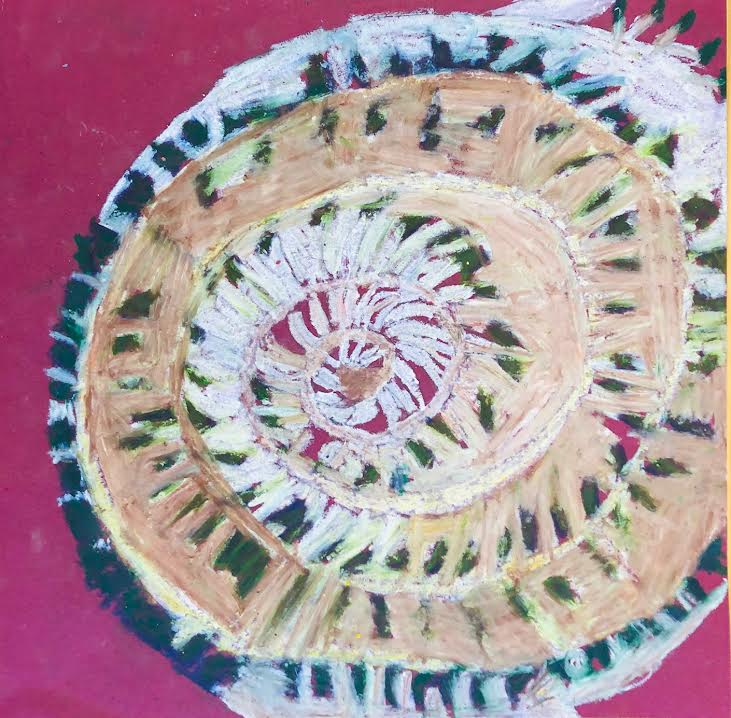
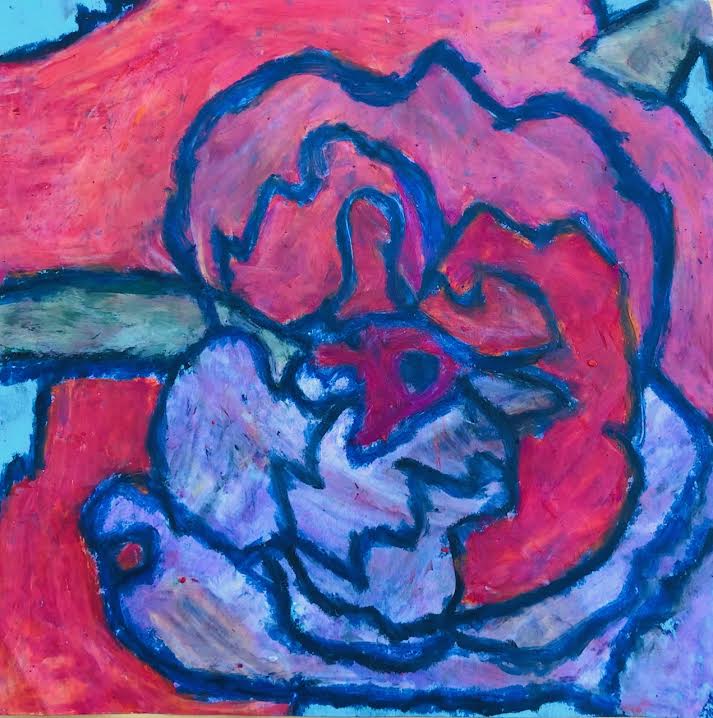
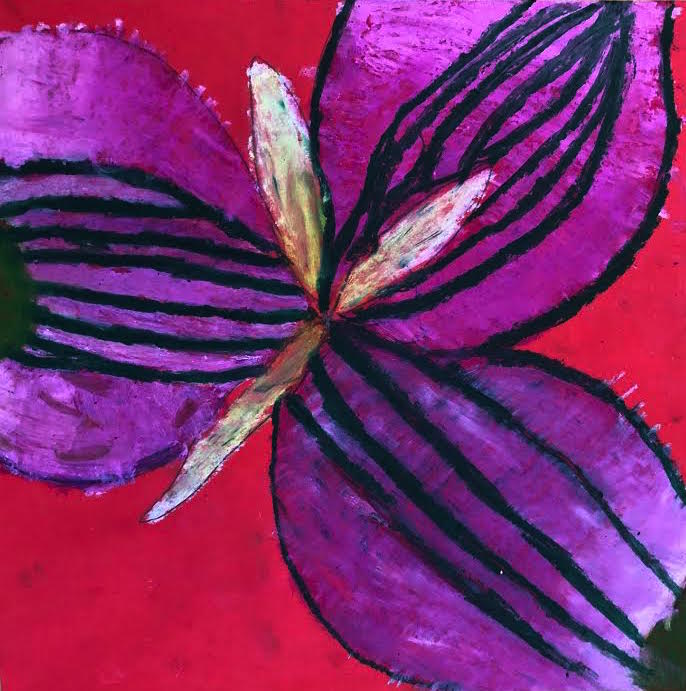
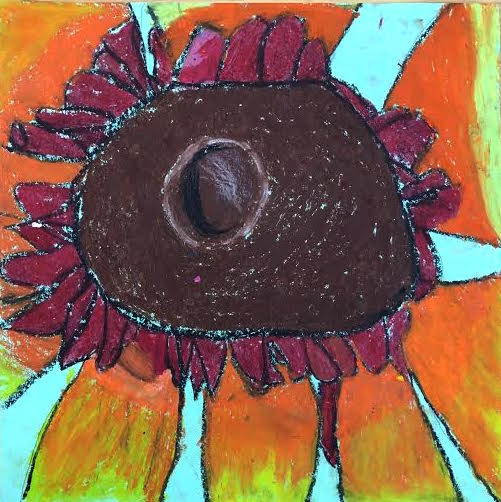
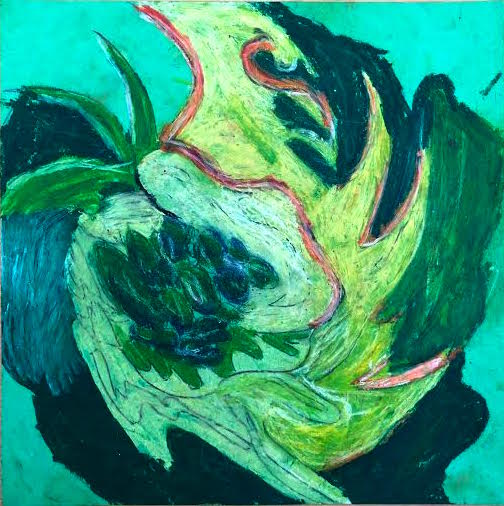
It's that time of year again when kiddos get to dive into Japanese Notans, which are a great introduction to the Design Element Space. Students learned about positive and negative space along with symmetry and mirror images. Dexterity was practiced while using scissors and a glue bottle to get tiny pieces glued down to create their Notan. During this trimester students received art newsletters where I gave them art that inspired me from around the world, indoor and outdoor activities, resource videos of innovative art and artists, and challenges that students were to try and send me images of. Below are examples of student's work from the past few months. Challenge: Art Creatures, where students had to work with others in their household to create one body section each that were to be hidden from one another until the last piece finished and opened to see what was created. Challenge: Optical Illusion creations! Students received three videos of different optical illusions where they were to pick at least one to try. Challenge: Sequential art! Or as you may know it as...comic strips. Students had to create their own comic strips with invented characters. Challenge: Be aware of those shadows! Students were to keep an eye peeled for items that created interesting shadows where they saw something new take form. Challenge: Kindness hearts. For this challenge I gave students several different ideas on how to create hearts for kindness week to put in their windows at home. Challenge: Create outside of challenges. I gave several activity options that included both indoor and outdoor opportunities. Students really stepped up to creating wonderful artworks. For this unit students were inspired by the Assemblages of Joseph Cornell and Robert Rauschenberg. With a ruler students measured five sections on a piece of paper then in each section drew a different object making sure to crop on at least three sides. Students used pen to create cross hatching shading, afterwards they used watercolor to paint four values in the backgrounds. Students then used rulers to create armatures out of poster paper to assemble their work on an Abstract painted background at different heights. Vocabulary Learned: Assemblages, 2D vs 3D, observational drawing, hatching & cross hatching, shading technique, Value, cropping, armatures, levels & heights, Abstract art, line work, Joseph Cornell, Robert Rauschenberg. Materials Used: 8'x9' piece of paper, pencil, various objects, rulers, pen, watercolor, scissors, hot glue guns, black & white tempera paint, cardboard. For this unit students learned about Contour art, watercolor techniques and wire sculpture. Students had to manipulate new materials while improving hand-eye coordination. Vocabulary Learned: Contour art, watercolor techniques, silhouette, interior and exterior line, layering technique, wash, texture, wire sculpture, connection types- wrap & twist, hand-eye coordination. Materials Used: Watercolor paper, pencil, black colored pencil, watercolor paint, electrical color coated wire. For this unit my Student Teacher Kayla Thoits had the opportunity to teach Value through the inspiration of the artist Keith Haring. Keith Haring was a street artist in the late eighties and early nineties where he created glorified stick figures through pose and movement incorporating vibrant colors. Students learned how to mix paint to gain three values using one of their primary colors and then another three values through complementary colors. Materials Used: Pencil, scissors, black crayon, glue, tempera/acrylic paint, ruler. Vocabulary Learned: Keith Haring, Street Art, Movement, Value, Design Element, Color Wheel, Complementary colors, Primary colors, outlining, For this unit students learned about the Design Element Texture through the inspiration of Moroccan Pottery and their rich culture. When creating textures instead of using materials such as bubble wrap or sandpaper students instead created the illusion of texture through design. This multi media project involved learning correct painting techniques and the freedom of color and design. Materials Used: Pencil, sharpie, white crayon, construction crayon, watercolor paint. Vocabulary Learned: Design Element, Texture, Illusion, Design, Symmetry, Moroccan Tradition, Pottery, watercolor resist, solid coloring, soft round brushes, sizing. Students learned about One Point Perspective for this unit that included looking at Optical Illusion work from famous Graphic Designer MC Escher. Students learned how to create their own optical illusion making them appear more 3-dimensional with the help of prismacolor colored pencils, highlighting and shading. Students learned different watercolor techniques to paint in the tops of their shapes as well as the background for their photograph and Illusion. Vocabulary Learned: Professional Grade Materials, less wax-more pigment, Optical Illusion, MC Escher, vanishing point, warm versus cool colors, wet on wet watercolor techniques, shading & highlighting, Value, design, One point perspective, OP Art. Materials Used: Prismacolor colored pencils, pencils, rulers, erasers, watercolor paint, watercolor paper, thin tape, scissors, glue. For this unit students learned about the rich Oaxacan Folk art of Oaxaca Mexico. Manuel Jimenez in the 1940s-60s was the father of the wood carving tradition that grew into a massive movement when influential tourists such as the Rockafellers purchased his work and brought them into the States. Known for their exaggerated features and bold colors students created their own small scale sculptural Oaxacan animal that had to stand on its own. Painting a base coat helped make their neon patterns pop while they used a very small paintbrush to achieve the traditional look. Vocabulary Learned: Oaxacan animal, small scale sculpture, free standing work, Folk art, elements, patterns, focus work, base coat, exaggerated features. Materials Used: Wood pieces, hot glue, acrylic/tempera paint, small paintbrushes, neon paint. For this unit students learned about the female American artist Georgia O'keeffe. After viewing works of O'keeffe's students each got their own object to draw to emulate her style of zooming in and cropping that made her the mother of the art movement Modernism. Students had to crop their object off a large piece of paper on at least three sides before getting oil pastels. With the oil pastels they made sure to dissect the coloring of their object and tried to replicate the color with various blending and layering techniques to get the vibrant colors that O'keeffe was so famous for. Vocabulary Learned: Georgia O'keeffe, Magnification, zoomed in, cropping, color blending, color layering, Design Element Space, direct observation, art movement Modernism, Vibrancy, pigment, large scale. Materials Used: 11"x11" TruRay construction paper, various objects for direct observation, pencils, oil pastels. |