|
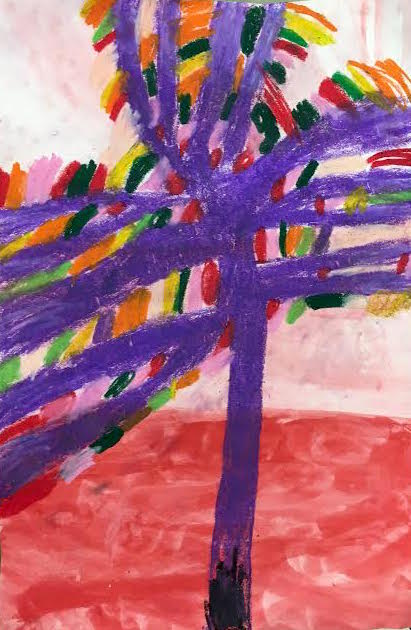
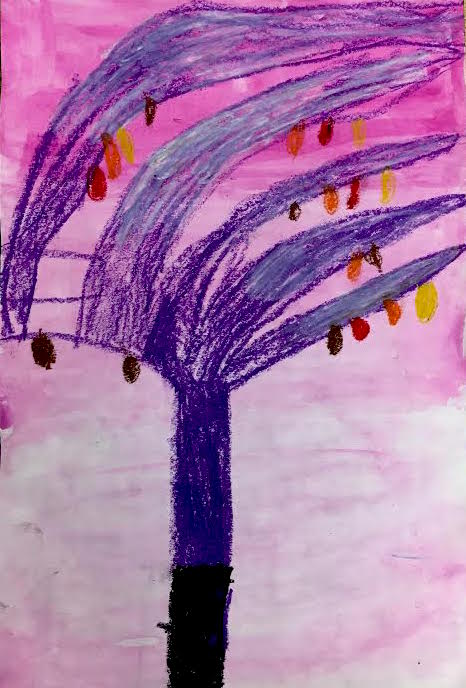
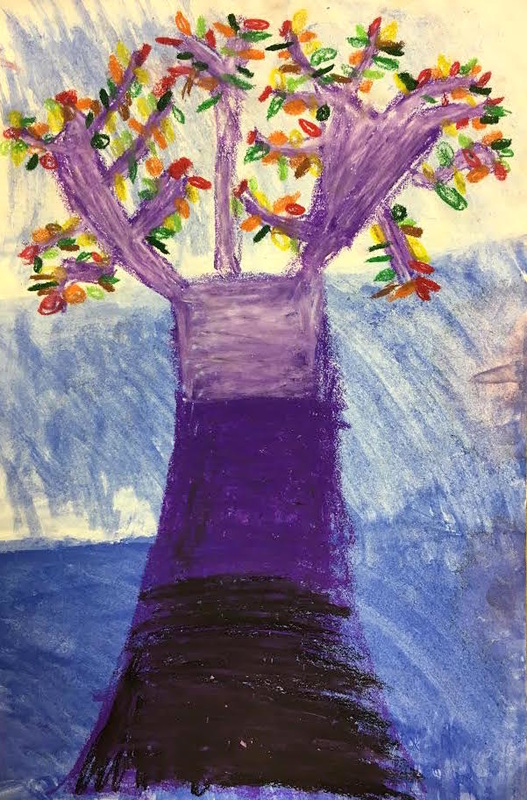
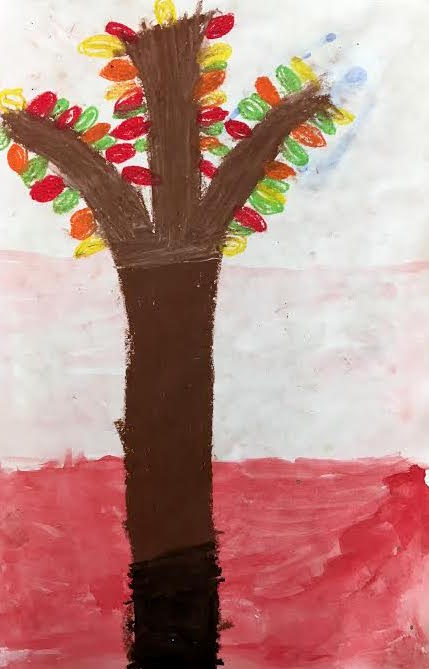
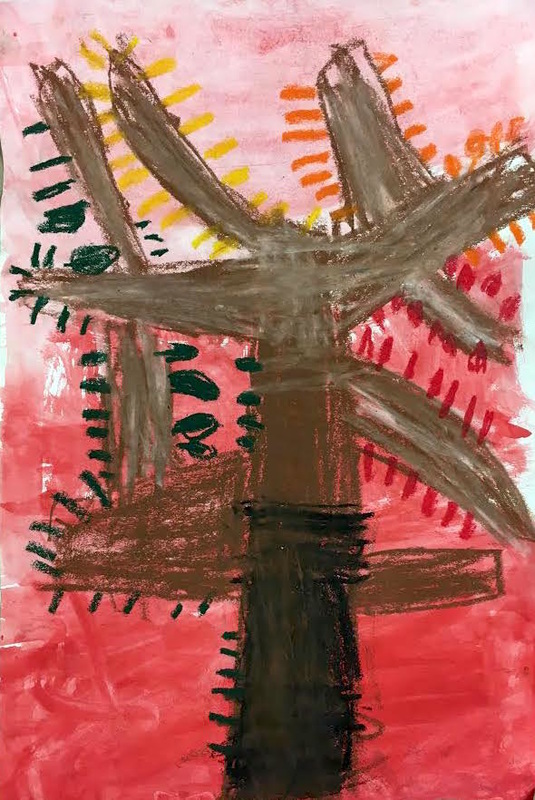
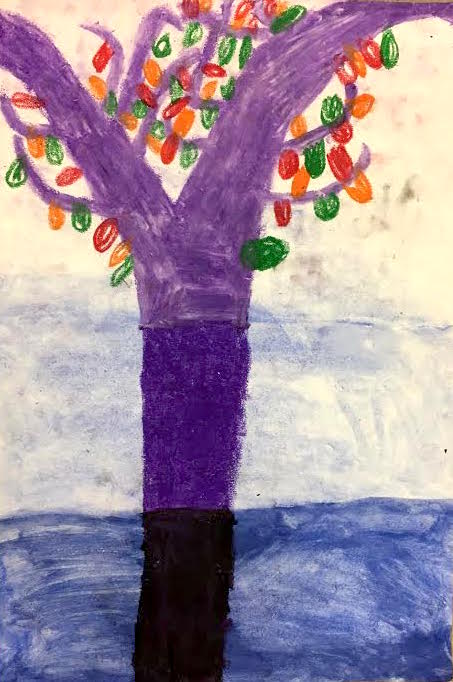
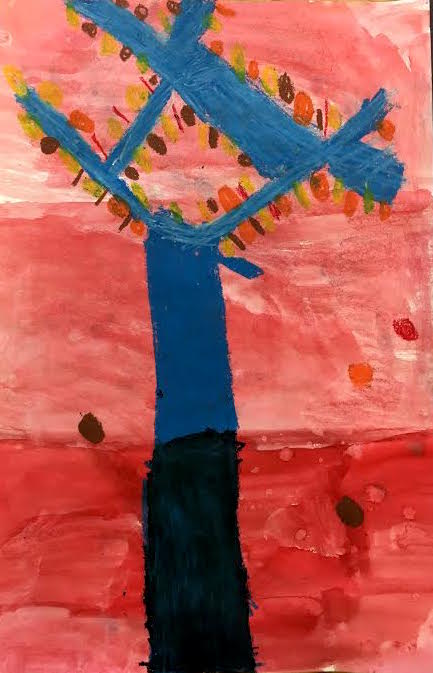
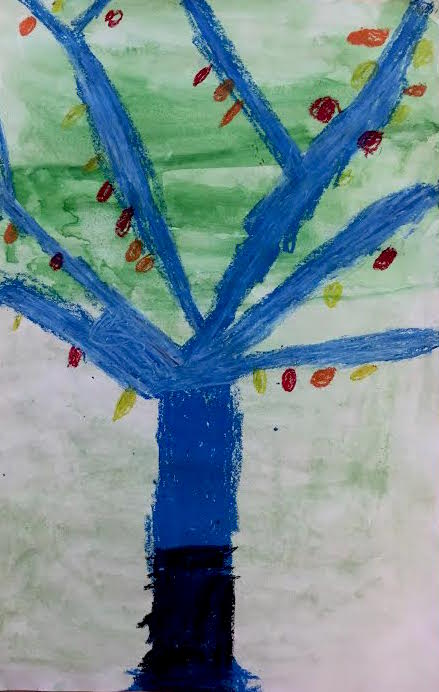
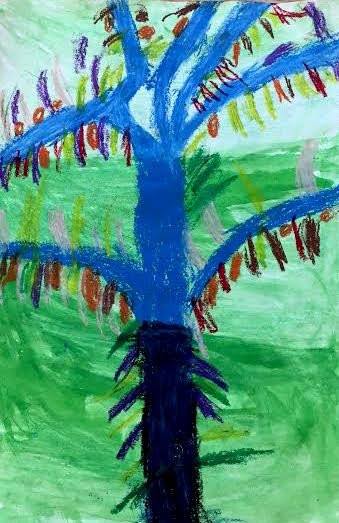
For this two day project students learned how to use watercolors to create a light to dark value background. On the second day students learned about tints and shades to create a light to dark value blended tree. The final step was decorating the tree with colorful leaves such as those found in nature at this time of year. Students used previous knowledge and skills to create these beautiful works.
0 Comments
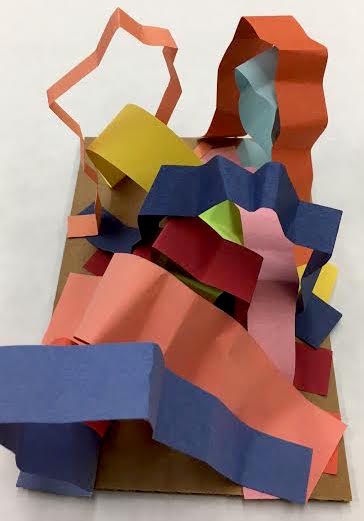
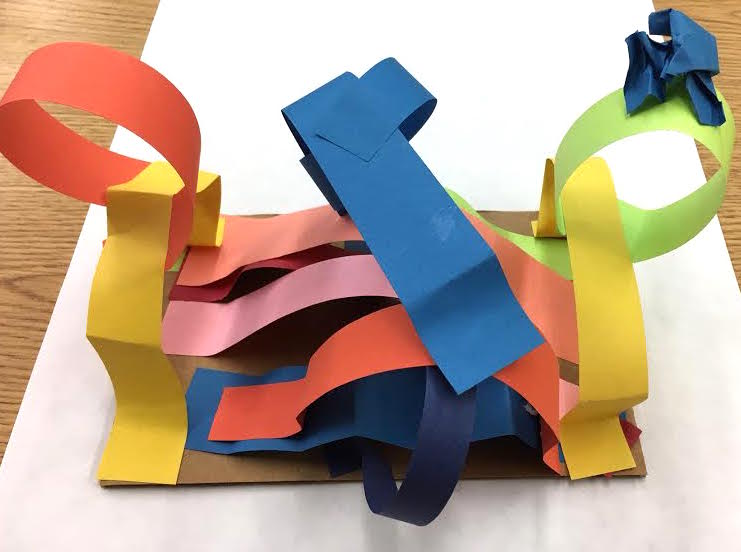
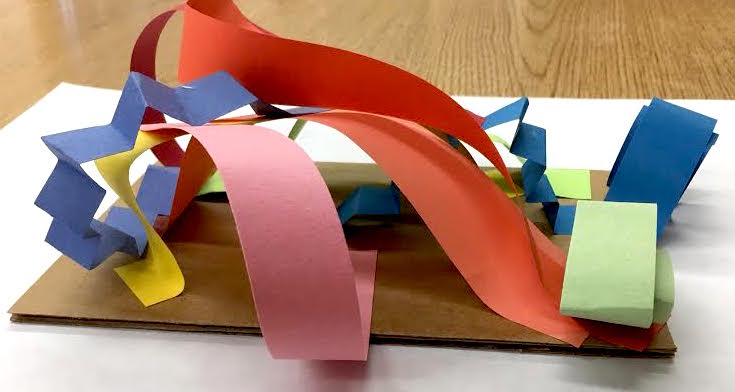
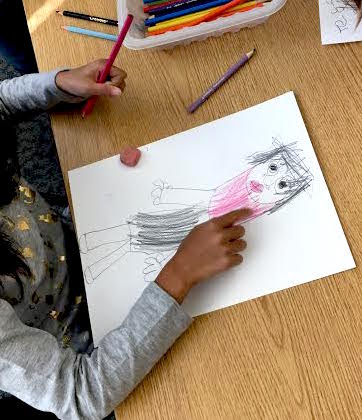
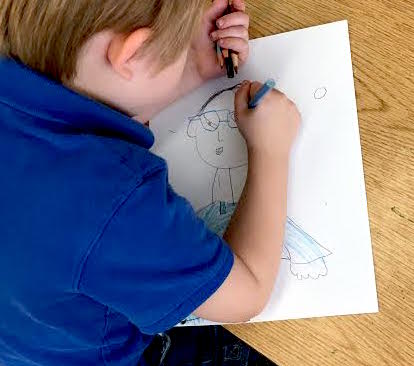
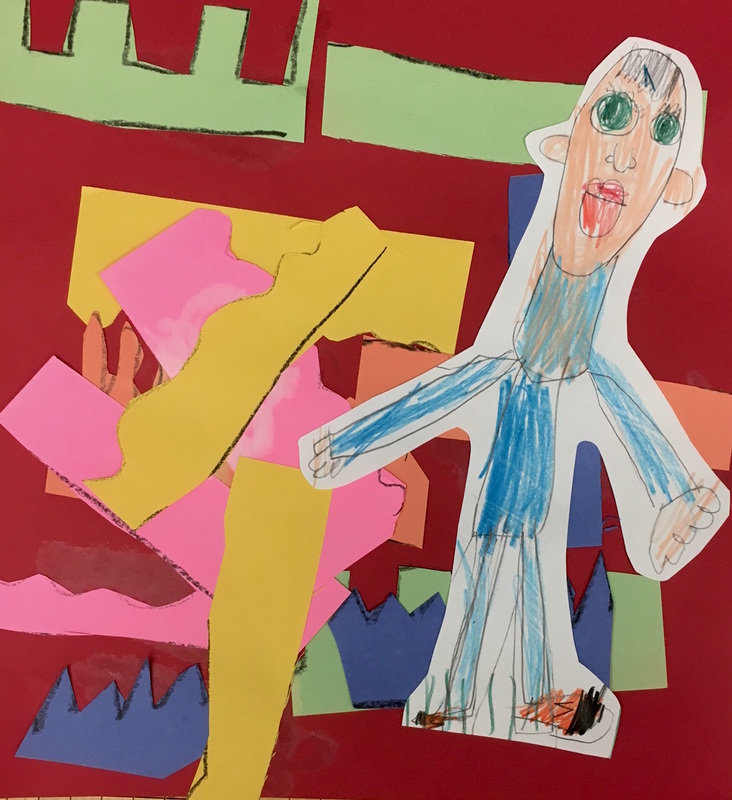
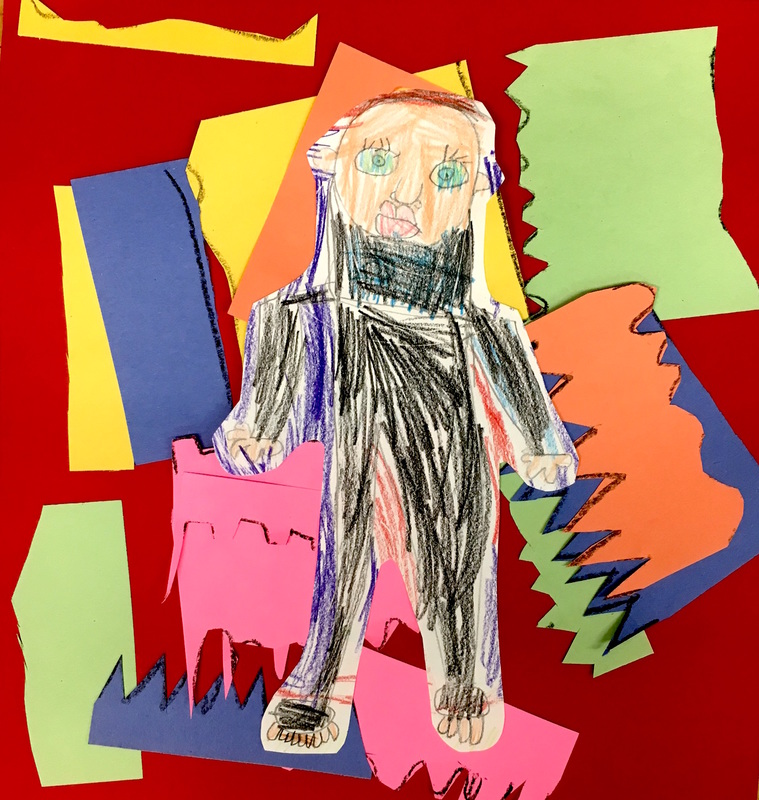
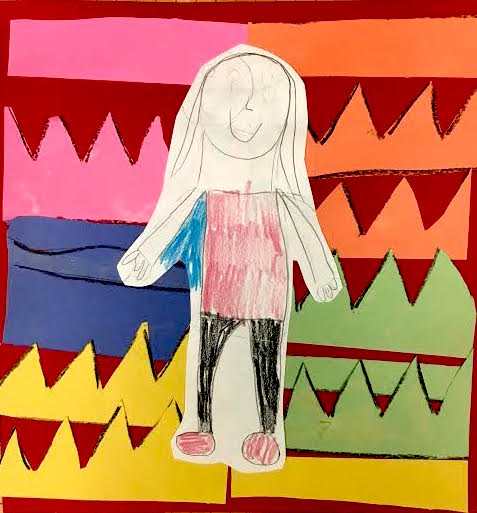
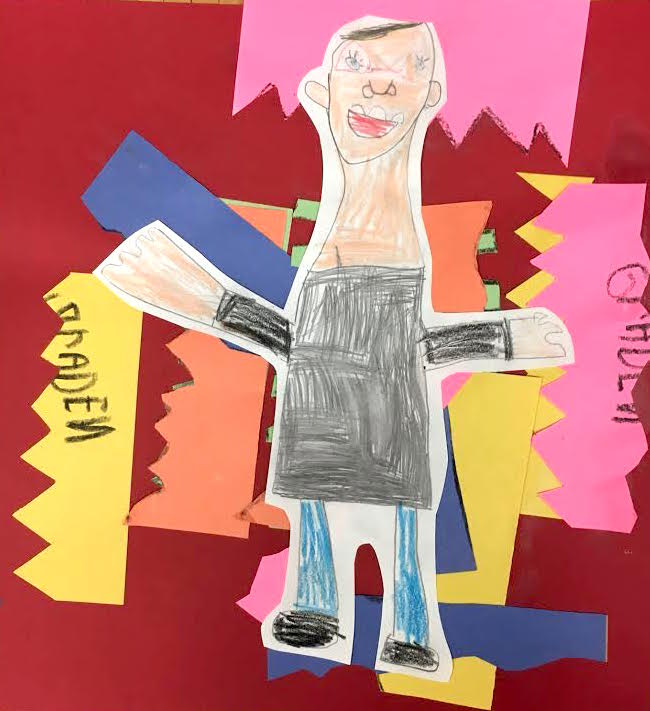
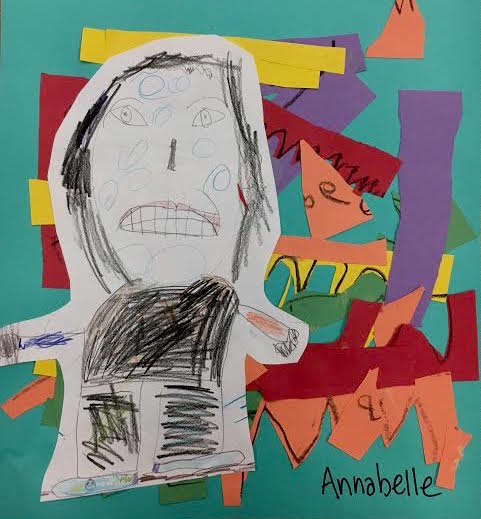
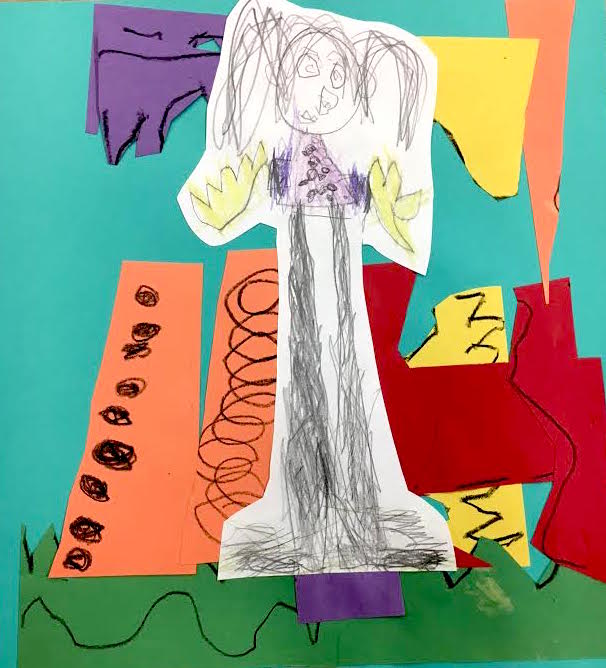
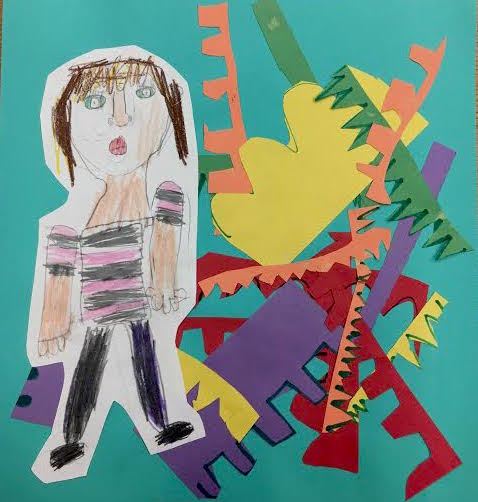
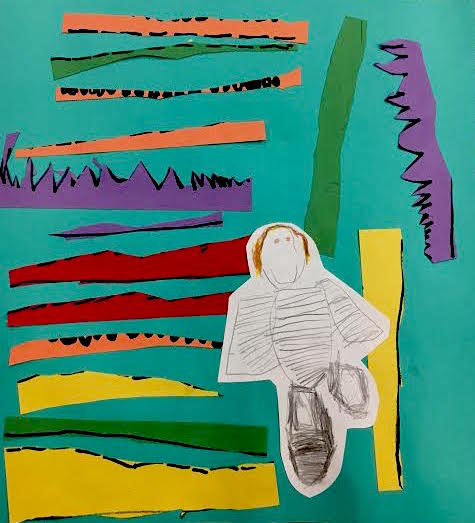
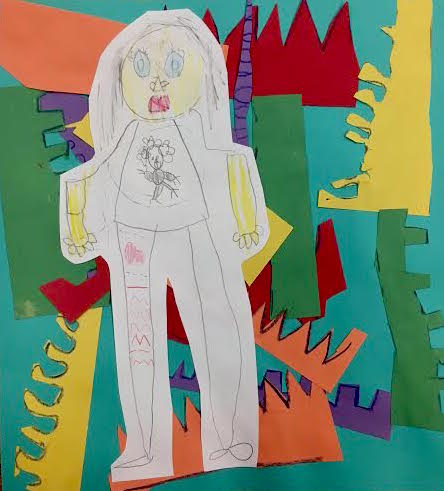
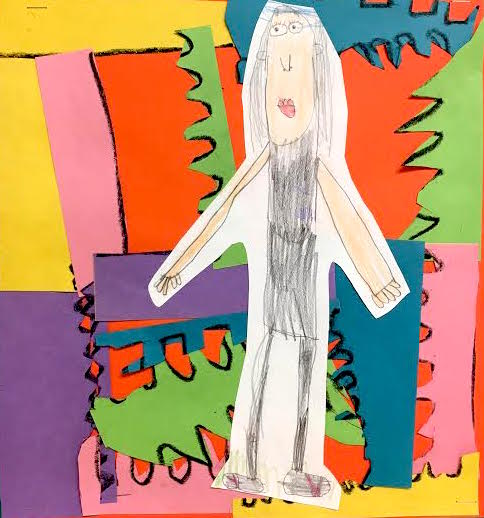
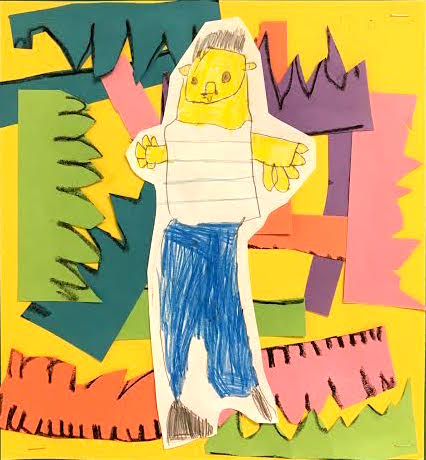
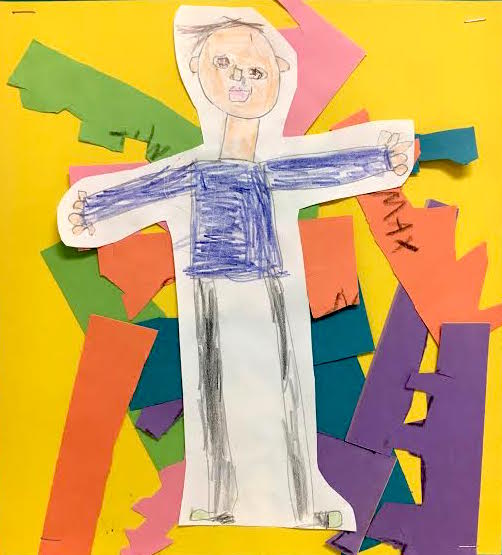
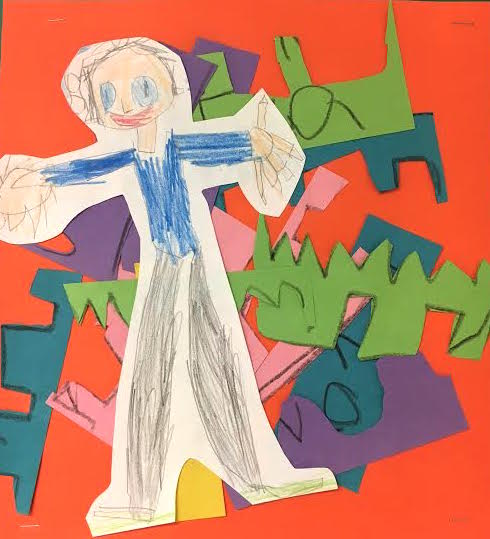
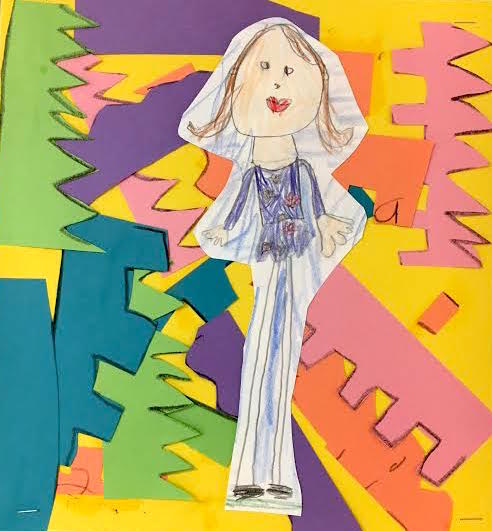
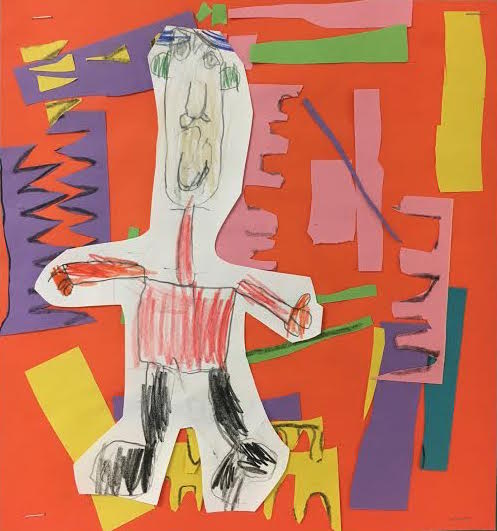
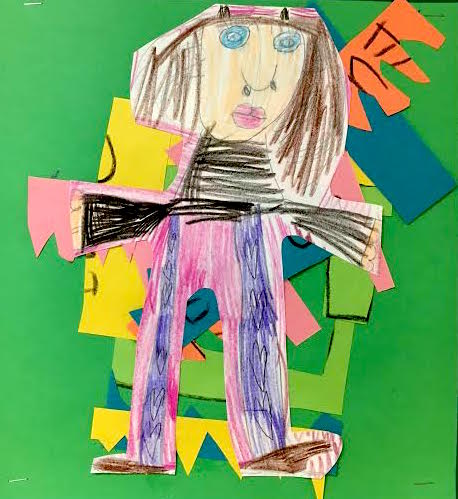
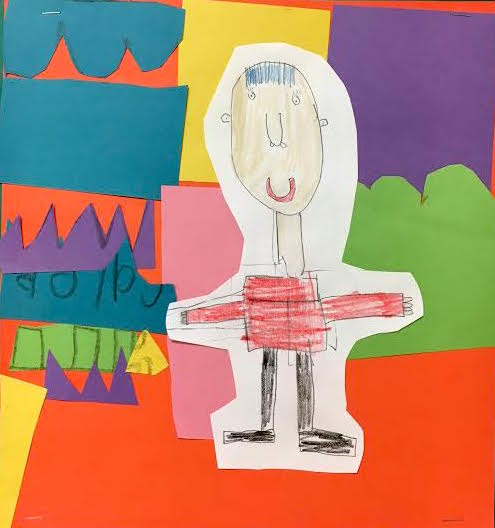
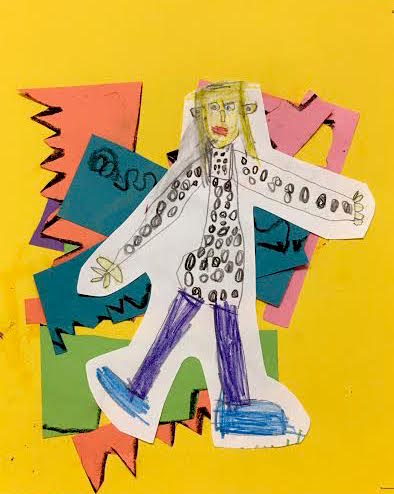
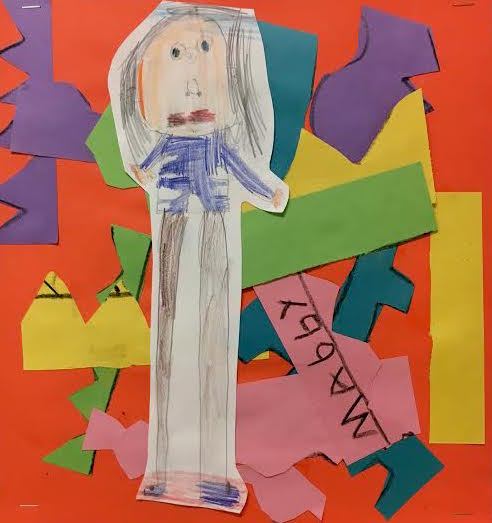
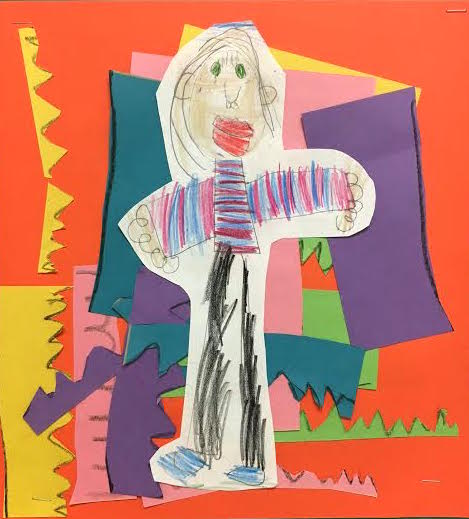
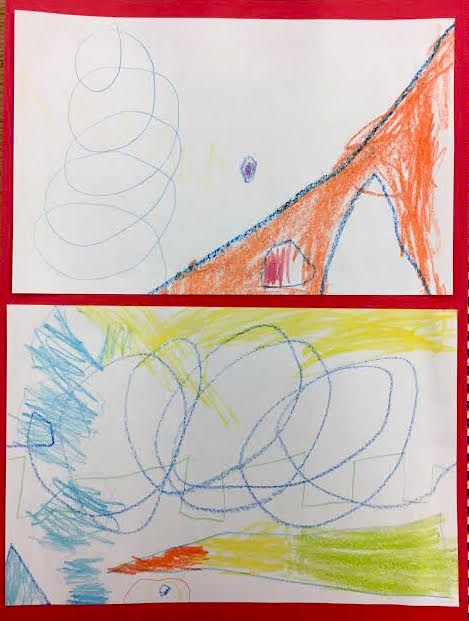
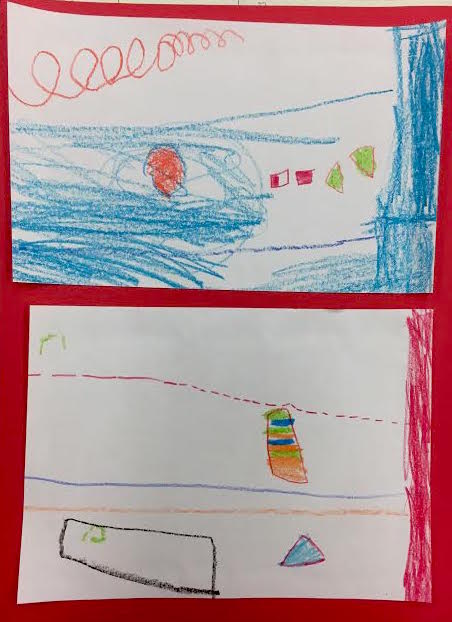
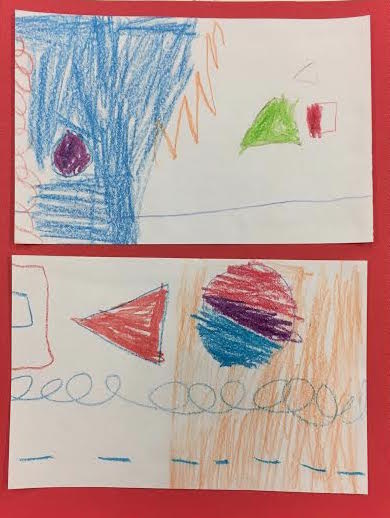
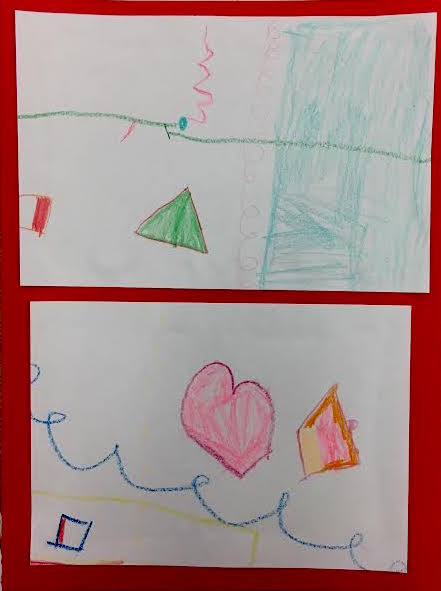
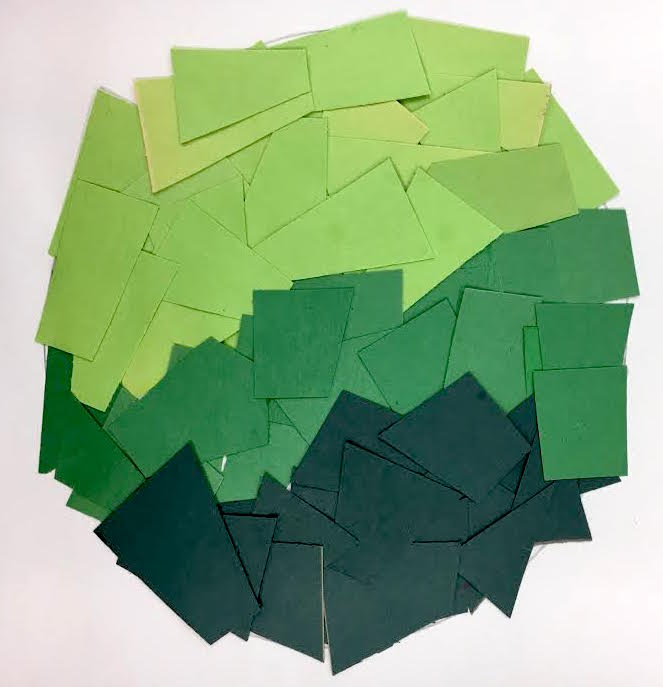
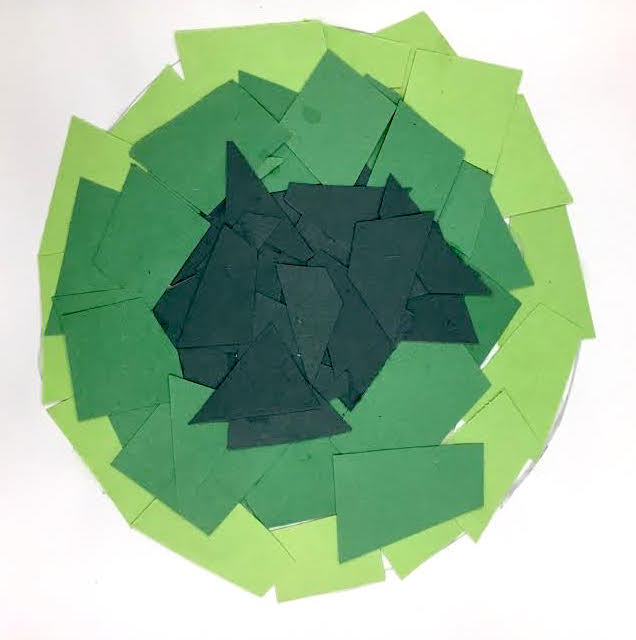
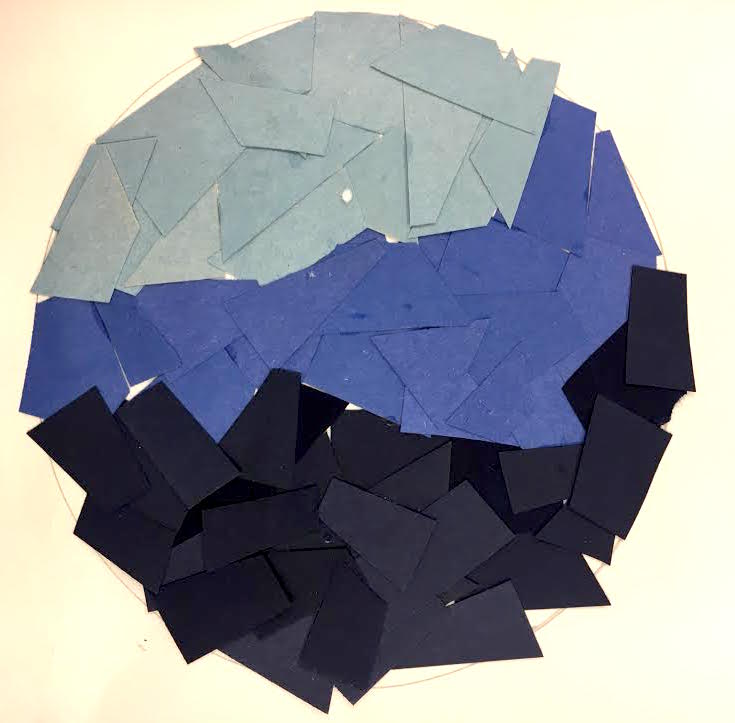
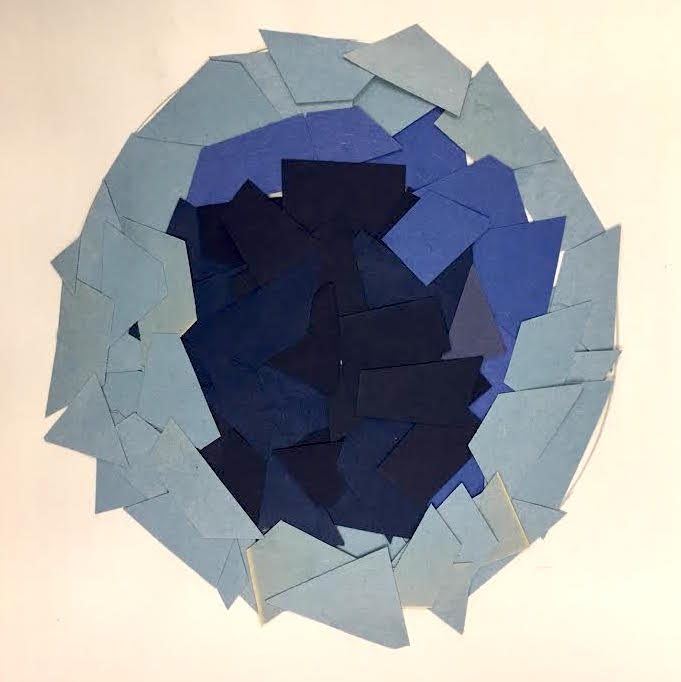
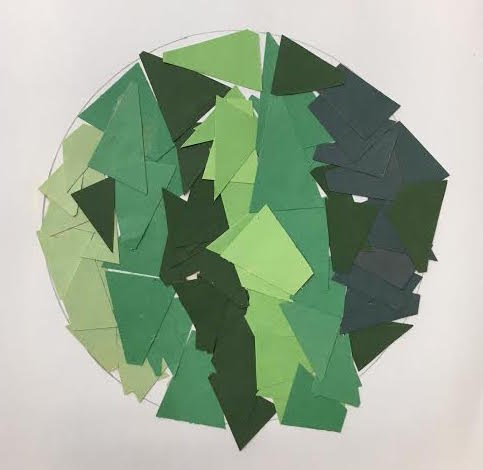
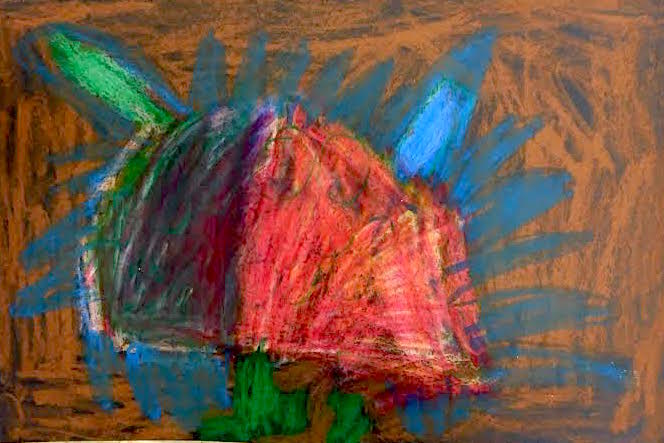
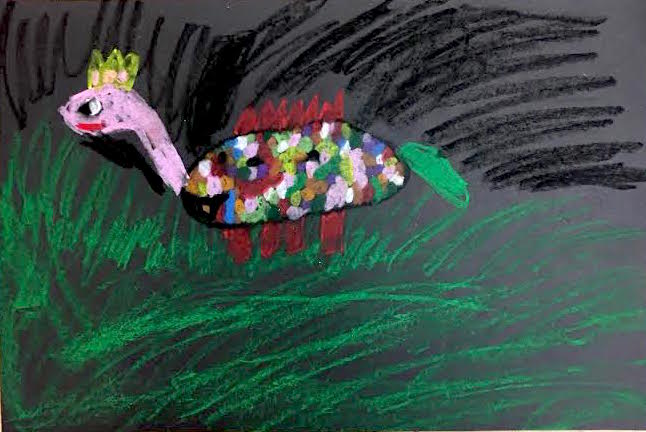
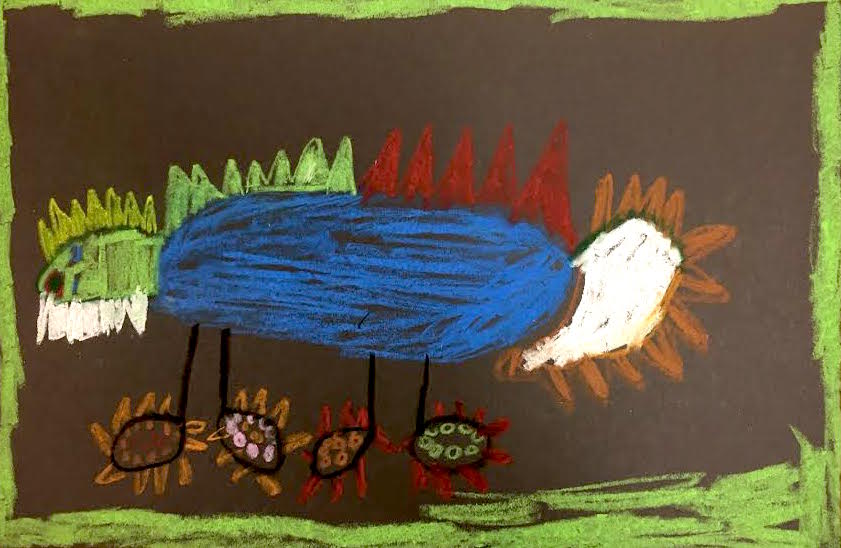
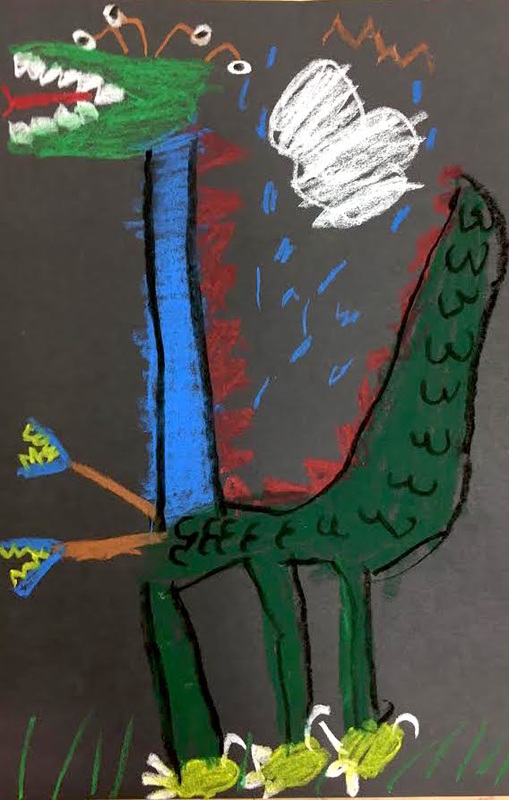
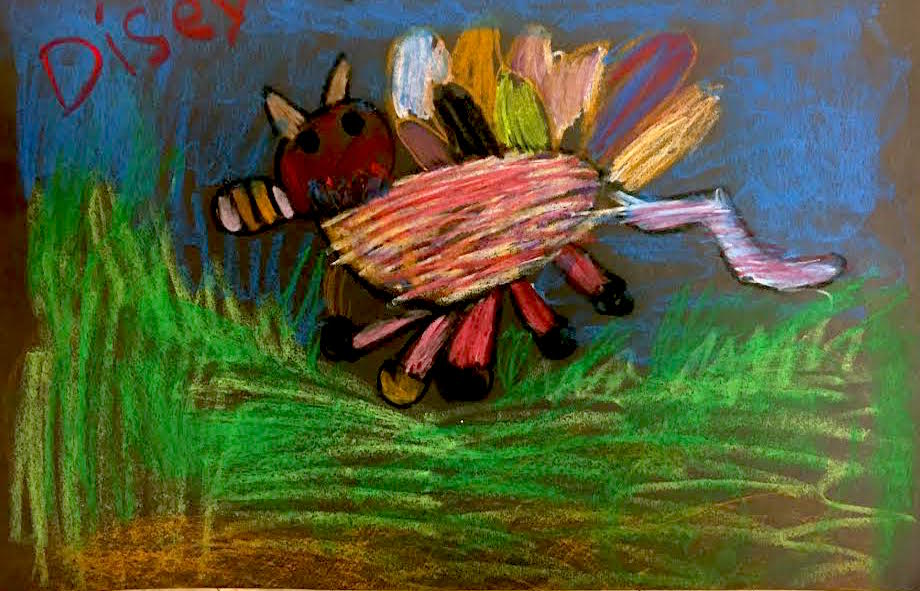
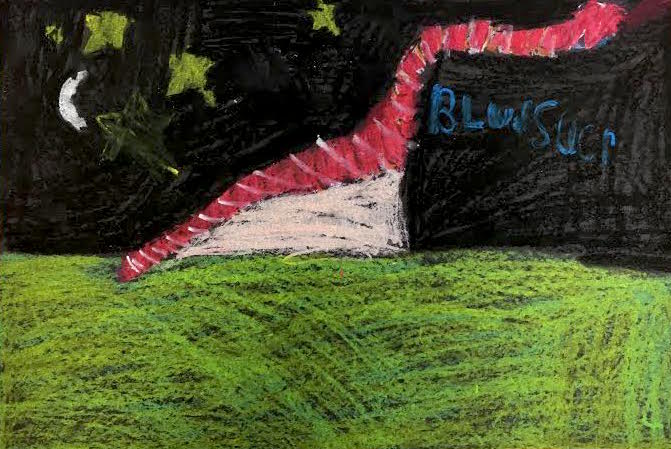
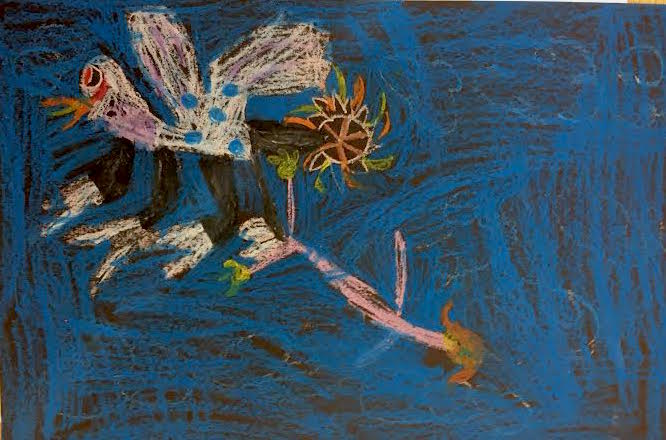
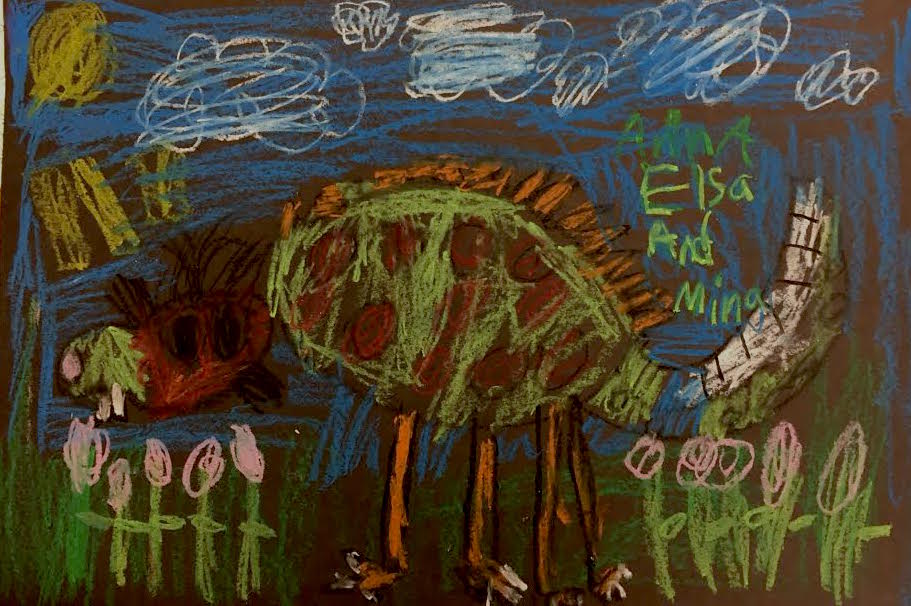
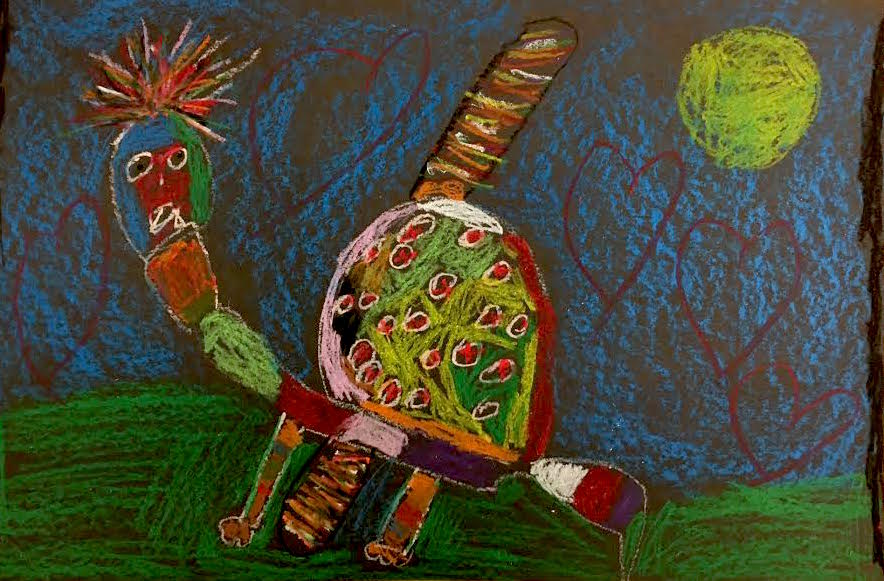
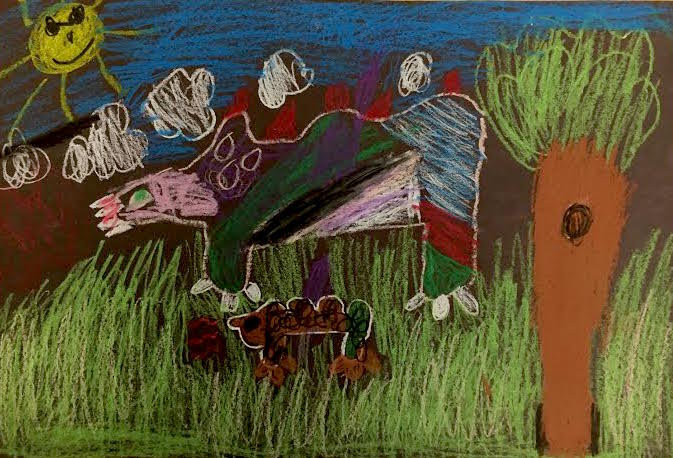
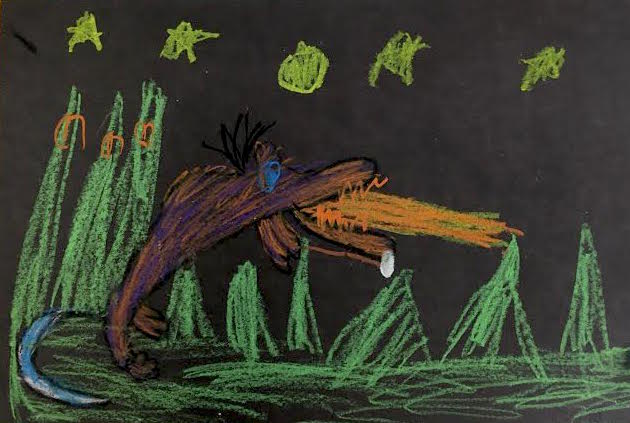
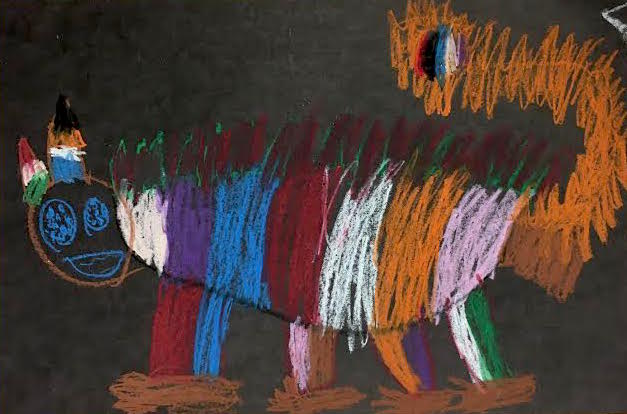
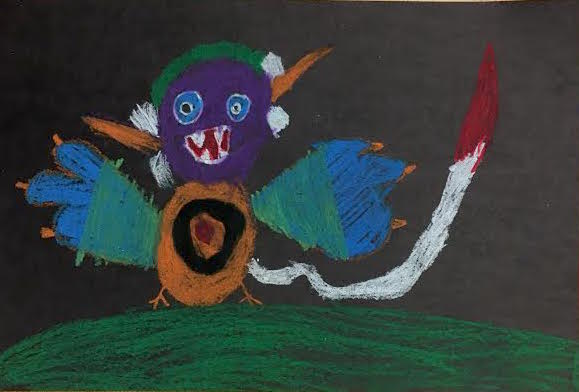
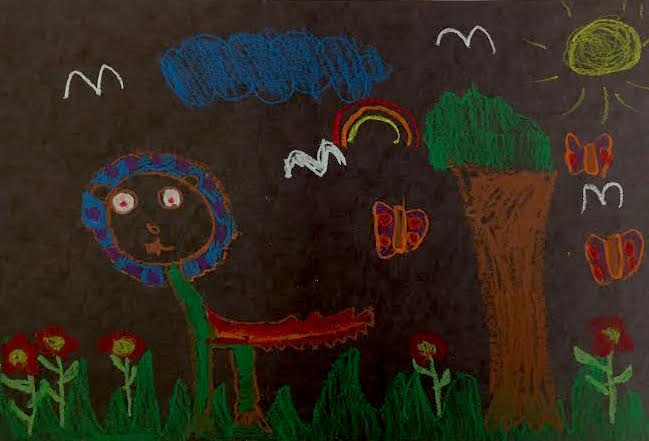
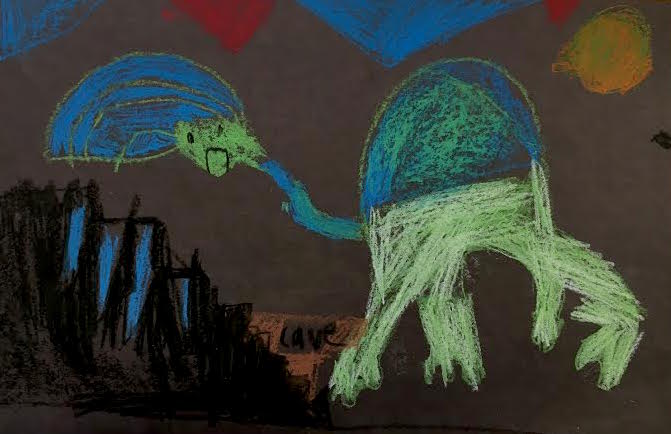
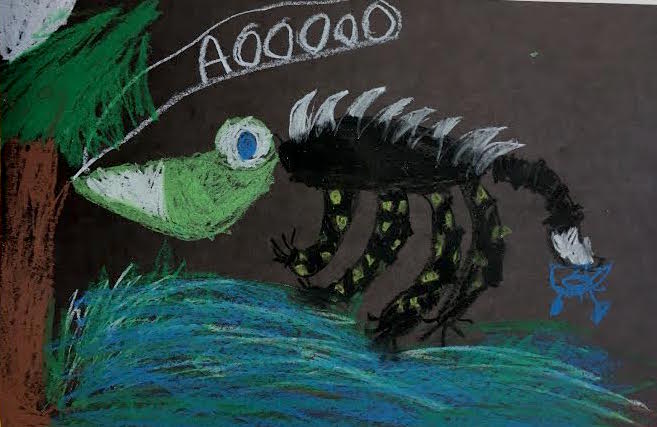
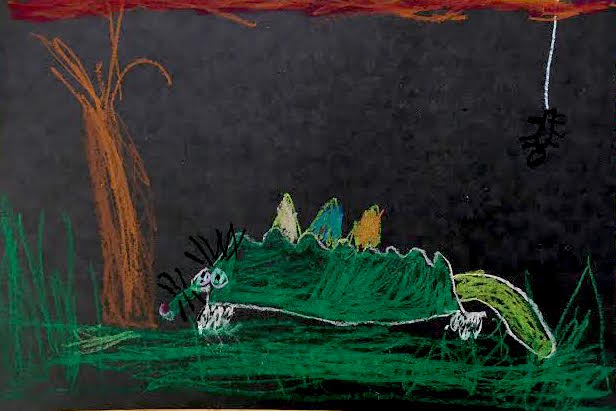
Throughout the year students have drawn, cut, and colored lines but for this lesson they built lines into 3D sculptures. Students were asked to fold and bend thin strips of paper into lines learned so far: castle, zigzag, loop etc. Students had to make sure to make tabs or "feet" to glue down the strips to pieces of cardboard to design an amusement park. The objectives: How many different 3D lines can you construct and How tall can you make your sculpture? This was an amazing two class unit in which students were introduced to the idea of a self portrait and collage. As a class we went over what shape the head is, that we all have a neck and facial features etc. Showing how to use your fingers to map out your facial features proved helpful when students realized with delight at how the ears matched to the corner of the eyes. My objectives were to make sure to fill the entire page with their portraits since students developmentally draw on a small scale at that age and to include all parts of the body. I went a step further by asking students to take into consideration their clothing such as what's on their clothing, line designs etc. NO STICK FIGURES ALLOWED. Day two was the introduction of constructing a collage with drawing and cutting previously learned lines, then pasting them down to cover the entire space. Their self portraits were added in the end. Students were asked to listen then draw what was instructed in this experiment with teacher directed versus choice based lesson. Students have learned several lines, been introduced to shapes and have gone over warm and cool colors. On each table were warm and cool crayons and colored pencils, the guidelines were to listen to my directions then draw what they heard. Ex: "With a warm colored crayon draw a small triangle on the left side of the page." This is a good example of teacher directed versus student choice; "With any cool or warm colored crayon or pencil, draw your favorite shape at any size anywhere on the page." Students learned to listen and had to pace themselves and not rush to draw what they wanted. For me this was interesting to see the difference between strict guidelines and lose guidelines and how well they understood page locations. Students were nervous at first then gradually became more confident with their choices. In this project I introduced color value. Students used dark, medium and light valued pre cut pieces of paper glueing them down to create a sphere. Students were given guidelines on how to use a glue bottle properly, fill up the entire circle with little to no white paper showing through, and to make sure to go from dark to medium to light with their paper pieces. Students experimented with different ways to create their value spheres and had to problem solve how to use their glue and paper pieces to finish within a certain amount of time. Students helped each other at their tables to say where white was showing and where to place pieces to create value spheres. Reading the book Zipper-ump-azoo opened up a discussion about features such as claws, feathers, scales etc to create a monster. Using the blending techniques from the previous project students were given certain guidelines to create a monster in its environment with oil pastels. Students had to problem solve how to design their creature, what kind of environment it existed in, what features to include, fill up the entire composition and come up with a name for their beast. |